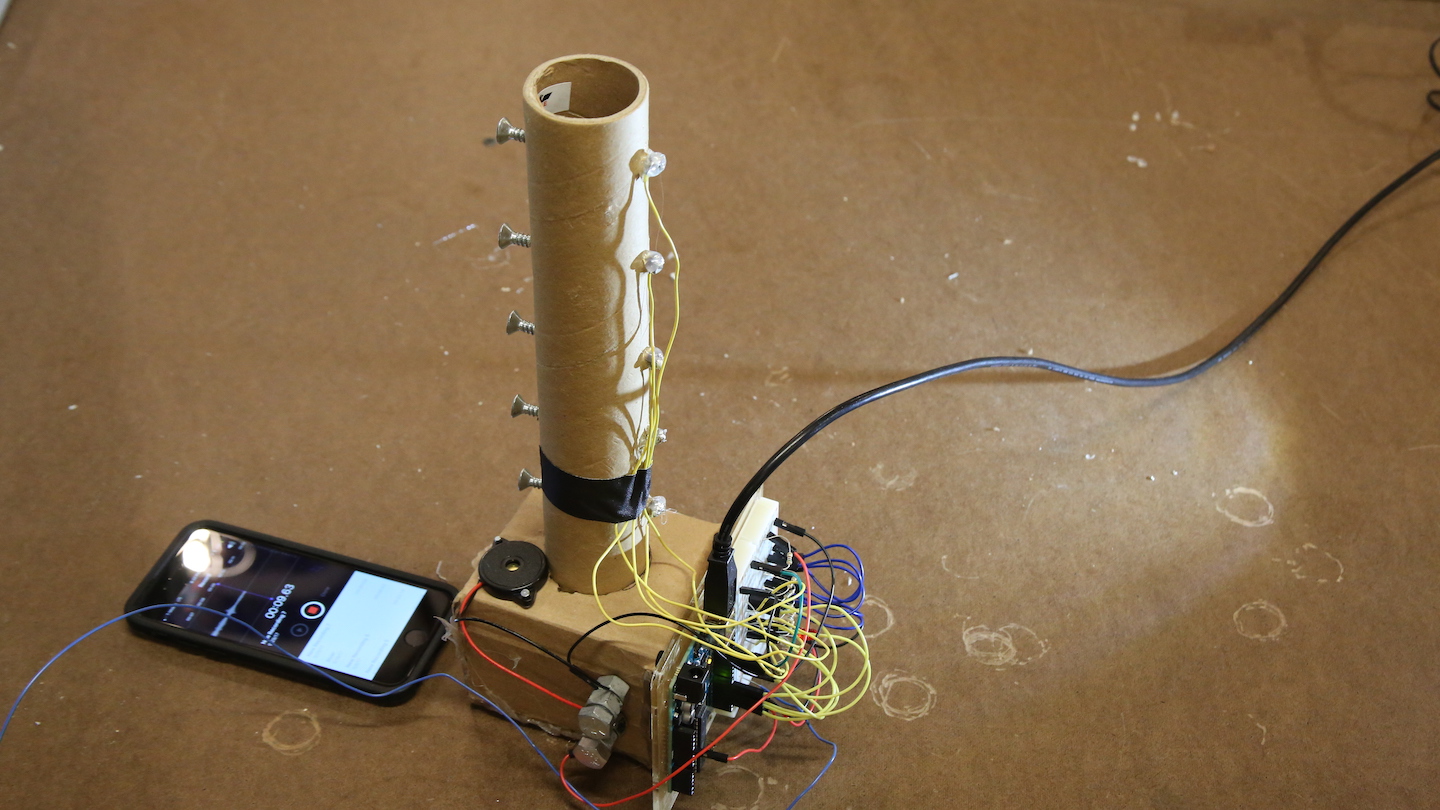
This is the first tangible thing I've built while at ITP and I'm SO EXCITED! While it's stupidly simple from an end user perspective, it's just barely complex enough to justify 8 hours of work and a blog post. Granted, this is my first project, and I'm not in Fabrication yet, so I have to say I'm pretty stoked to have combined cutting, folding, drilling, soldering, wiring, and coding in creating this little musical instrument. Knowing that this proof-of-concept is functional, I want to add a bunch to it in subseqeuent months. I am quite musical, but quite unable to play an instrument - so that's kept me away from music making for a long time. But perhaps this ongoing project will slowly reintroduce my brain to the wide world of auditory ecstasy.
Read through how I made this little device below!
Final product first
The process
My first objective was to determine whether or not the materials I had picked to be the focal points of my device were actually conductive or not. I figured they were, but wasn't sure they would be covered with an insulating material, thus preventing me from access their conductive capabilities. However, as the light indicates, they are quite conductive, and should work just fine. I ended up forgetting a spoon, and didn't want to steal one from ITP, so I settled for screws as both my 'buttons' and as my 'wand.'
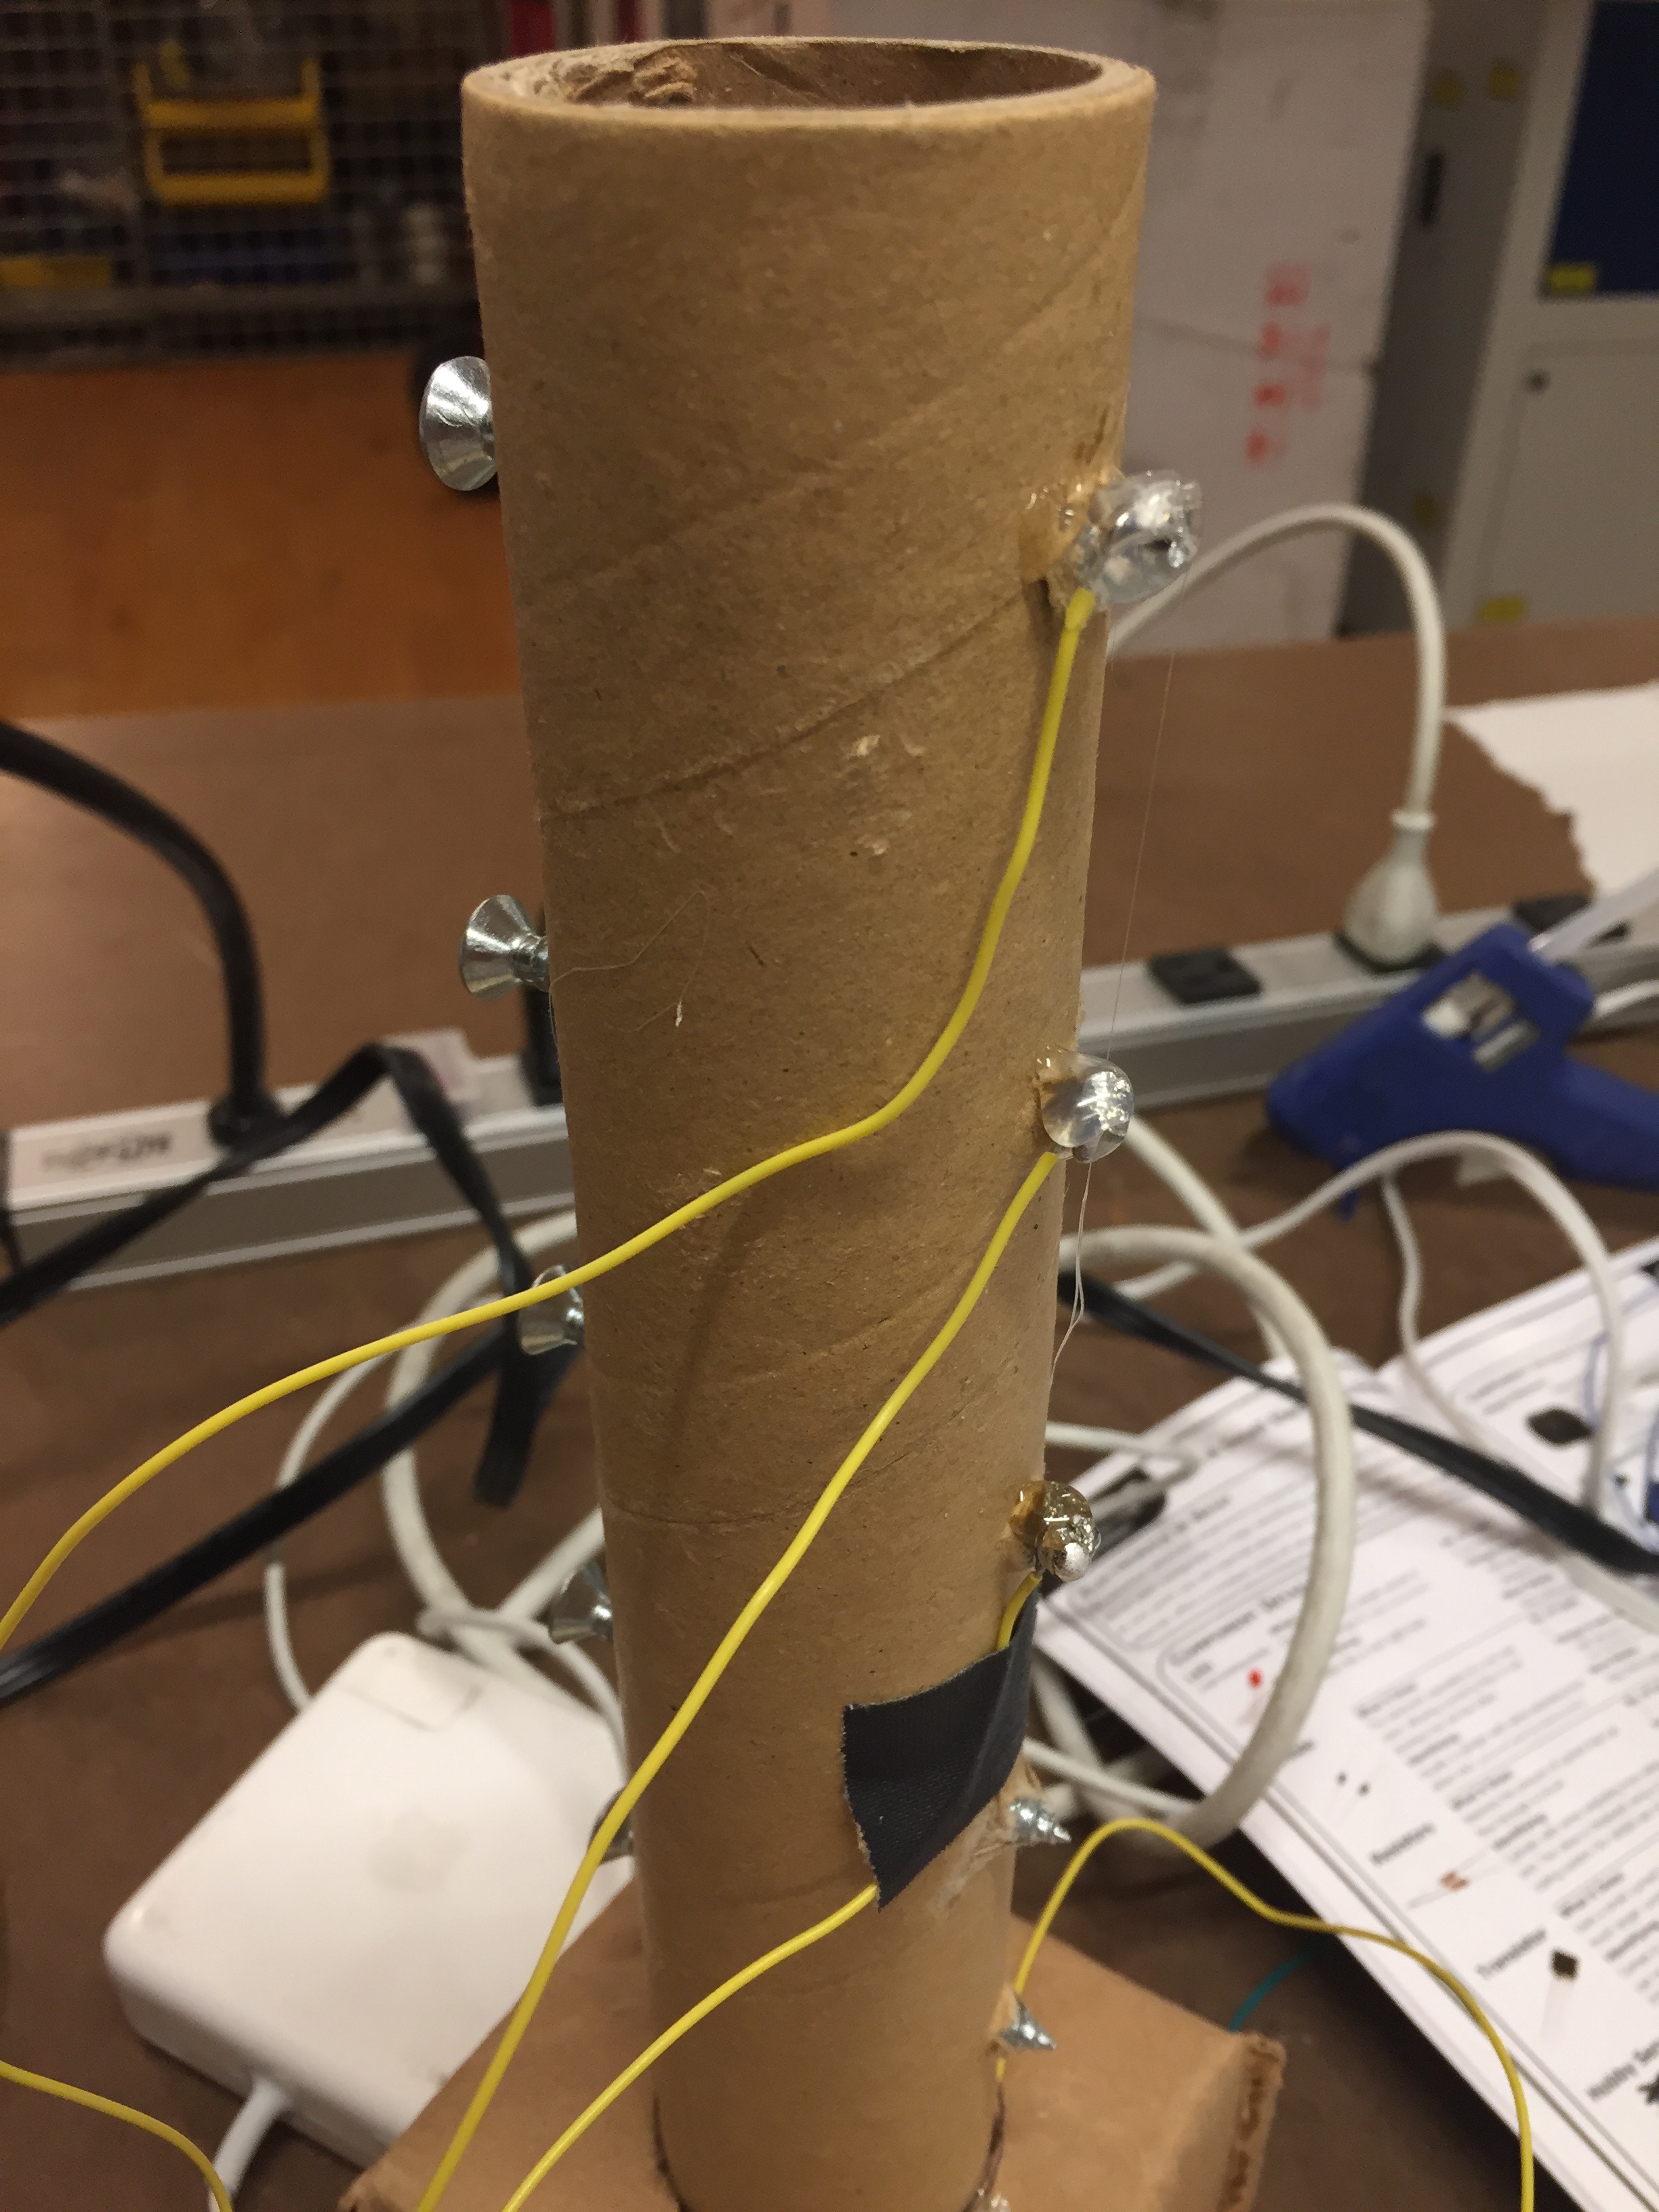
I used a thick cardboard tube as my structure, with a folded cardboard box as my base. This allowed me to keep the screws in a relatively stable position as I soldered the wires to them. Next time I'll actually clamp the base down, the minor movements are enough to cause some frustration while soldering. At this point I wanted to test my connections to determine if I was doing everything properly. At first I thought I hadn't... then...
Turns out my soldering connections work! I thought they weren't working, so I stupidly removed the resistor protecting this fragile little LED. Then I surprised myself as I watched the LED burn bright then never again... so sad.
But it looked like - with the proper resistance applied - all my solder connections were successfully made! I finished up soldering the rest of the screws and got to work connecting it all.
Here's a good time to stop and take a look at the code I wrote - which is very simple. If you hit a certain screw, a certain note plays, and the light turns on.
CODE
// declare notes as variables
// notes provided by Brett Hagman

#include "Music_Notes.h"

int note0;
int note1;
int note2;
int note3;
int note4;


void setup() {
  // set D2-D6 to INPUT
  // Screws
  pinMode(6, INPUT);
  pinMode(5, INPUT);
  pinMode(4, INPUT);
  pinMode(3, INPUT);
  pinMode(2, INPUT);

  // set pin 11 to LED light
  pinMode(11, OUTPUT);

  // set pin 12 to Piezo speaker
  pinMode(12, OUTPUT);
};

//////////////////////////////////////////////////////


void loop() {

  // define notes

  note0 = NOTE_AS4 ;
  note1 = NOTE_B4  ;
  note2 = NOTE_C4  ;
  note3 = NOTE_G4  ;
  note4 = NOTE_E4  ;
  note5 = NOTE_GS4 ;

  // if certain screws are tapped, certain notes play

  if (digitalRead(6) == HIGH) {
    tone(12, note0);
    digitalWrite(11, HIGH);
  }
  else if (digitalRead(5) == HIGH) {
    tone(12, note1);
    digitalWrite(11, HIGH);

  }

  else if (digitalRead(4) == HIGH) {
    tone(12, note2);
    digitalWrite(11, HIGH) ;
  }

  else if (digitalRead(3) == HIGH) {
    tone(12, note3);
    digitalWrite(11, HIGH);
  }

  else if (digitalRead(2) == HIGH) {
    tone(12, note4);
    digitalWrite(11, HIGH);
  }

  else {
    noTone(12);
    digitalWrite(11, LOW);
  }
};
However, despite my code being written properly, I hadn't included pull down resistors in the circuit, so it lead to the piezo speaker buzzing and the light being on without any power being applied. This somewhat baffled me, and despite solving the issue, I'm still confused as to how energy could move to all of these elements simultaneously without power applied...
As you can see here, the screw is not completing the circuit, yet the LED indicates a HIGH reading as if the circuit is complete. To solve, add pull down resistors. Yet why it's on doesn't make sense to me quite yet. Either way, once I solved this issue I was complete with trouble shooting!
The final piece in all its glory
Stuff to add for next time:
- Pitch shifter
- Volume shifter
- At least 8 notes
- Preprogrammed melodies
- Speaker
- Other resonant objects
- Play with distortion
- Analog inputs
- Start/stop individual notes
- Start/stop whole machine
- Record / playback
- CPU and OS


