Final - Hanging Seed Planters

Final photo first. This is my final project for subtraction - a hanging window planter experiment!

IMG_3342.JPG

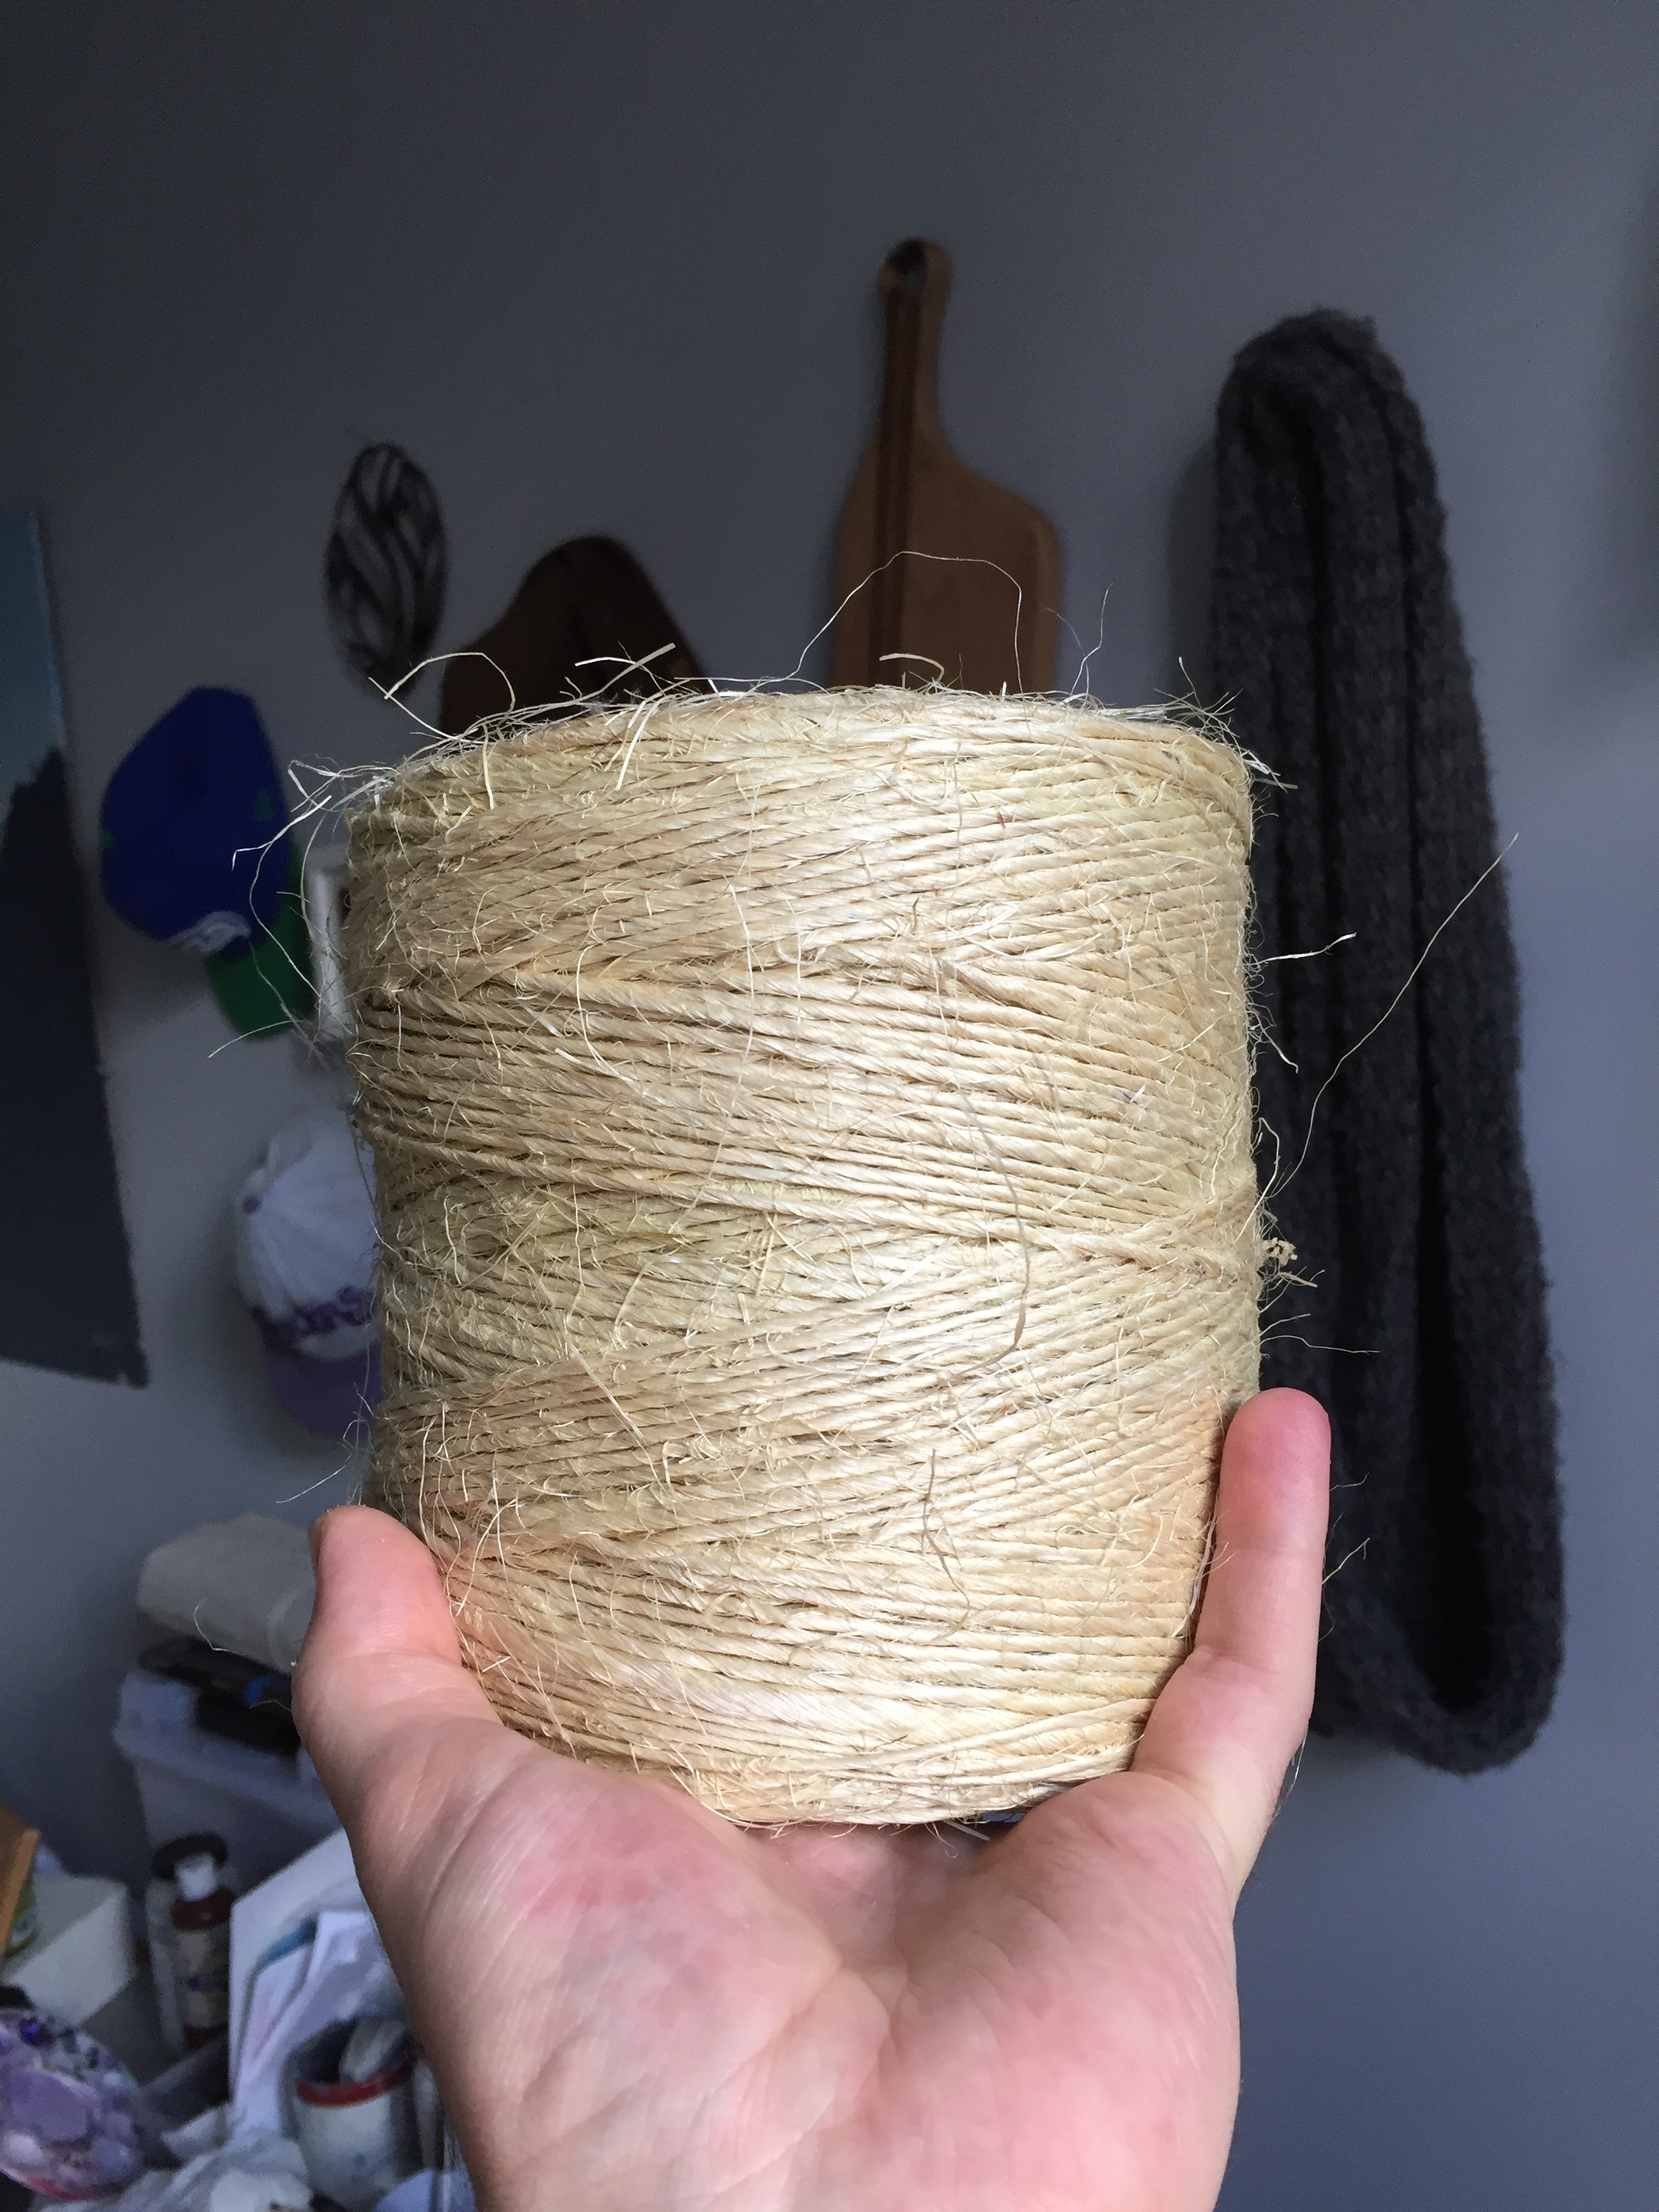
I have had some seeds, twine, and plastic cups on hand for a while and was wondering what to do with them, when I happened upon some wood in a dumpster. 

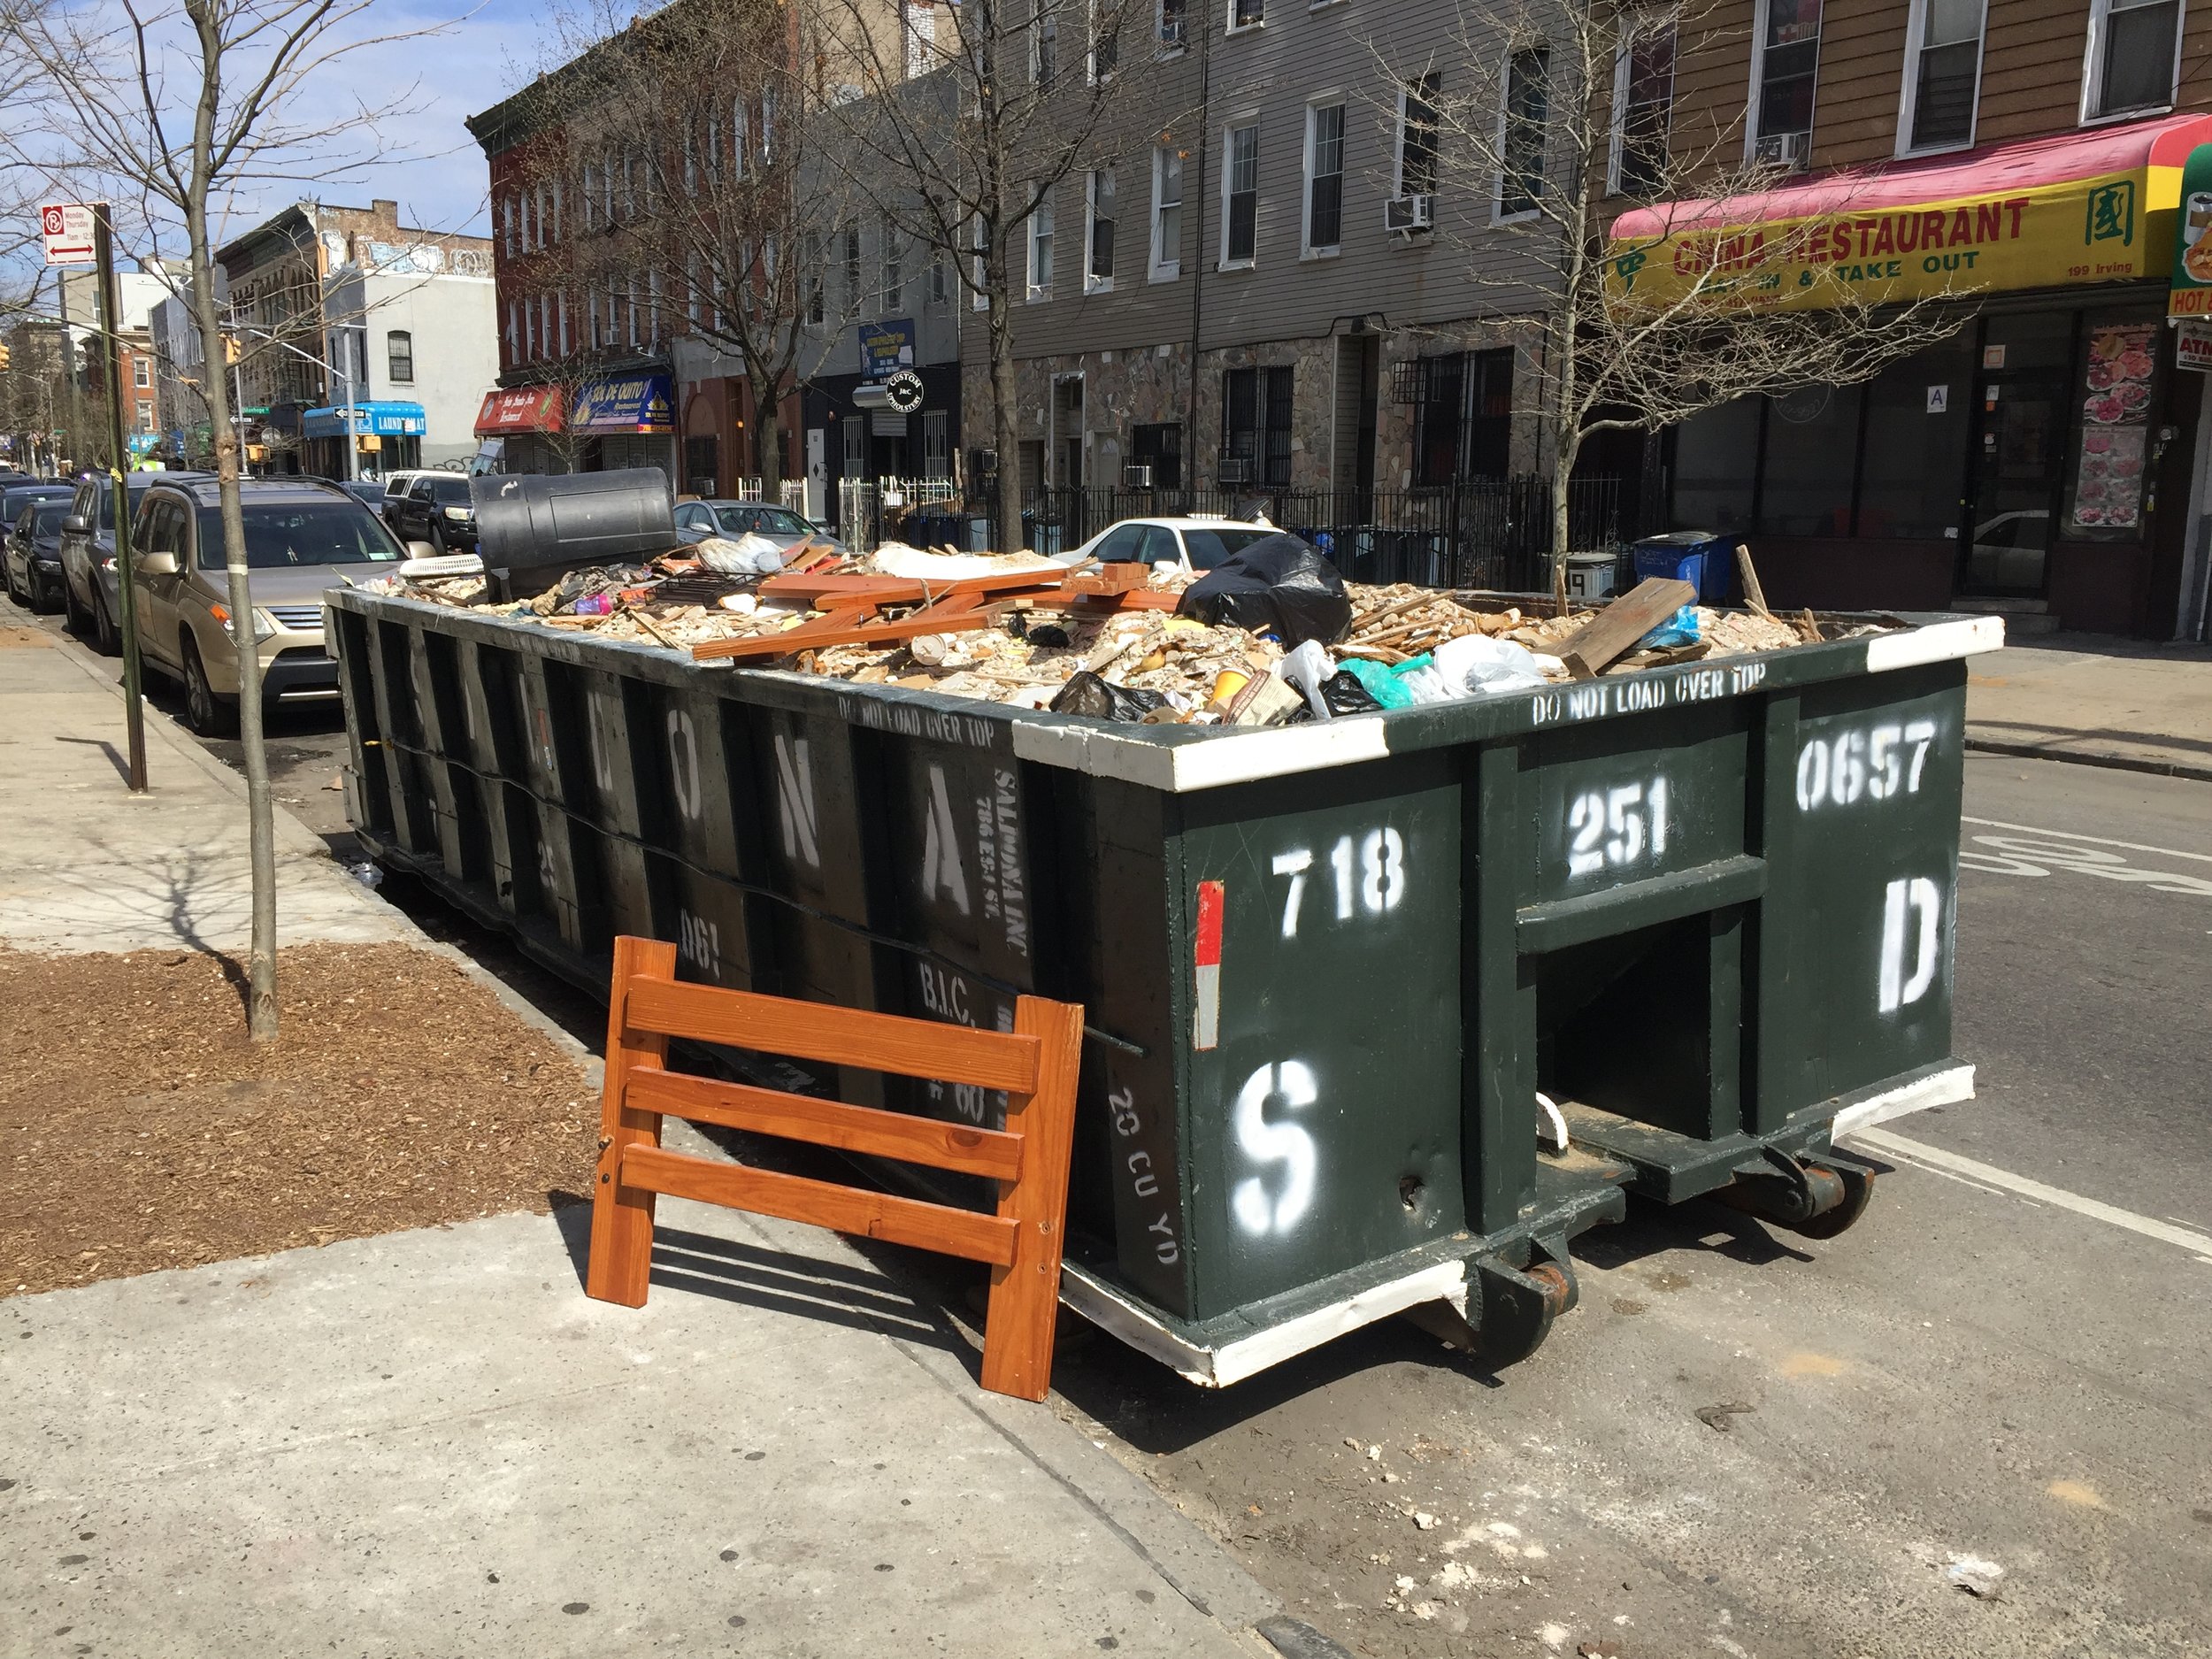
I ran into this dumpster on my way to class one day. How could I pass it up? I really wanted ot grab more wood, but I had a train ride to take, and it would be quite cumbersome to take plenty. Seeing as this single piece was help firmly together, composed of a few short pieces, and relatively lightweight, I grabbed it alone.

Screen Shot 2018-05-02 at 3.23.34 PM.png

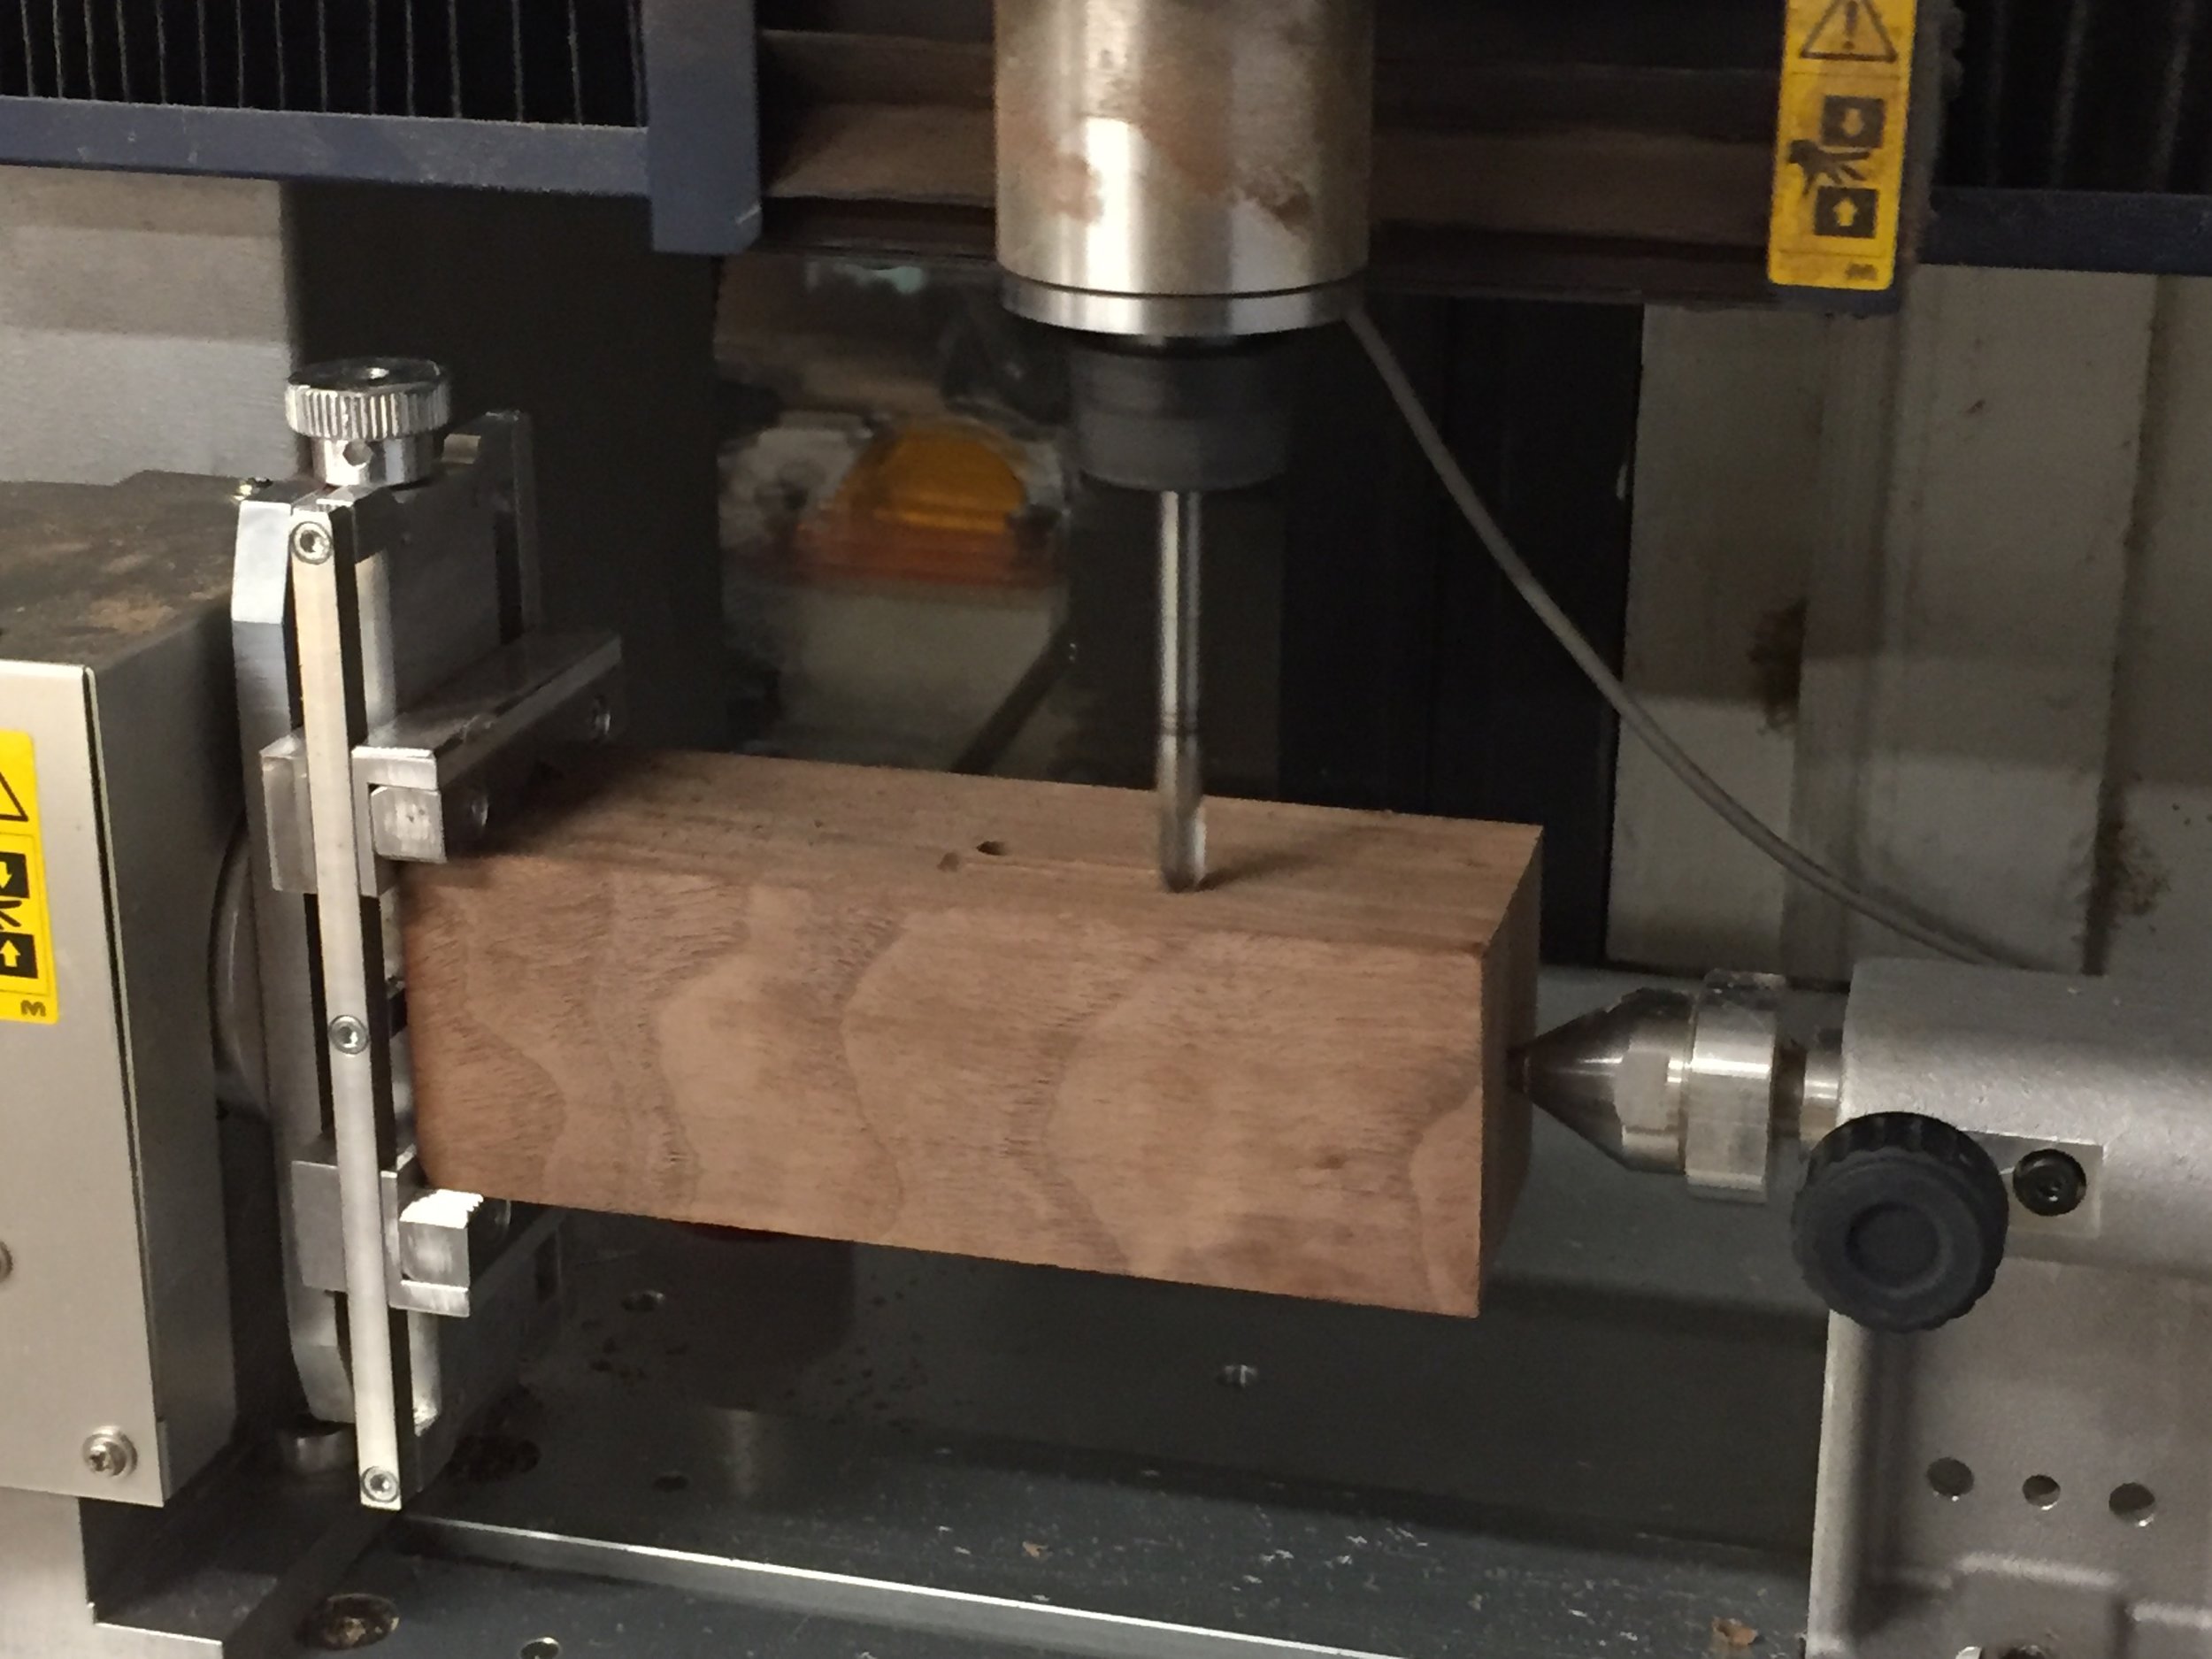
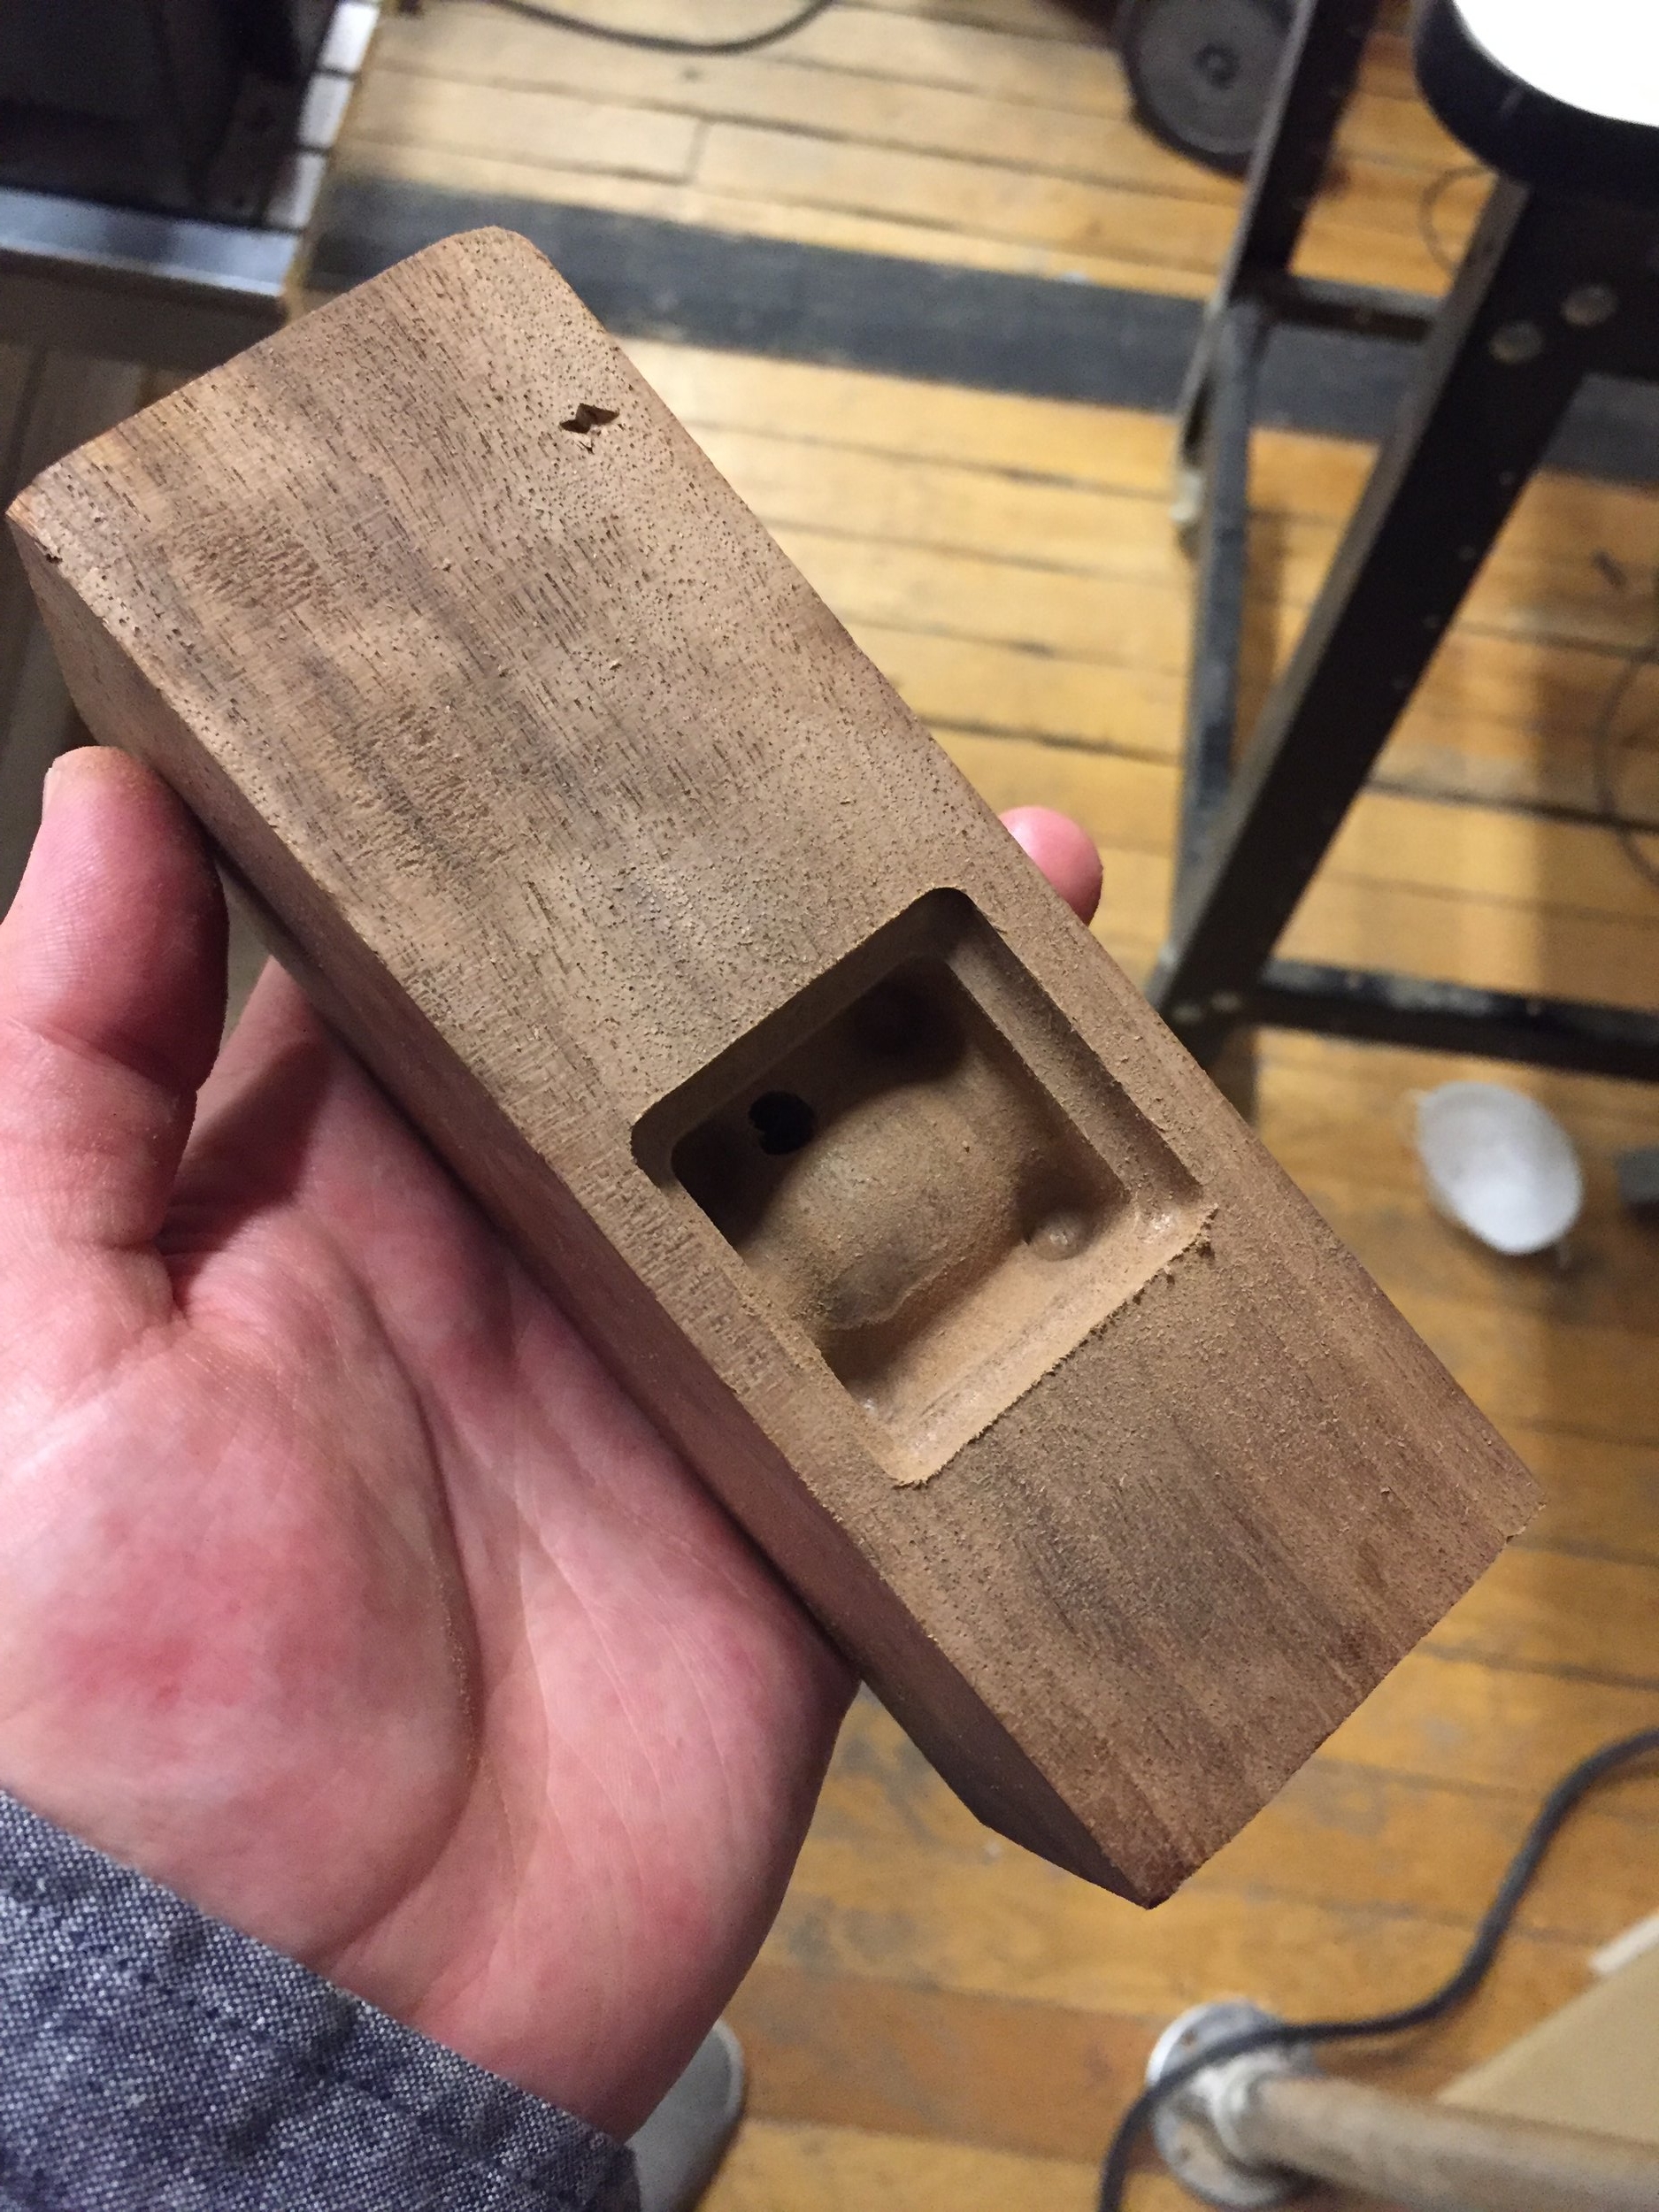
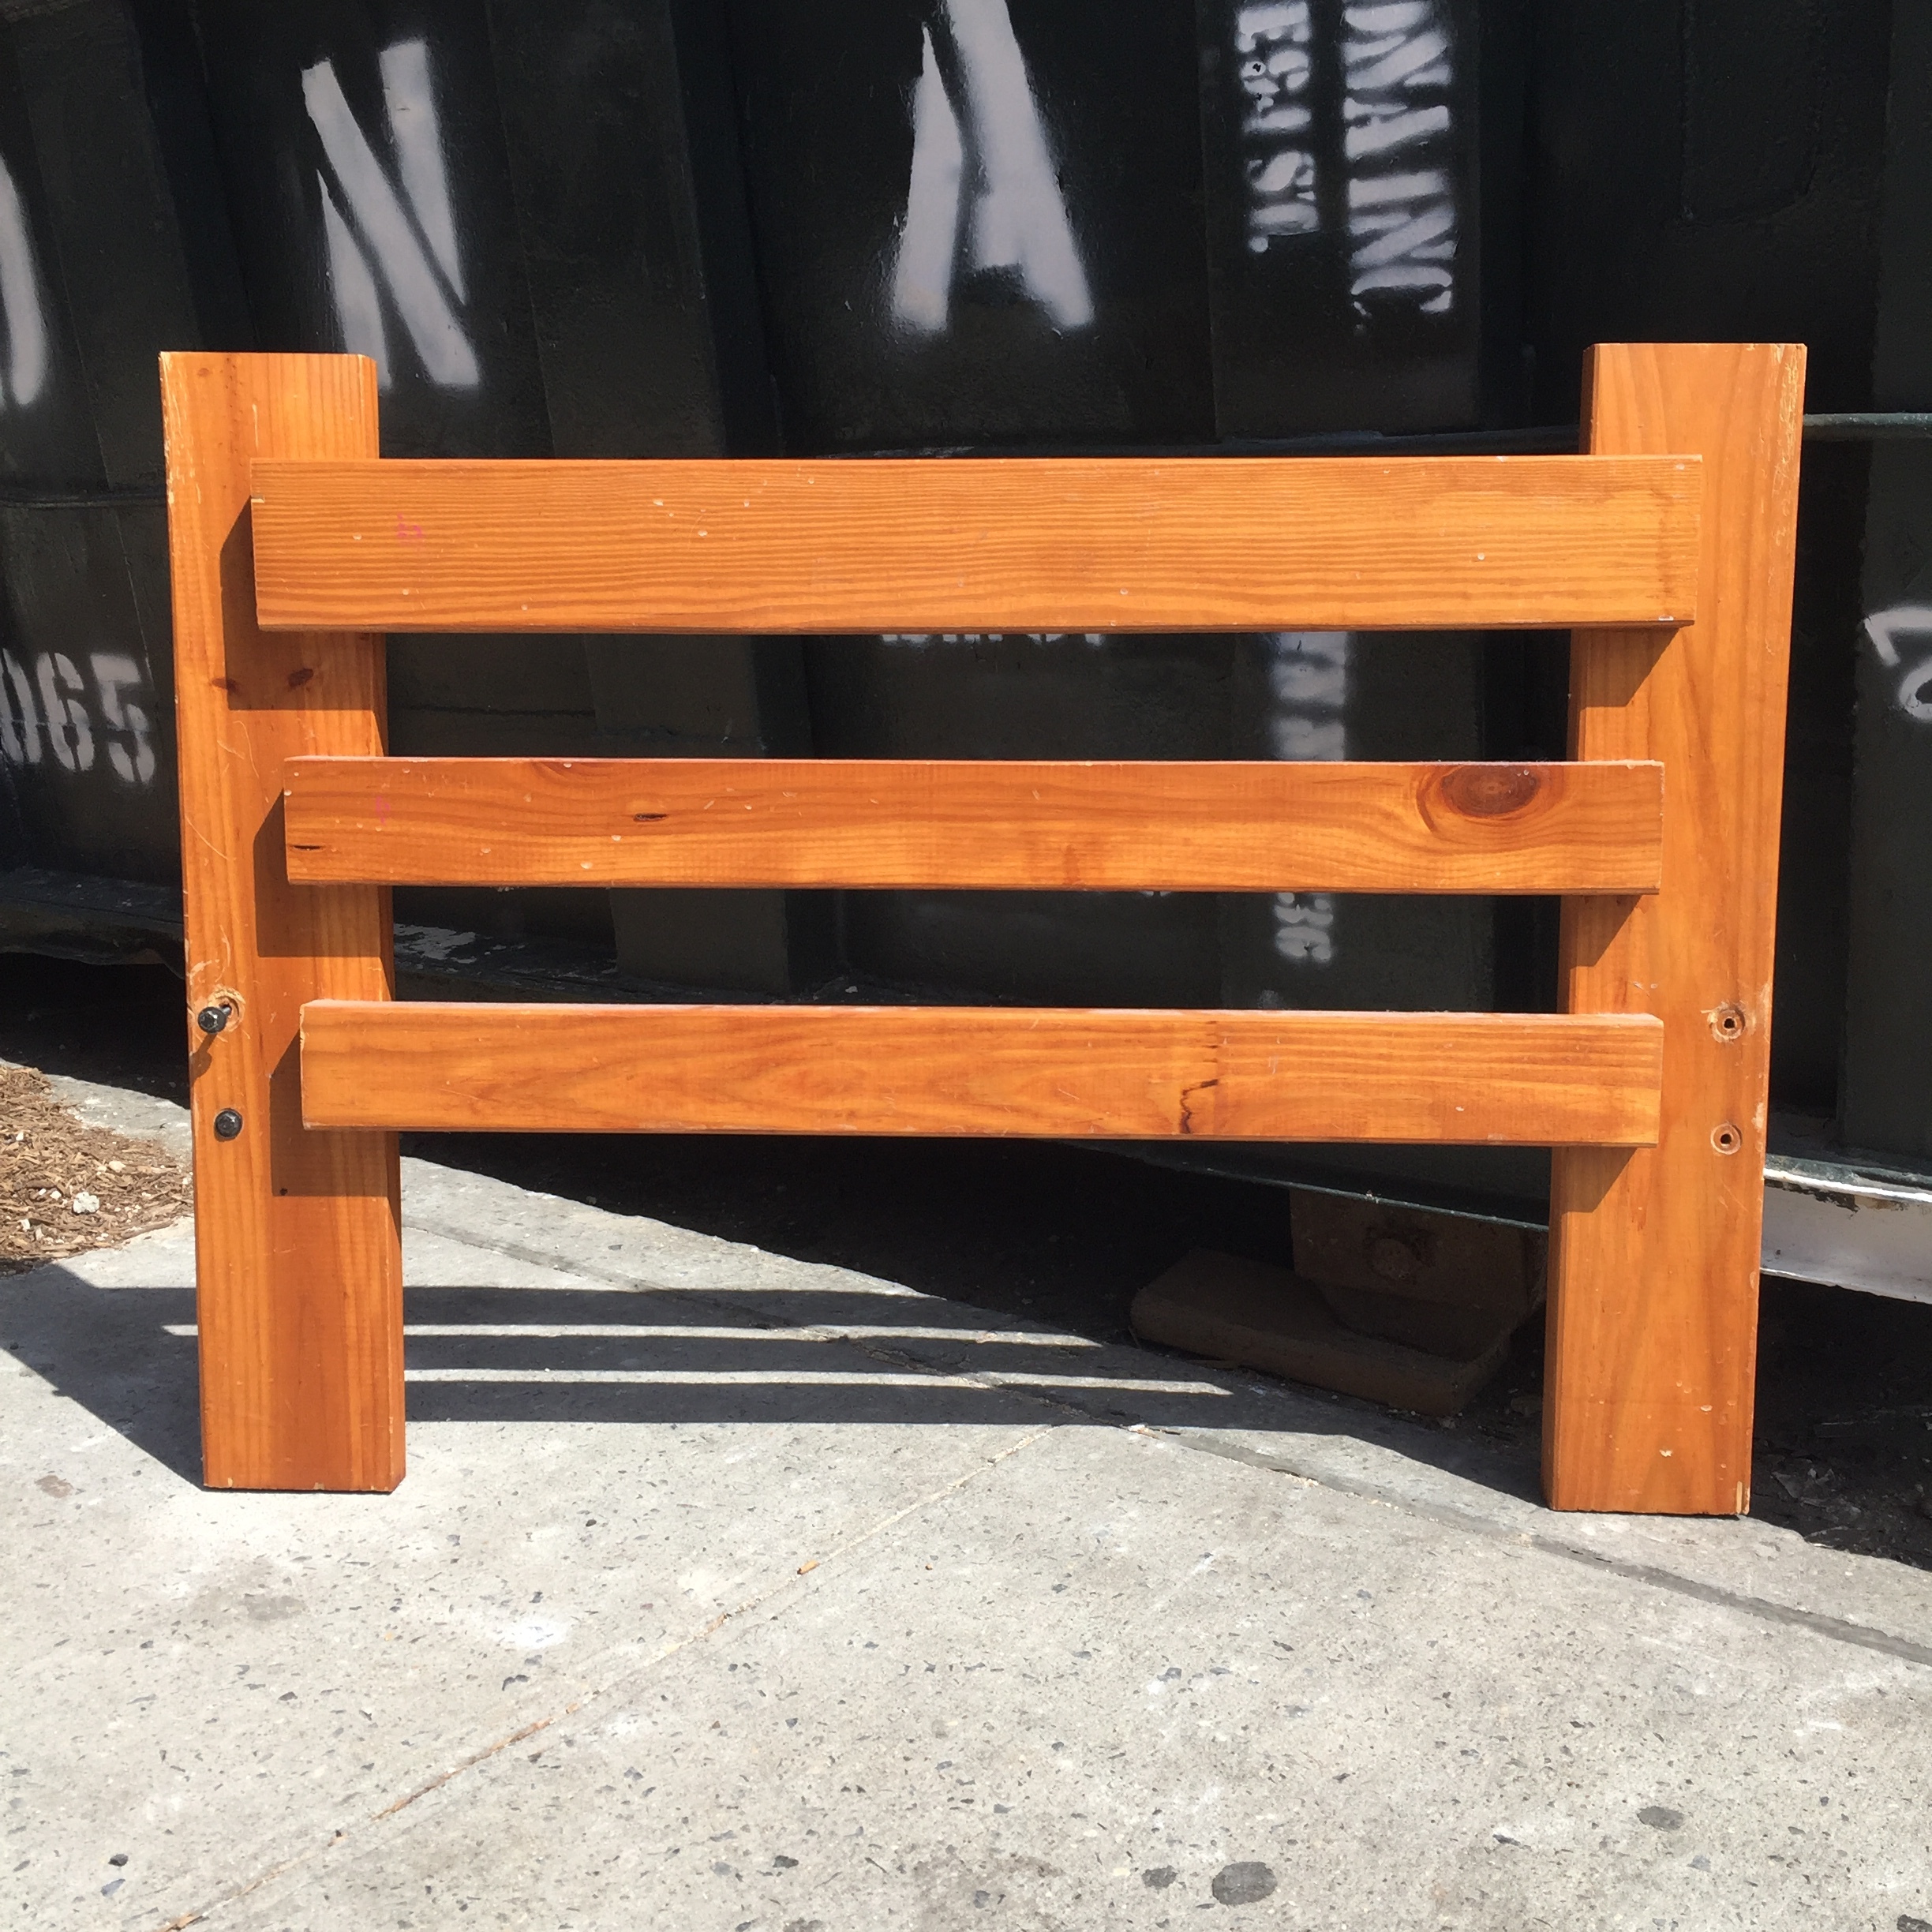
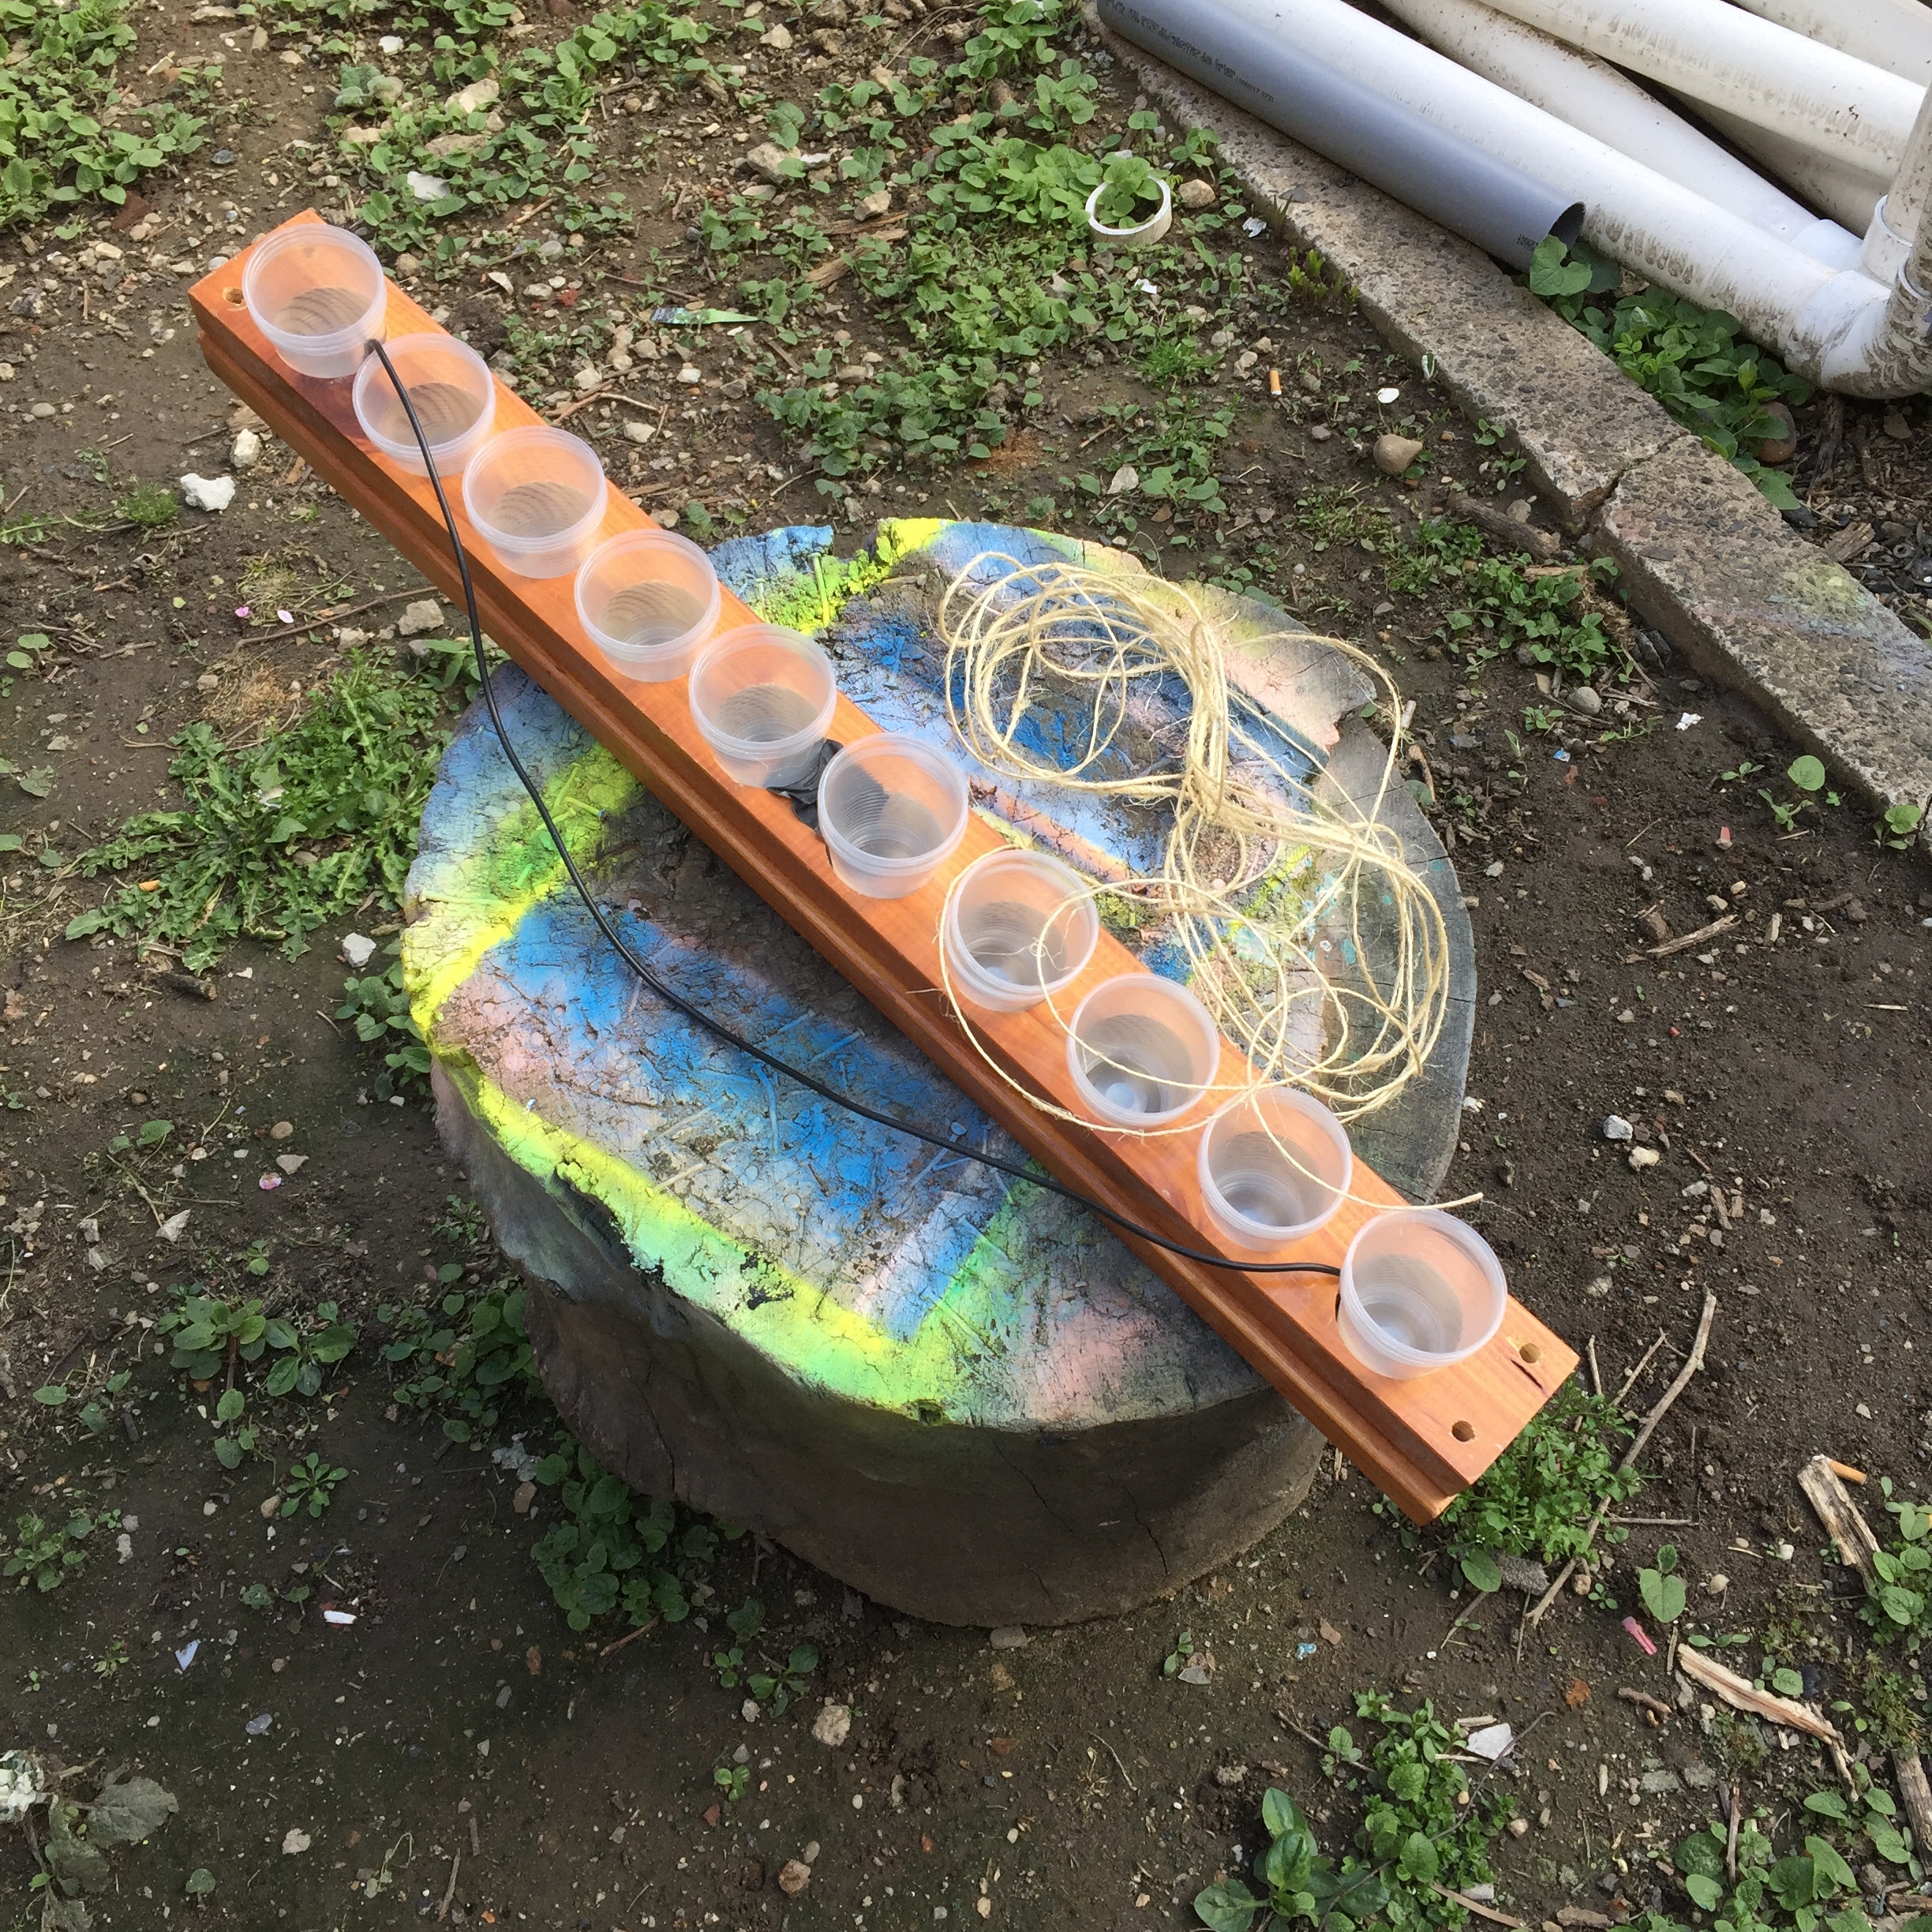
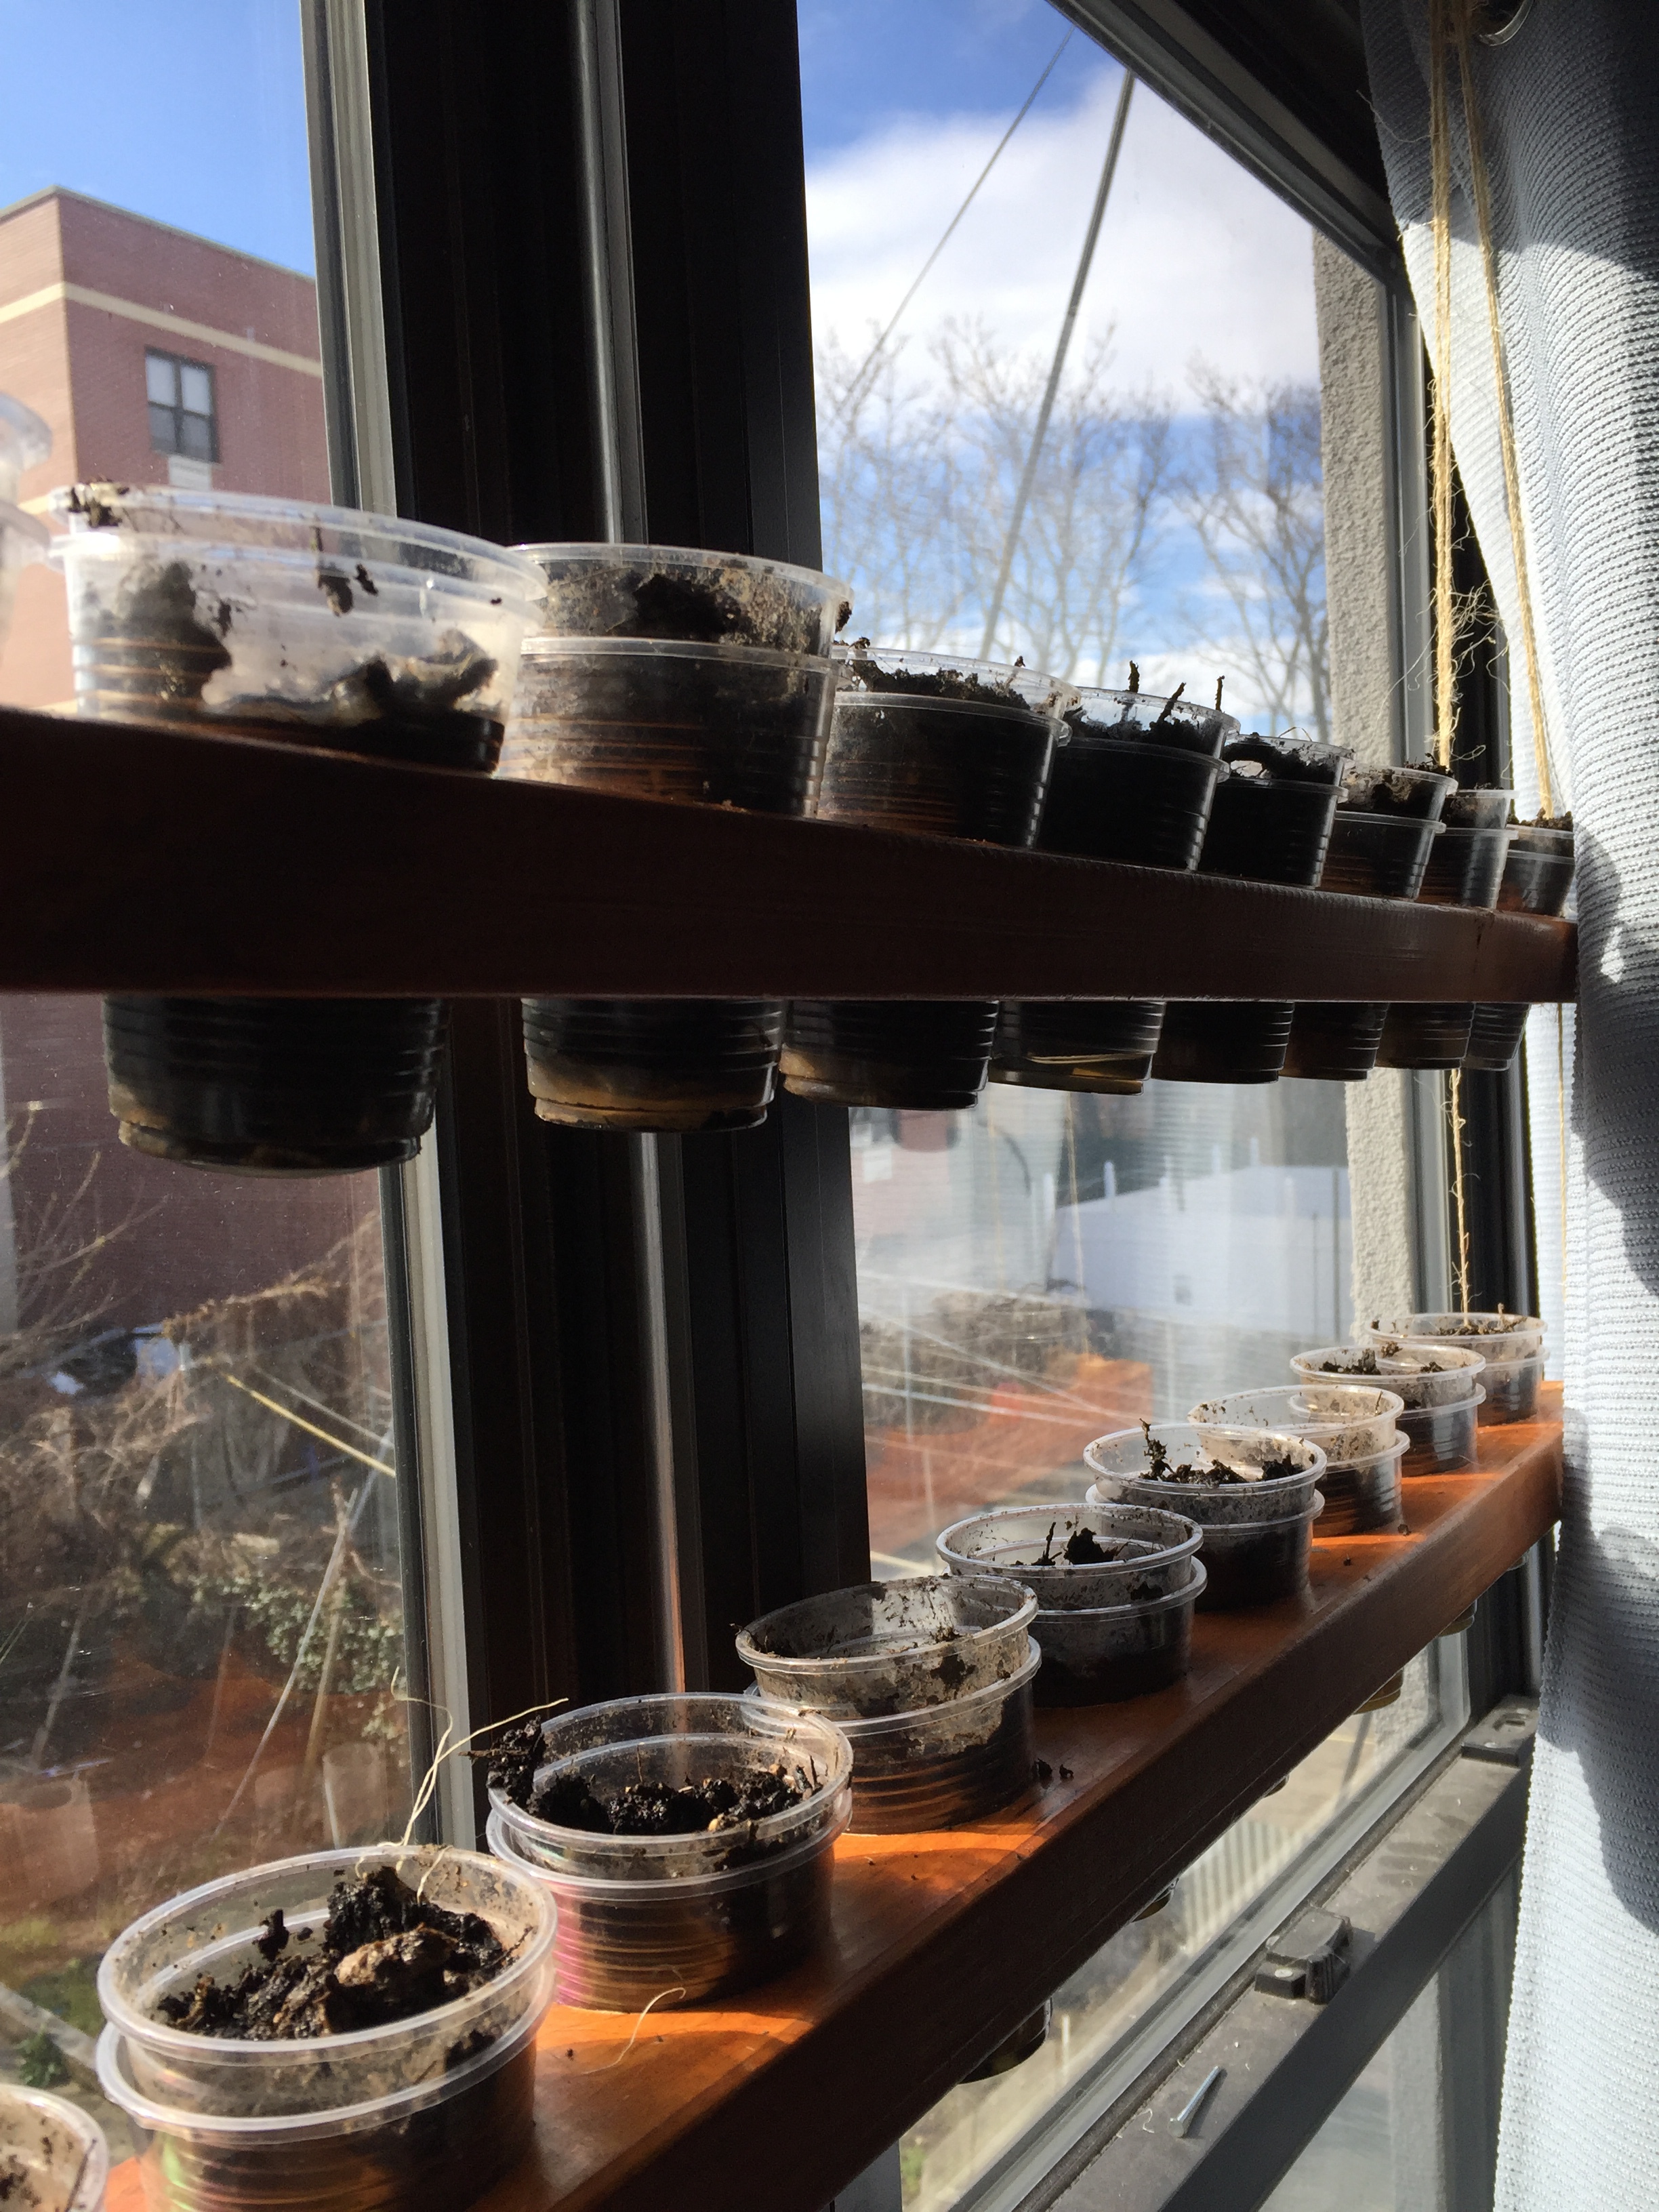
I determined that the two main 2x4's would be the pieces I would use. Since my window is about that far embedded into my wall, this would keep the piece from jutting too far out into the room.

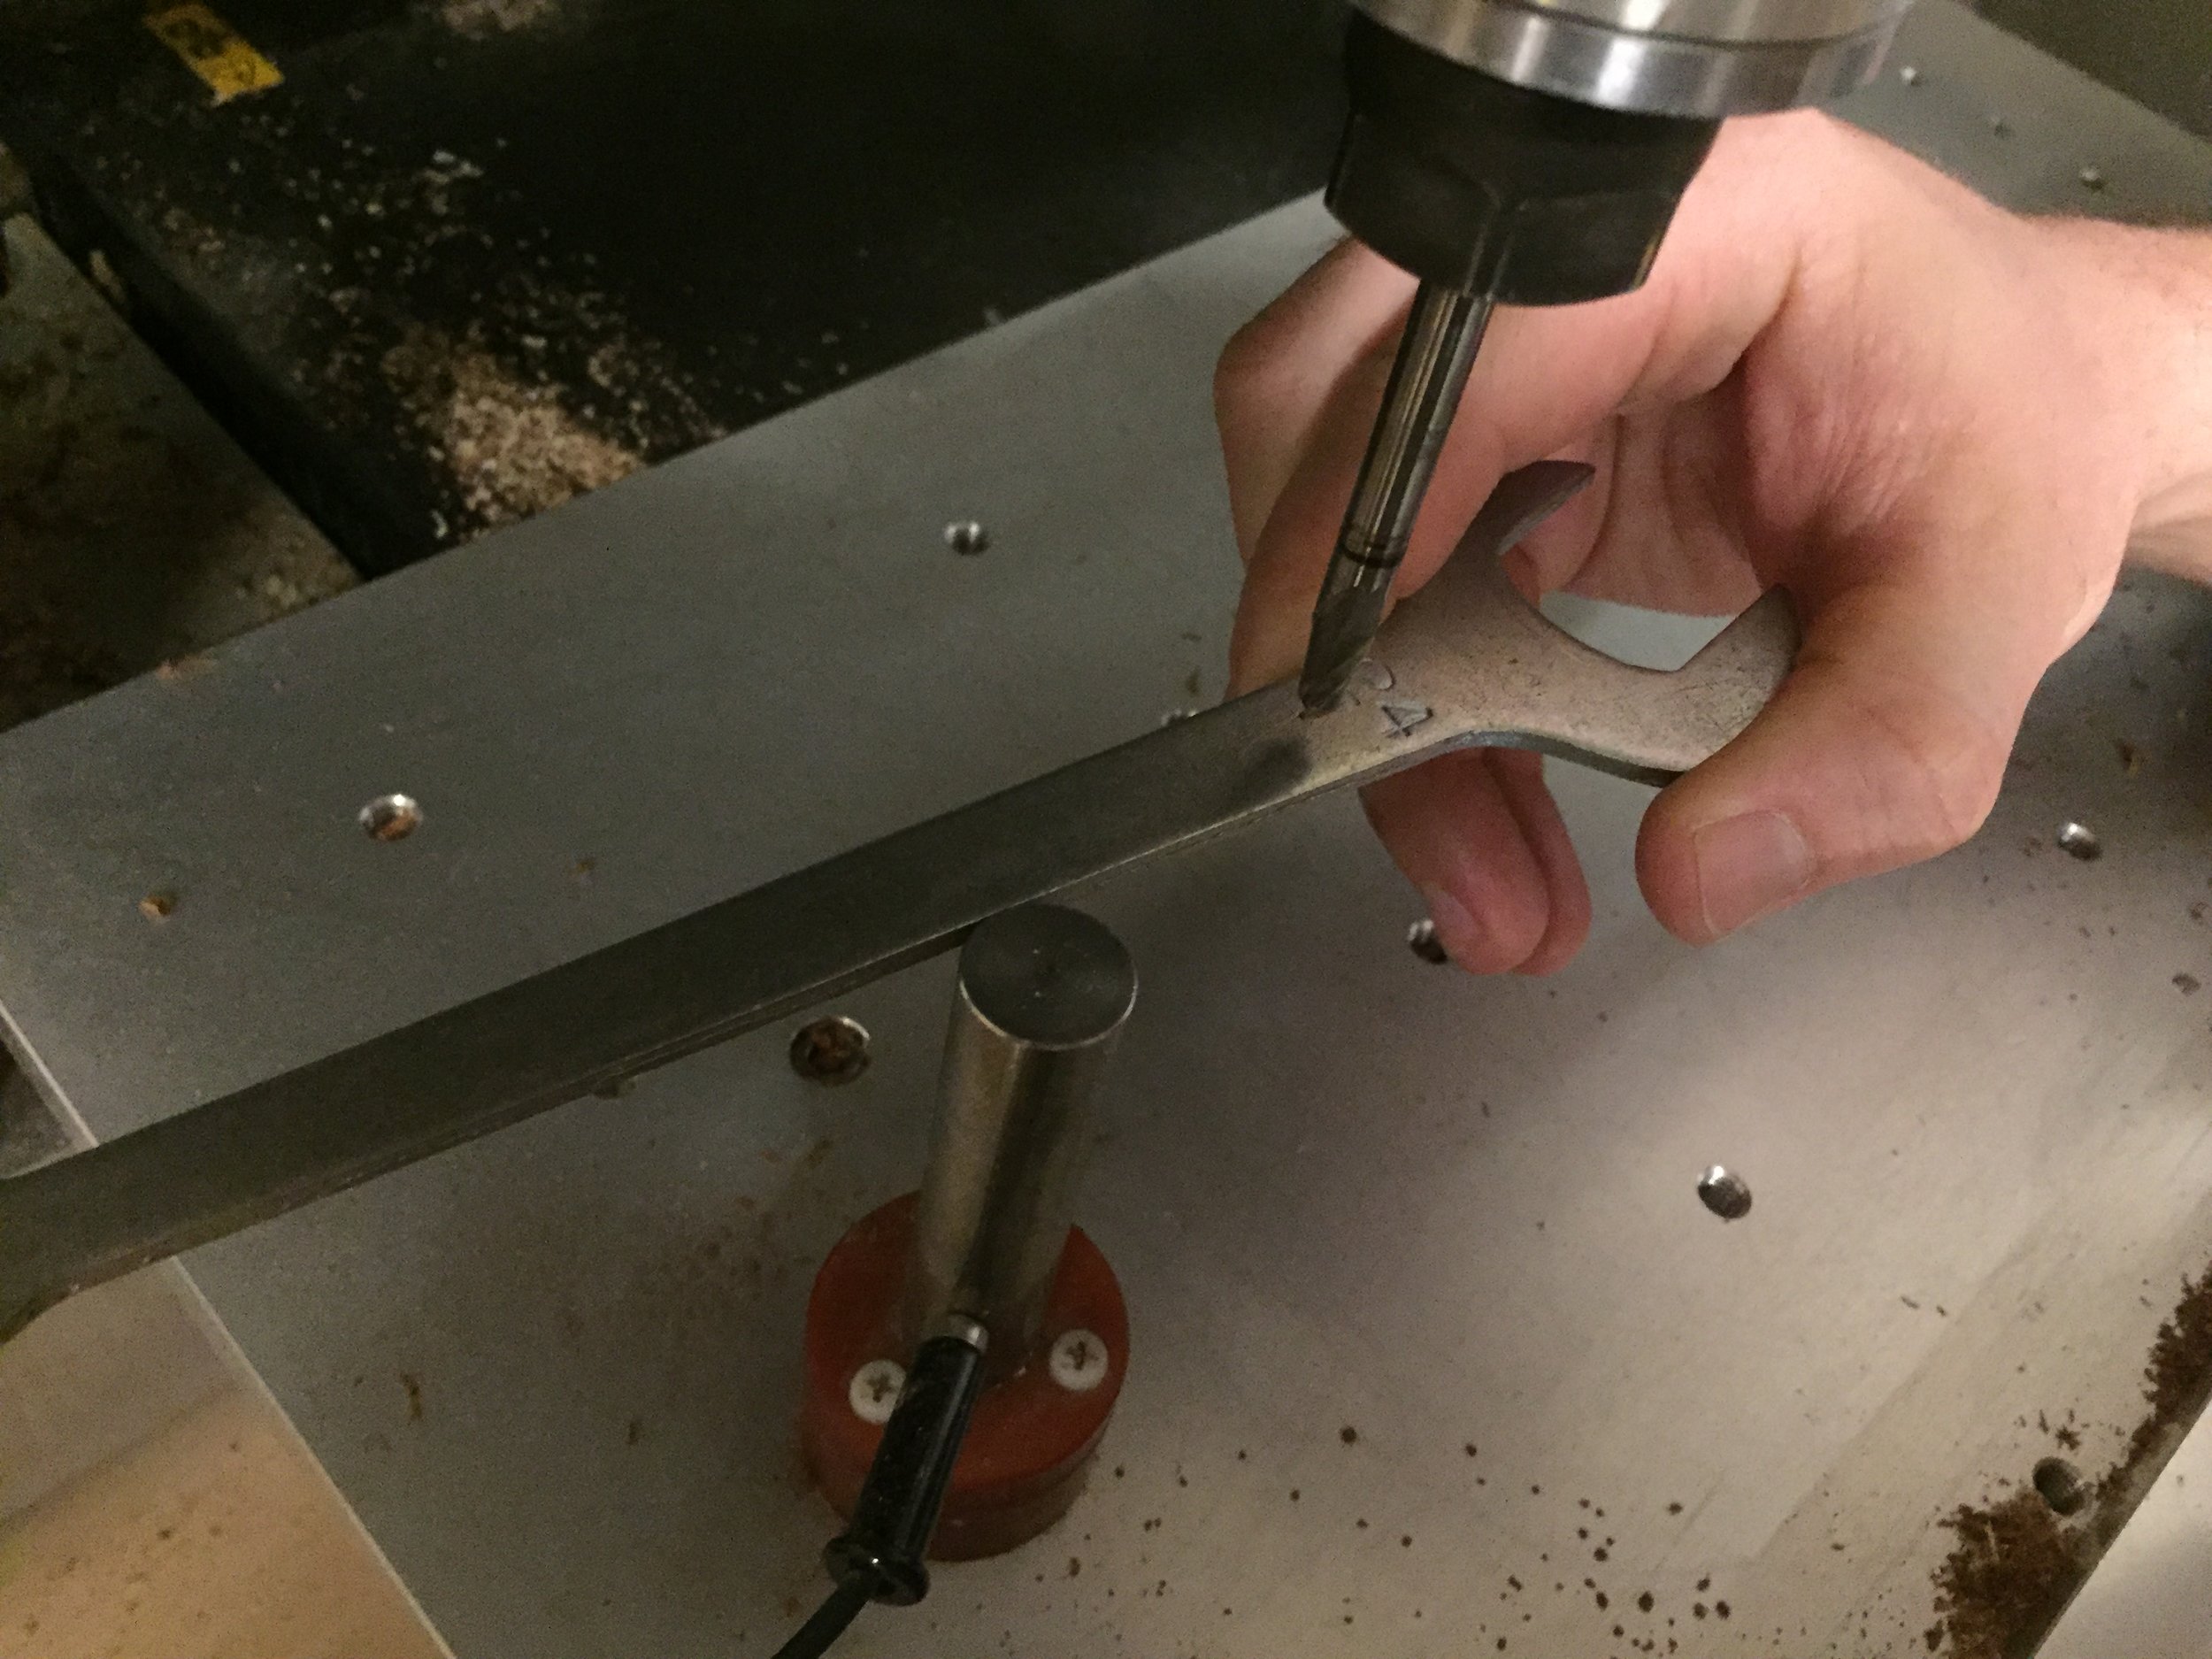
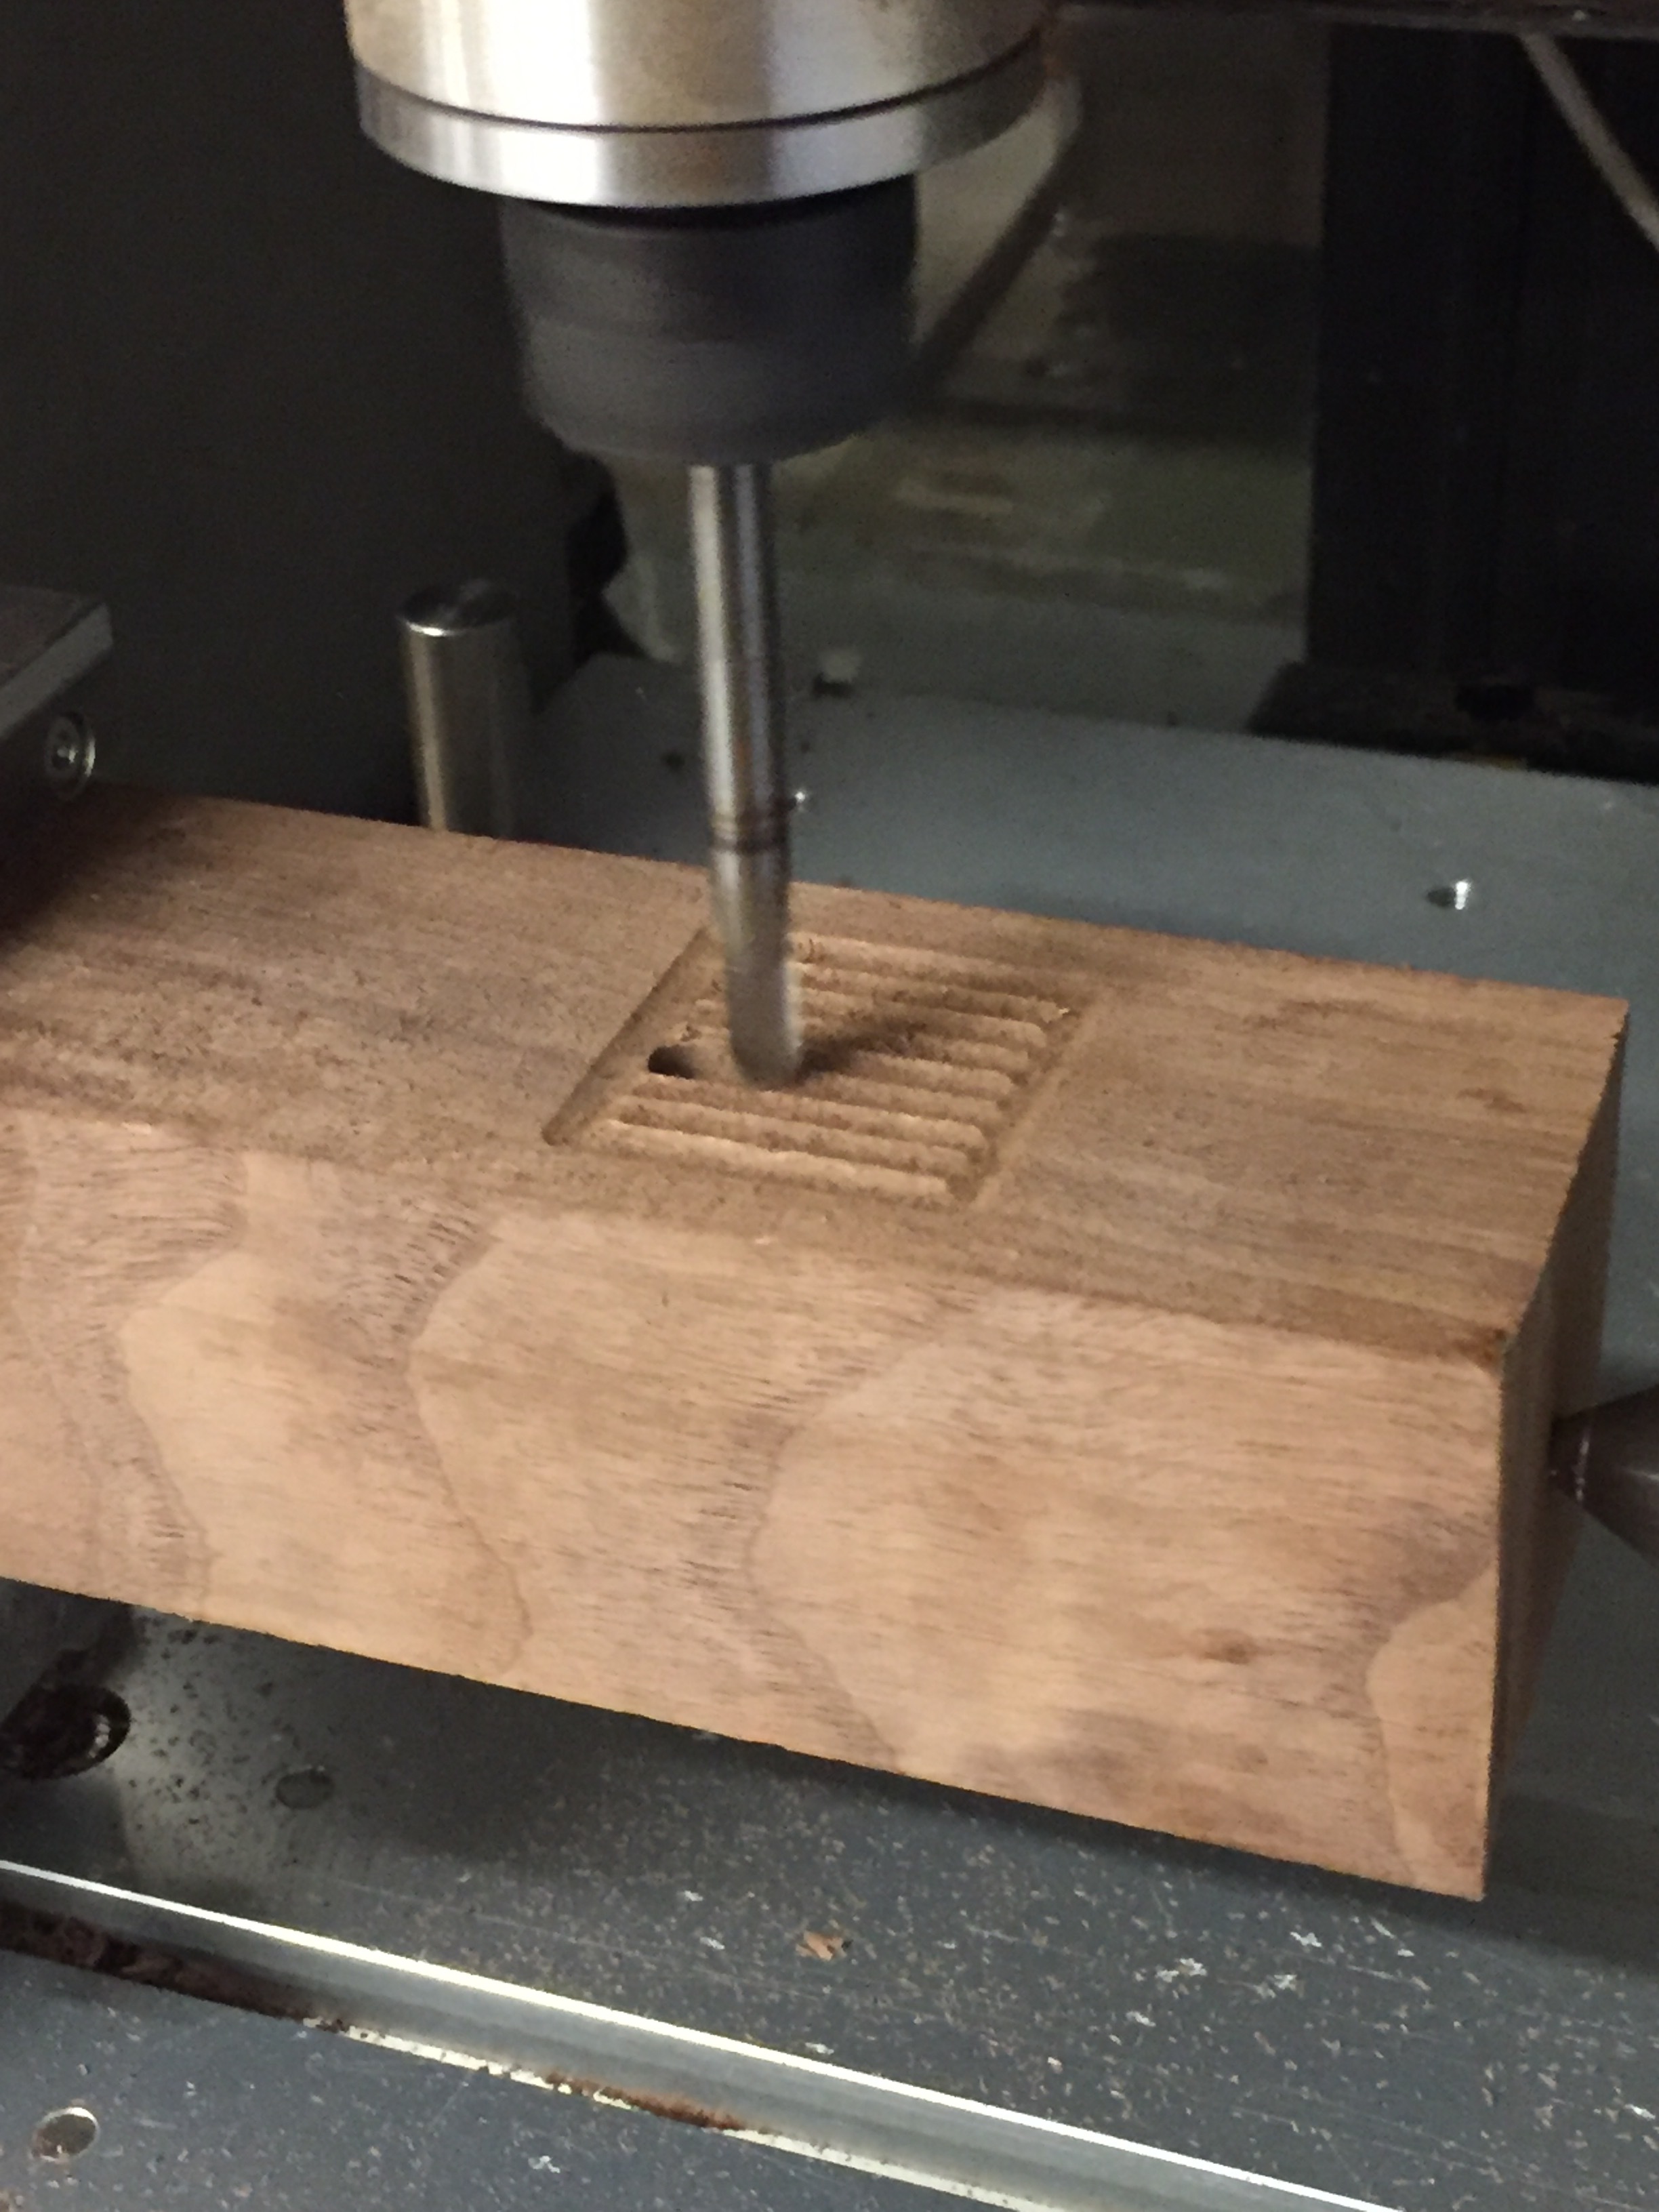
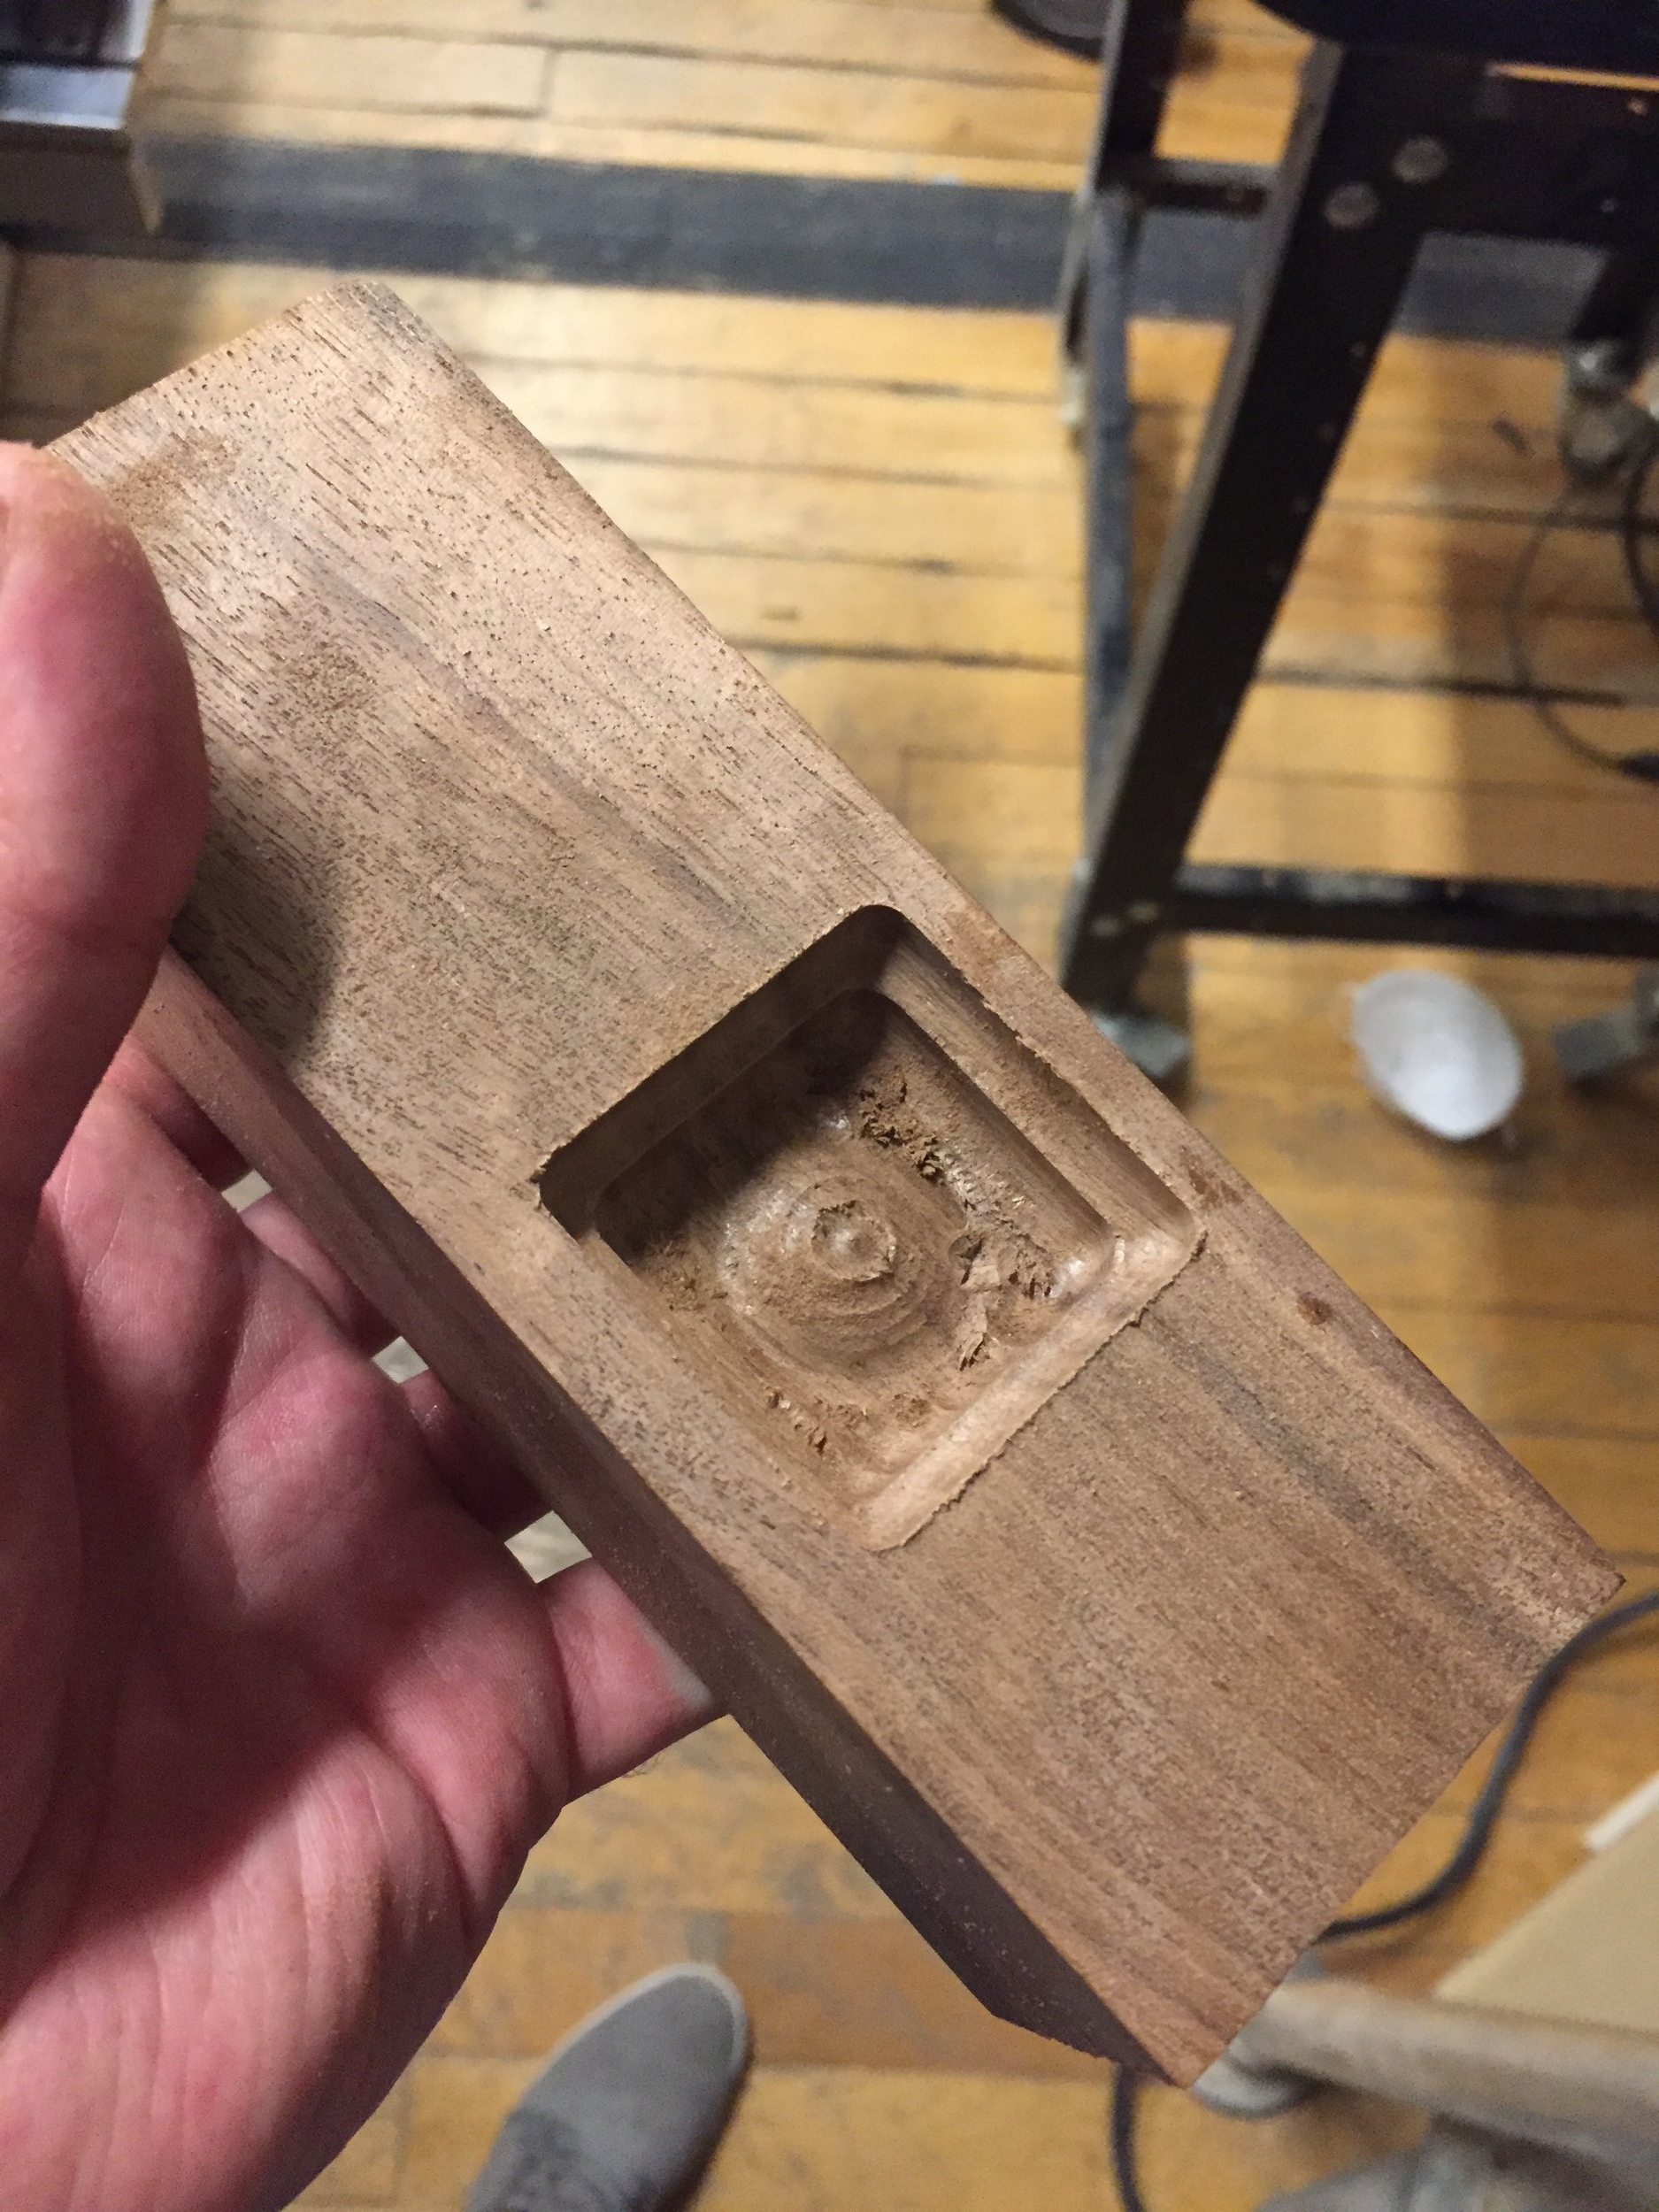
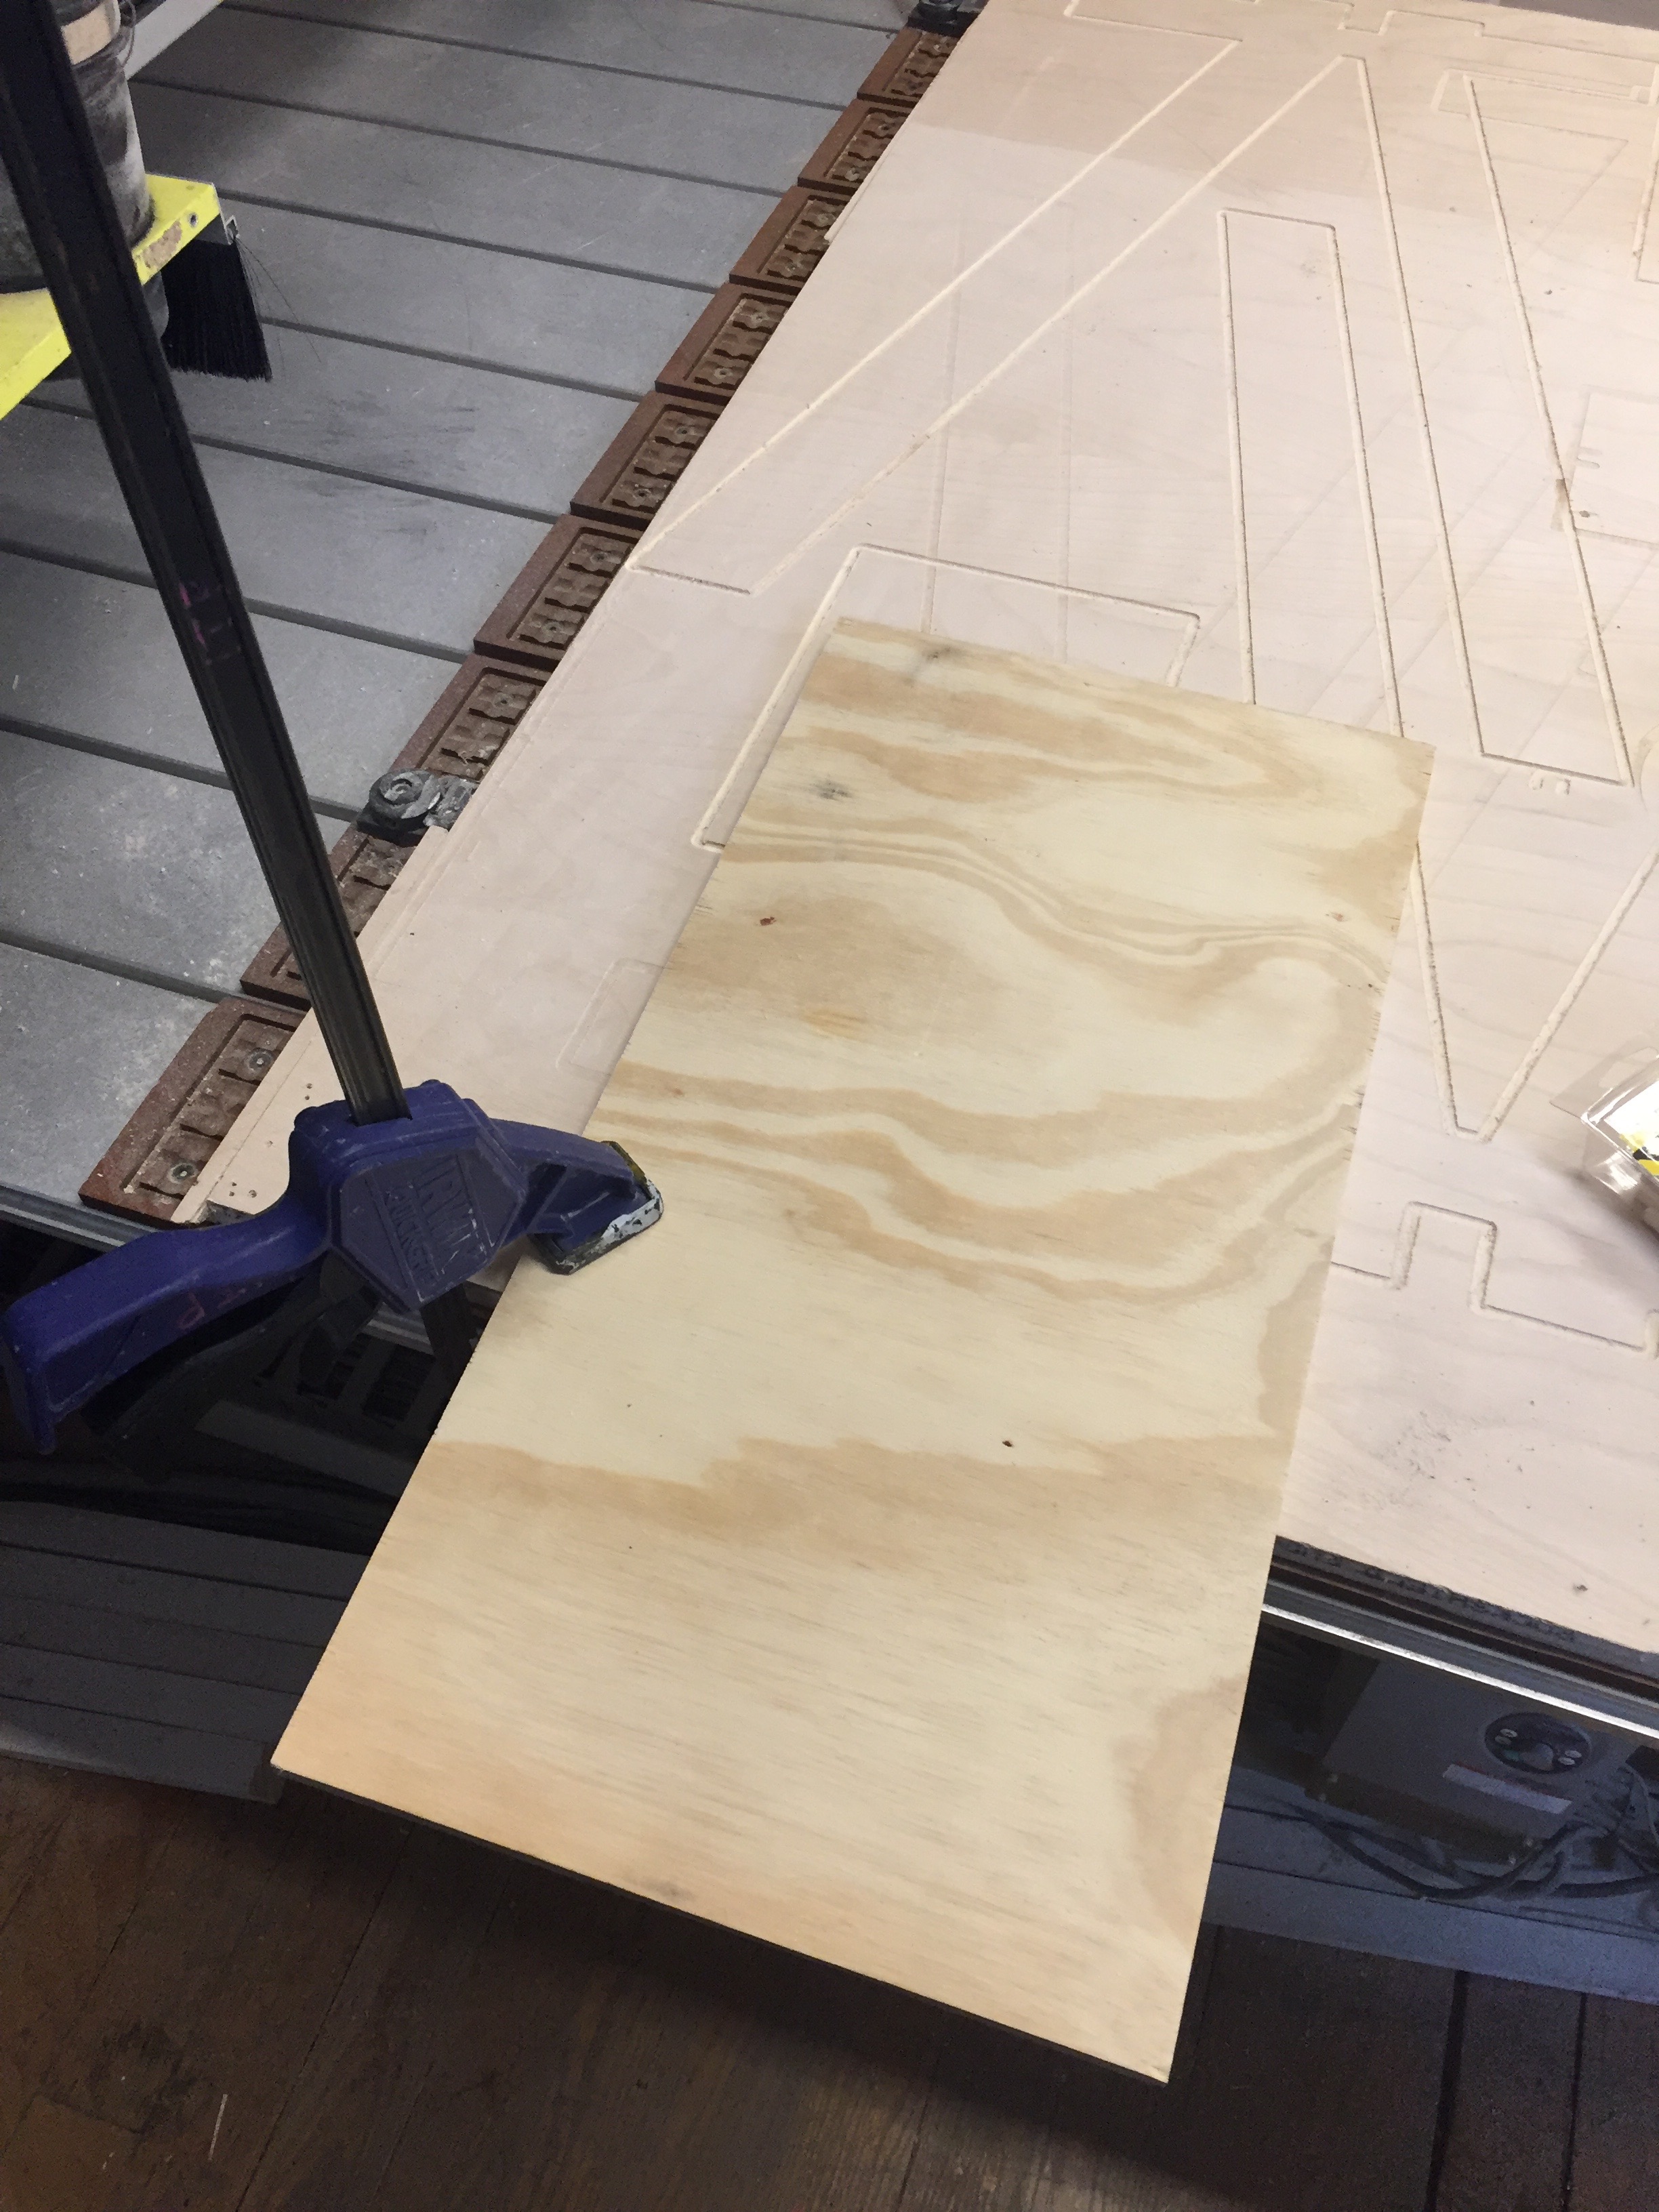
Conveniently (most of) the holes that were used to screw these boards into the other vertical boards made it easy to affix these pieces to the CNC board. They would also become my holes for the twine fixtures later.

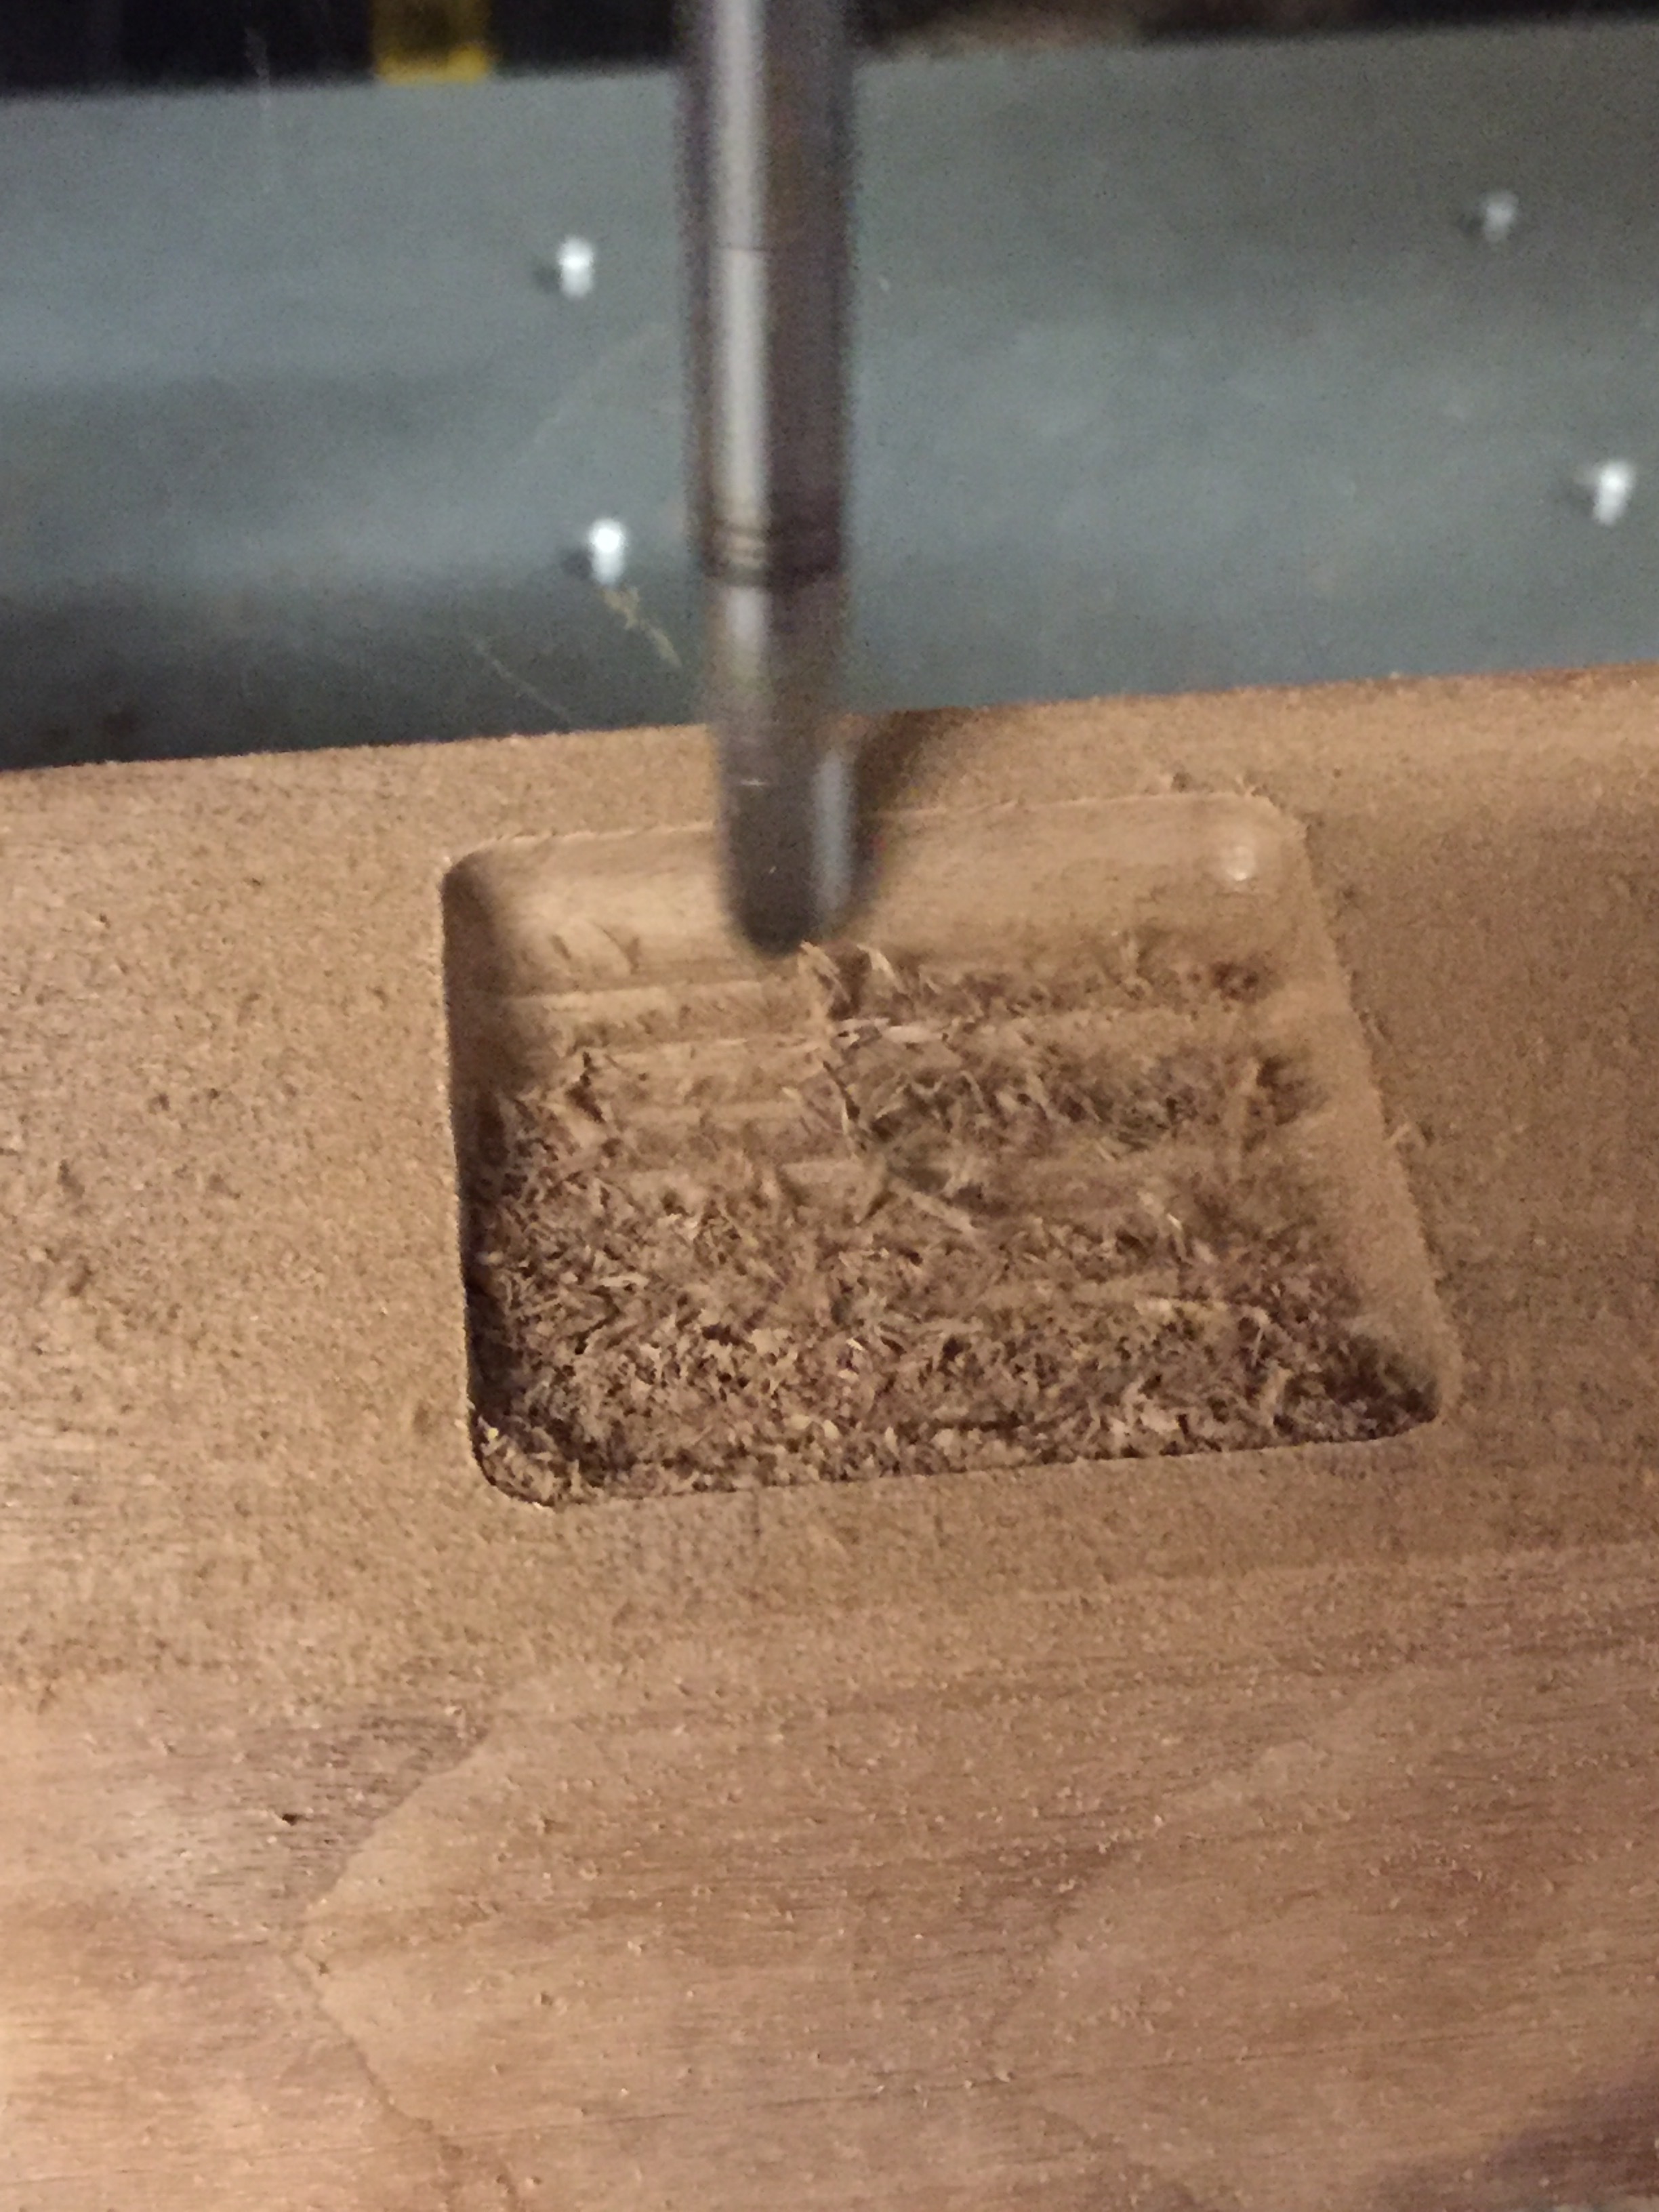
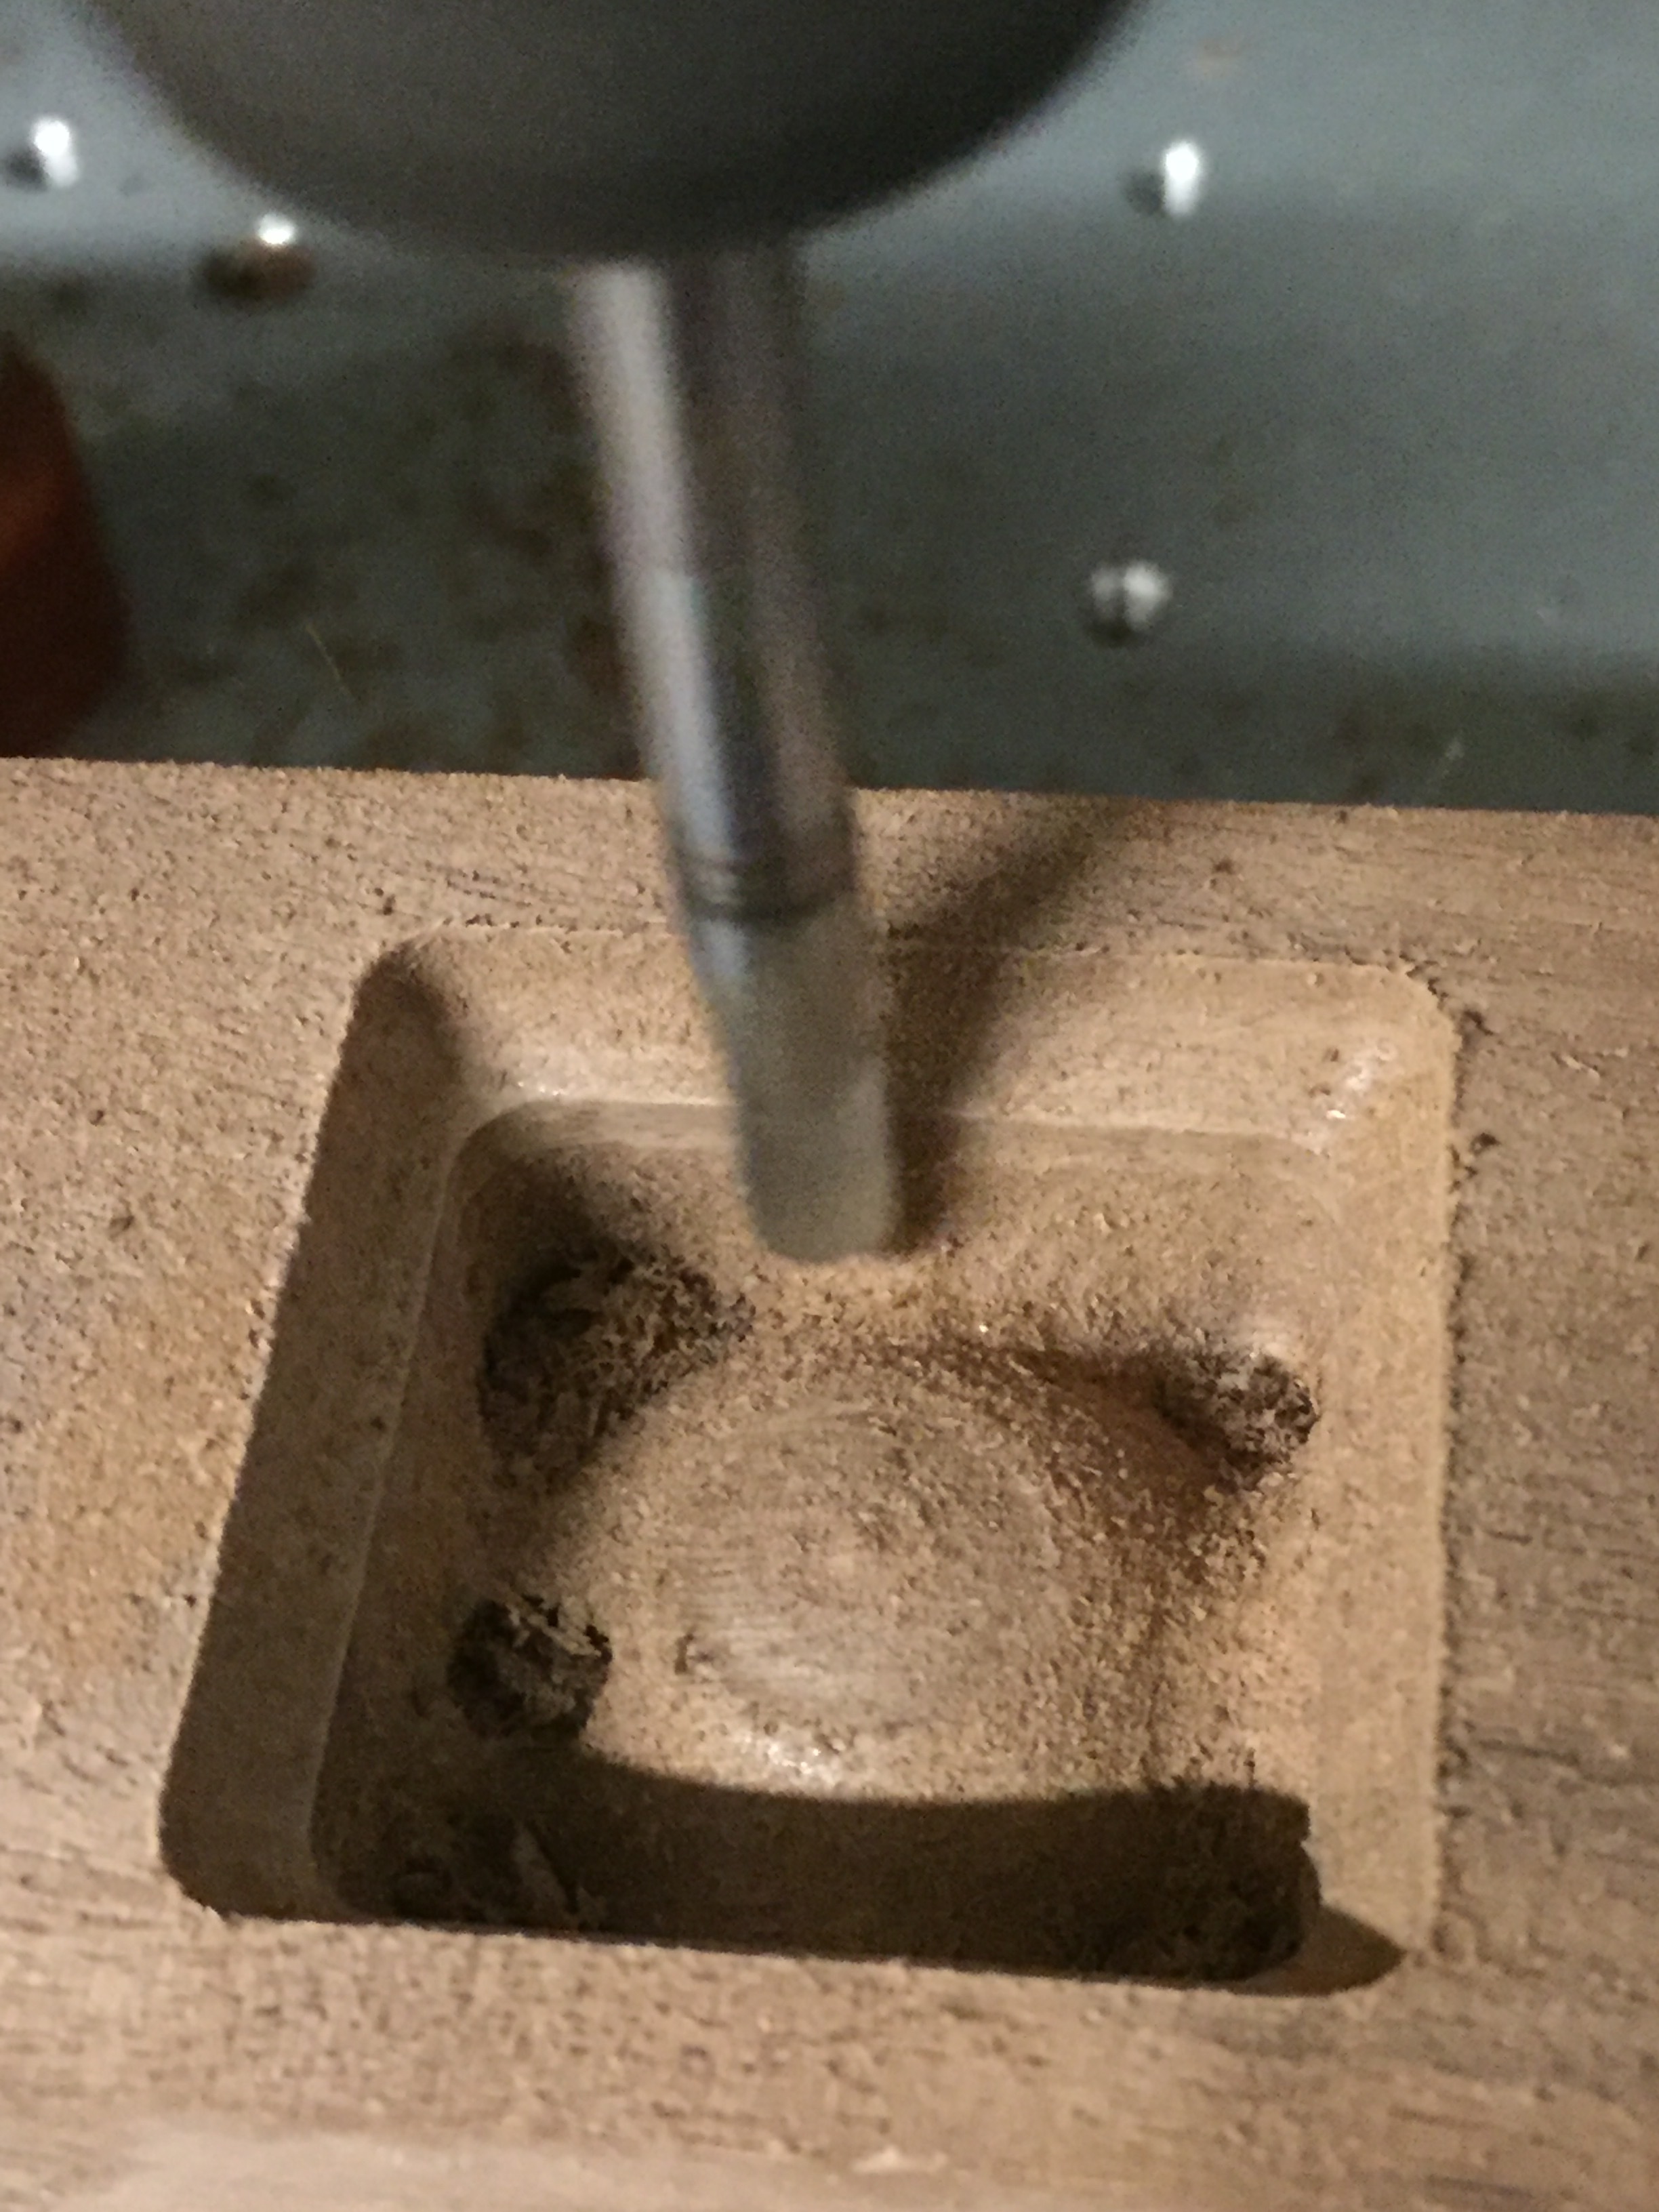
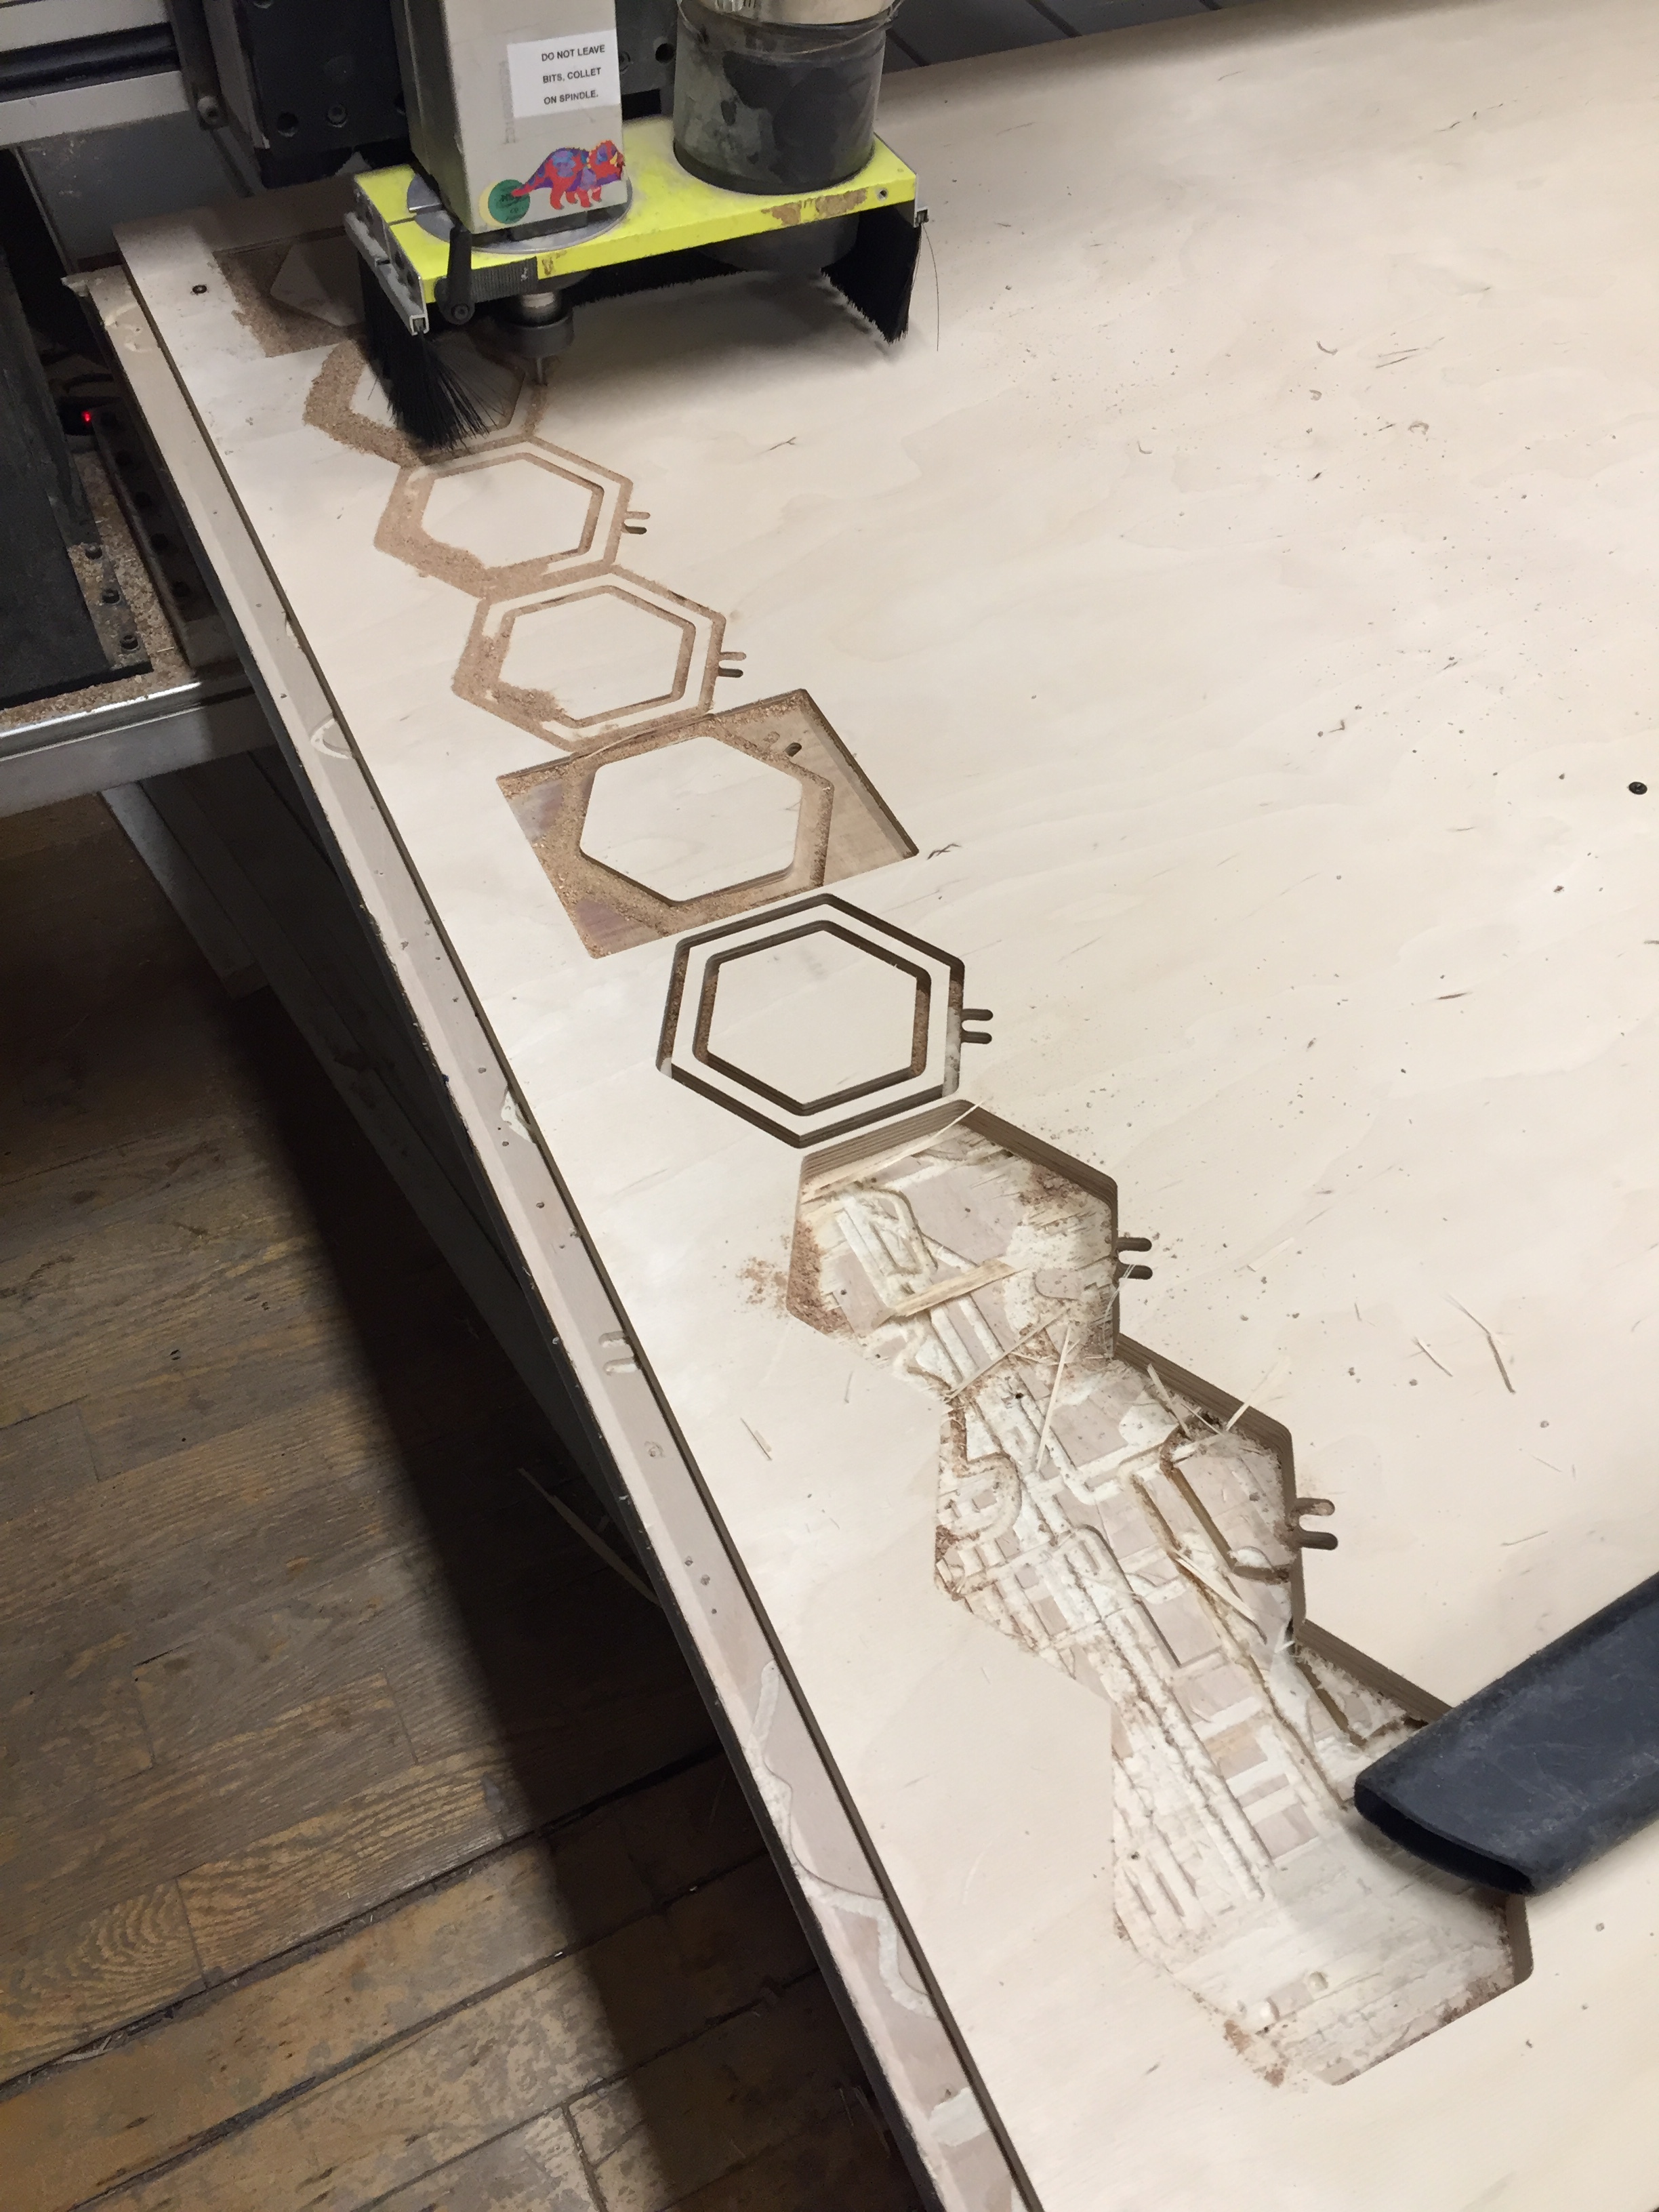
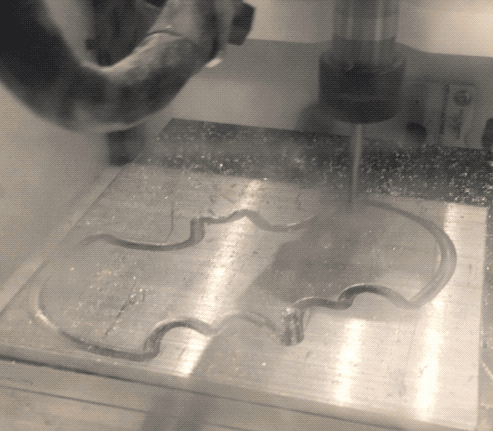
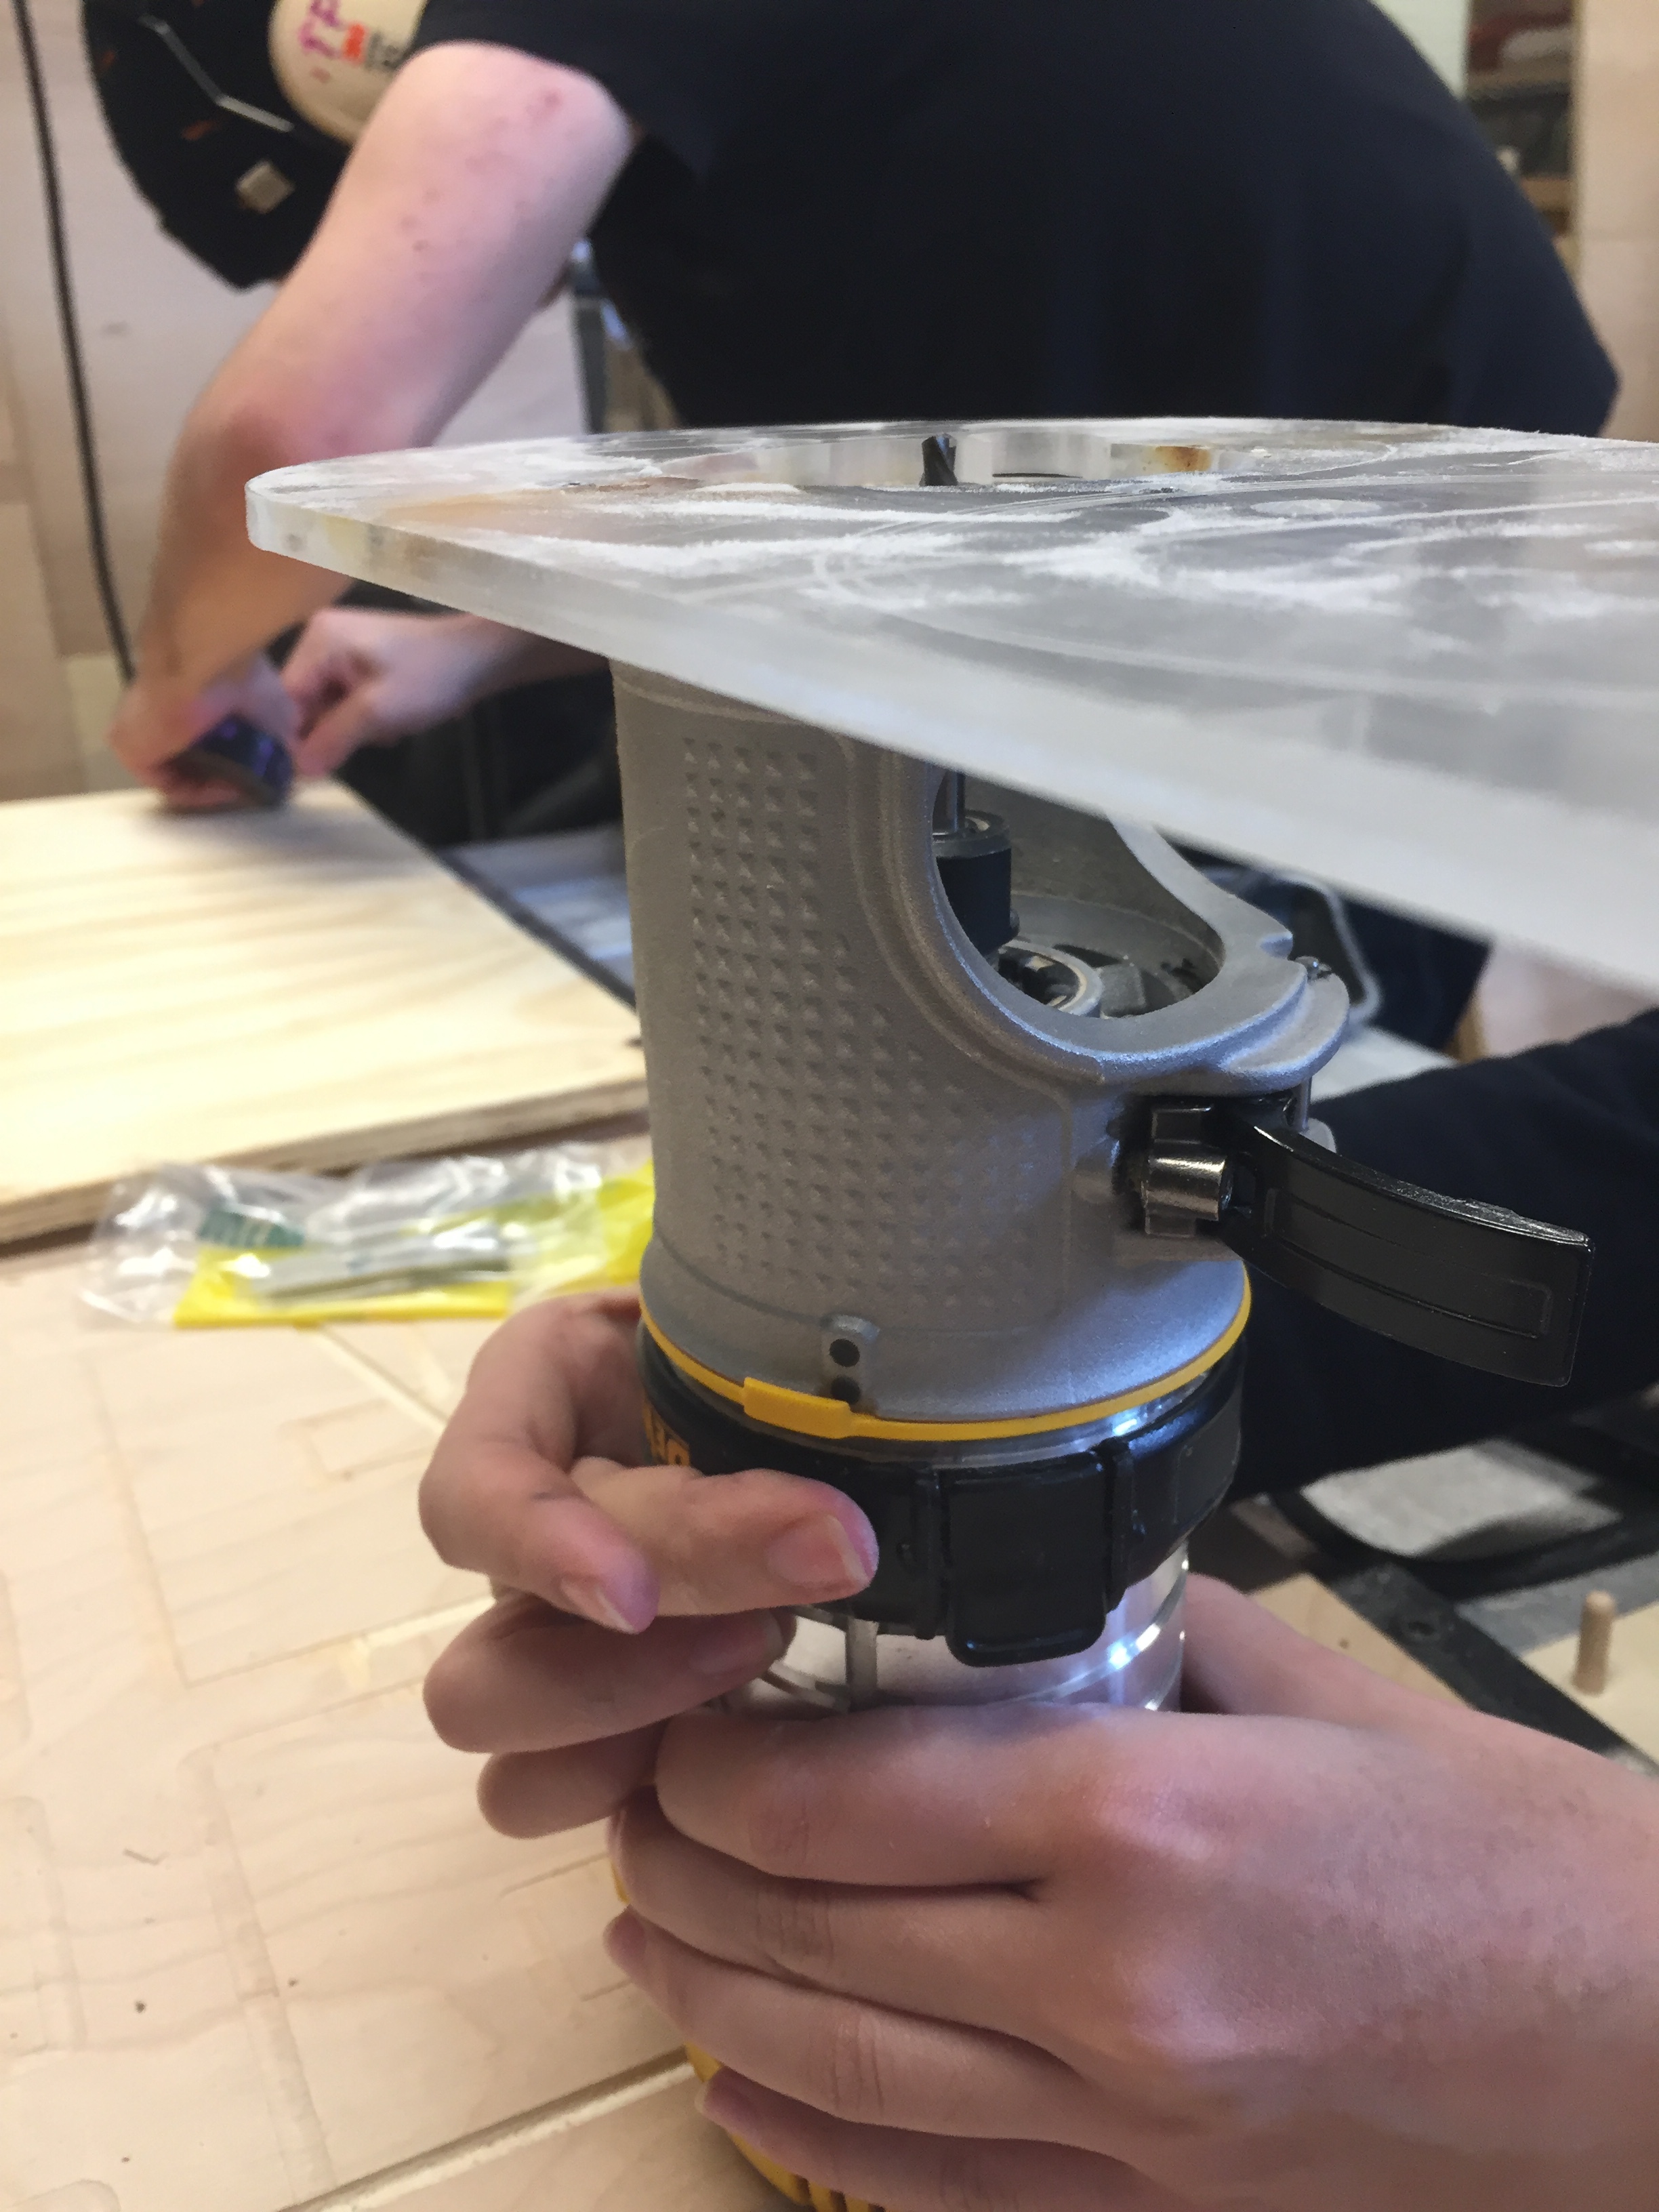
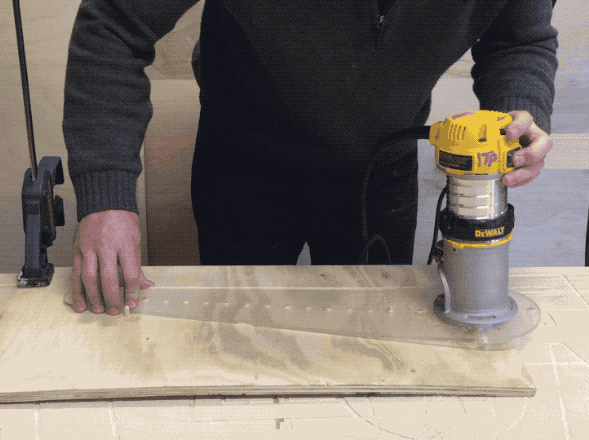
I should have perfectly placed my piece in Master Cam, or at least gone back and forth until I got it perfectly right, but found myself rushing through that a bit in order to get to the CNC. However, when I got there I realized I did have to measure and guess and check a few times before placing my boards down. I only had 3 inches of room - about 0.5 in. on either side - with which to work in. I had a test board and tested placements of circles after setting zero, which I'm thankful I did otherwise I would have wasted at least one board.

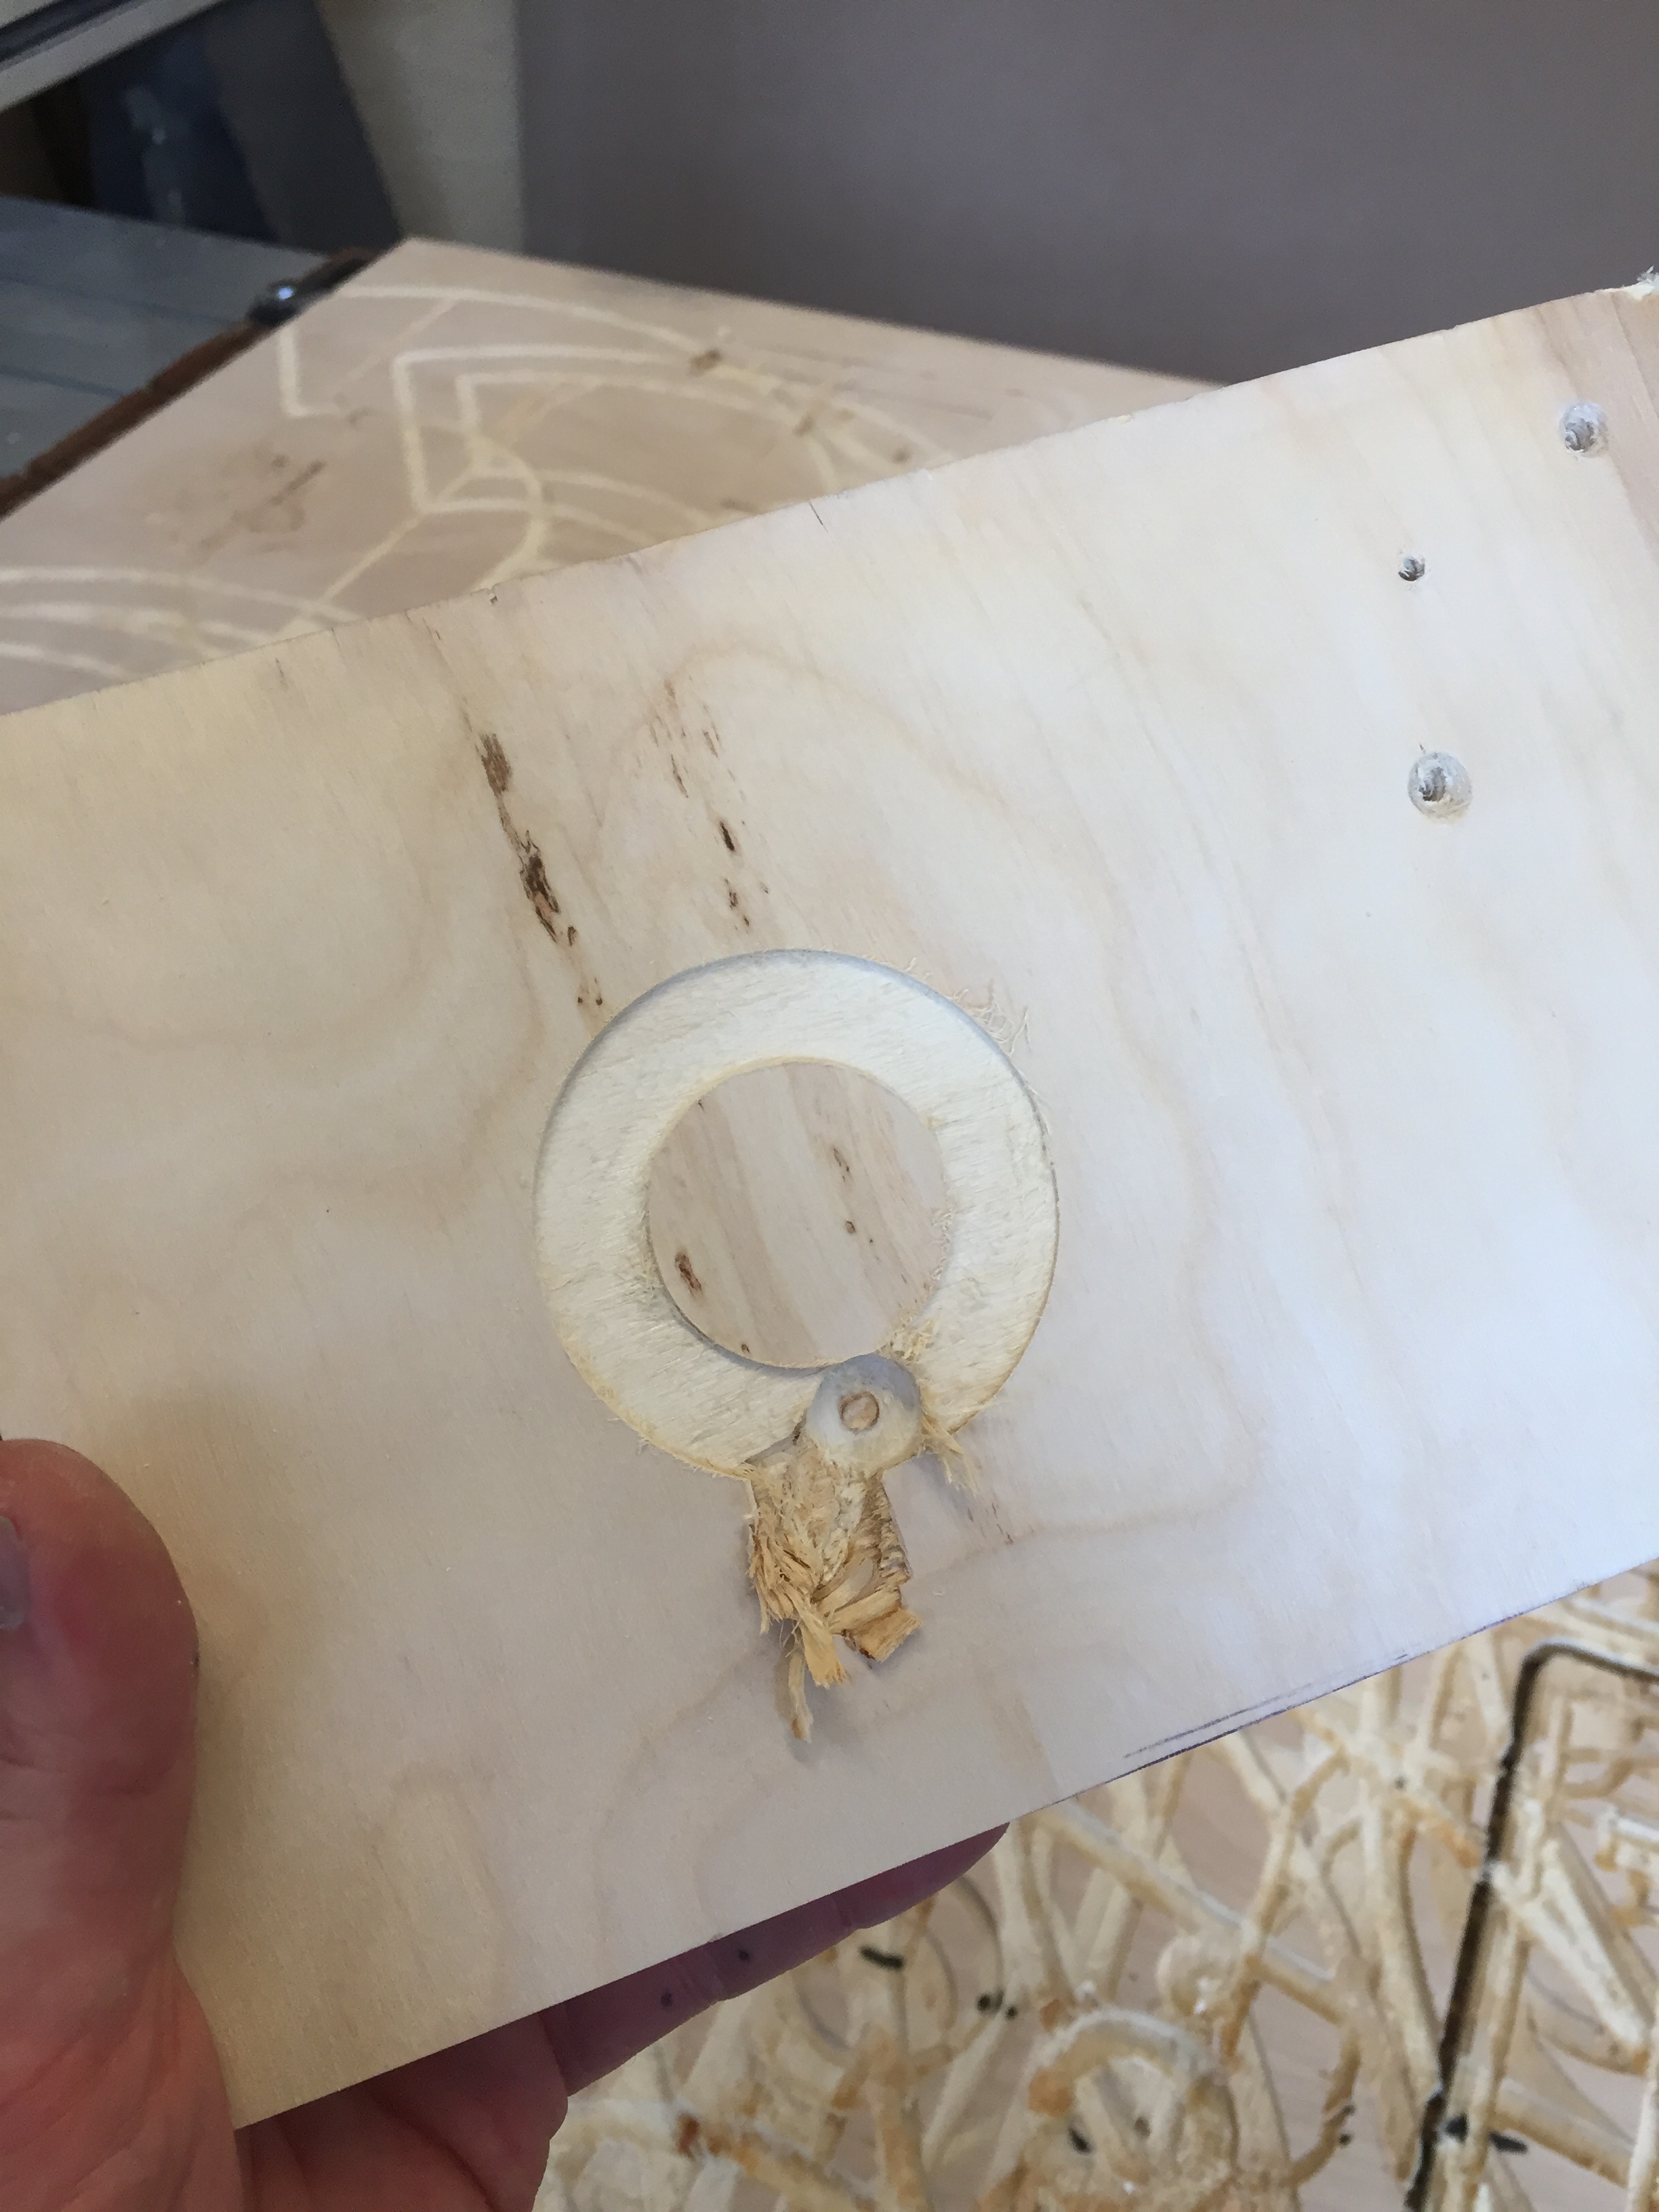
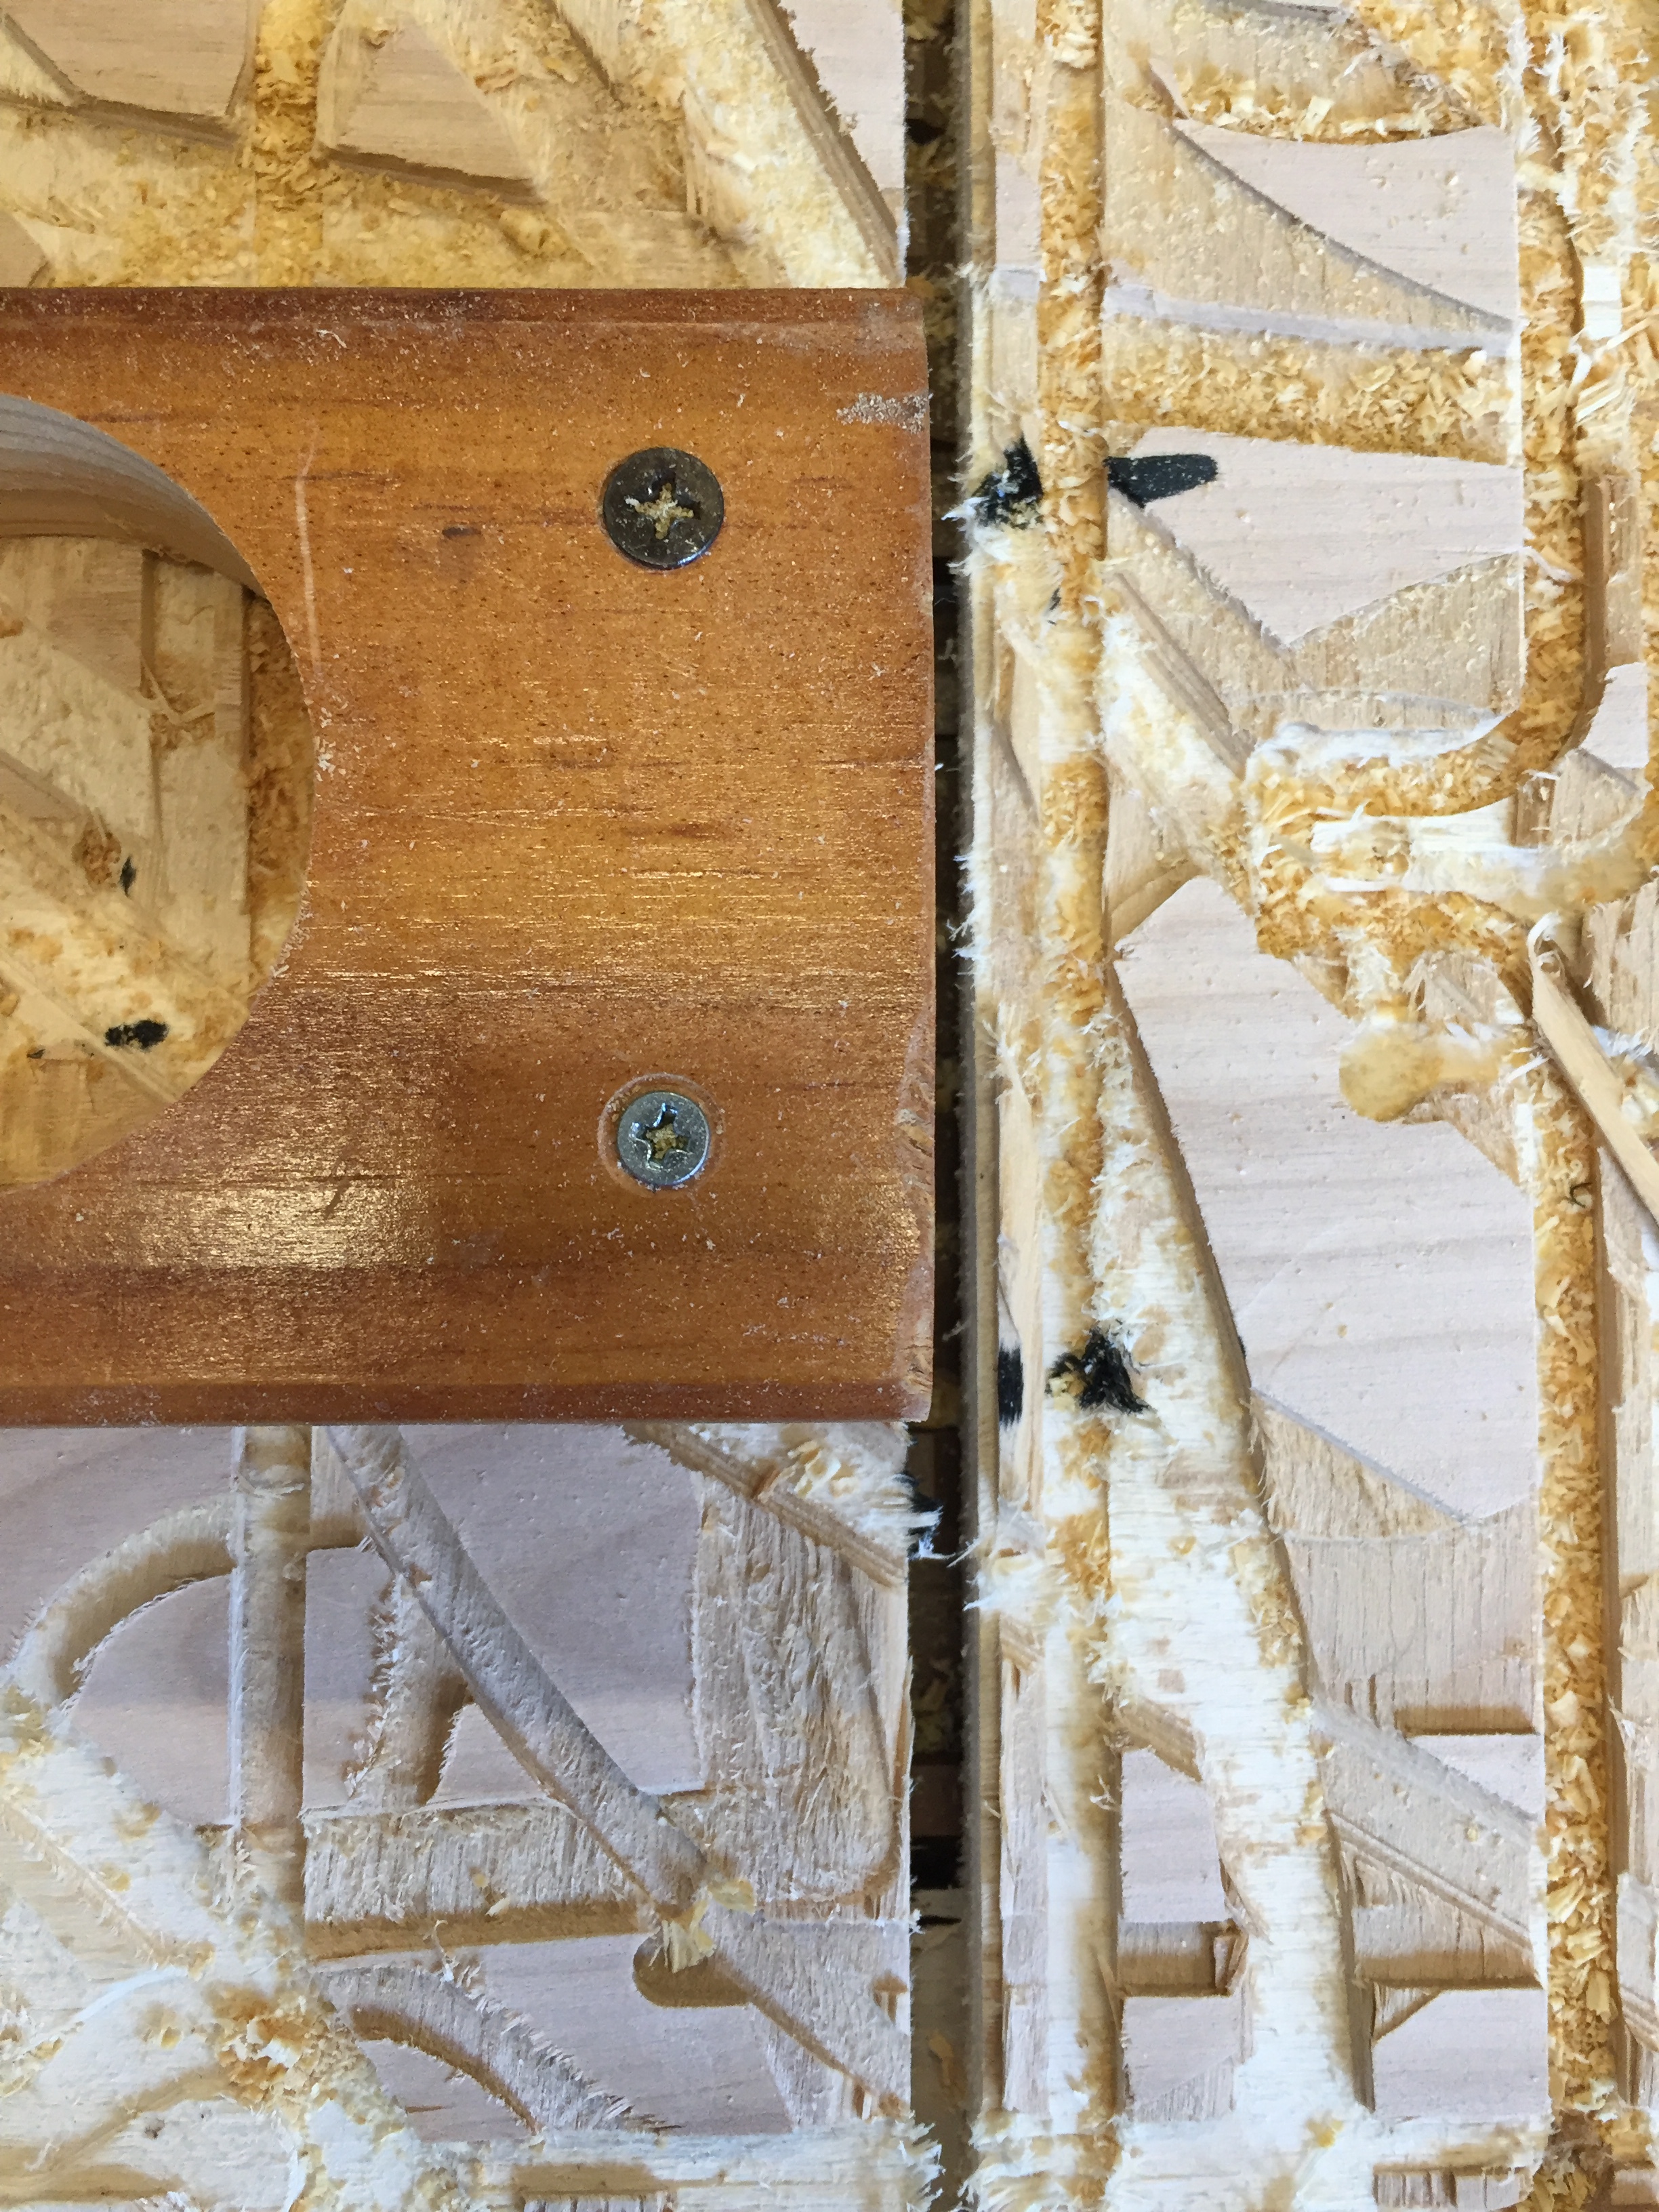
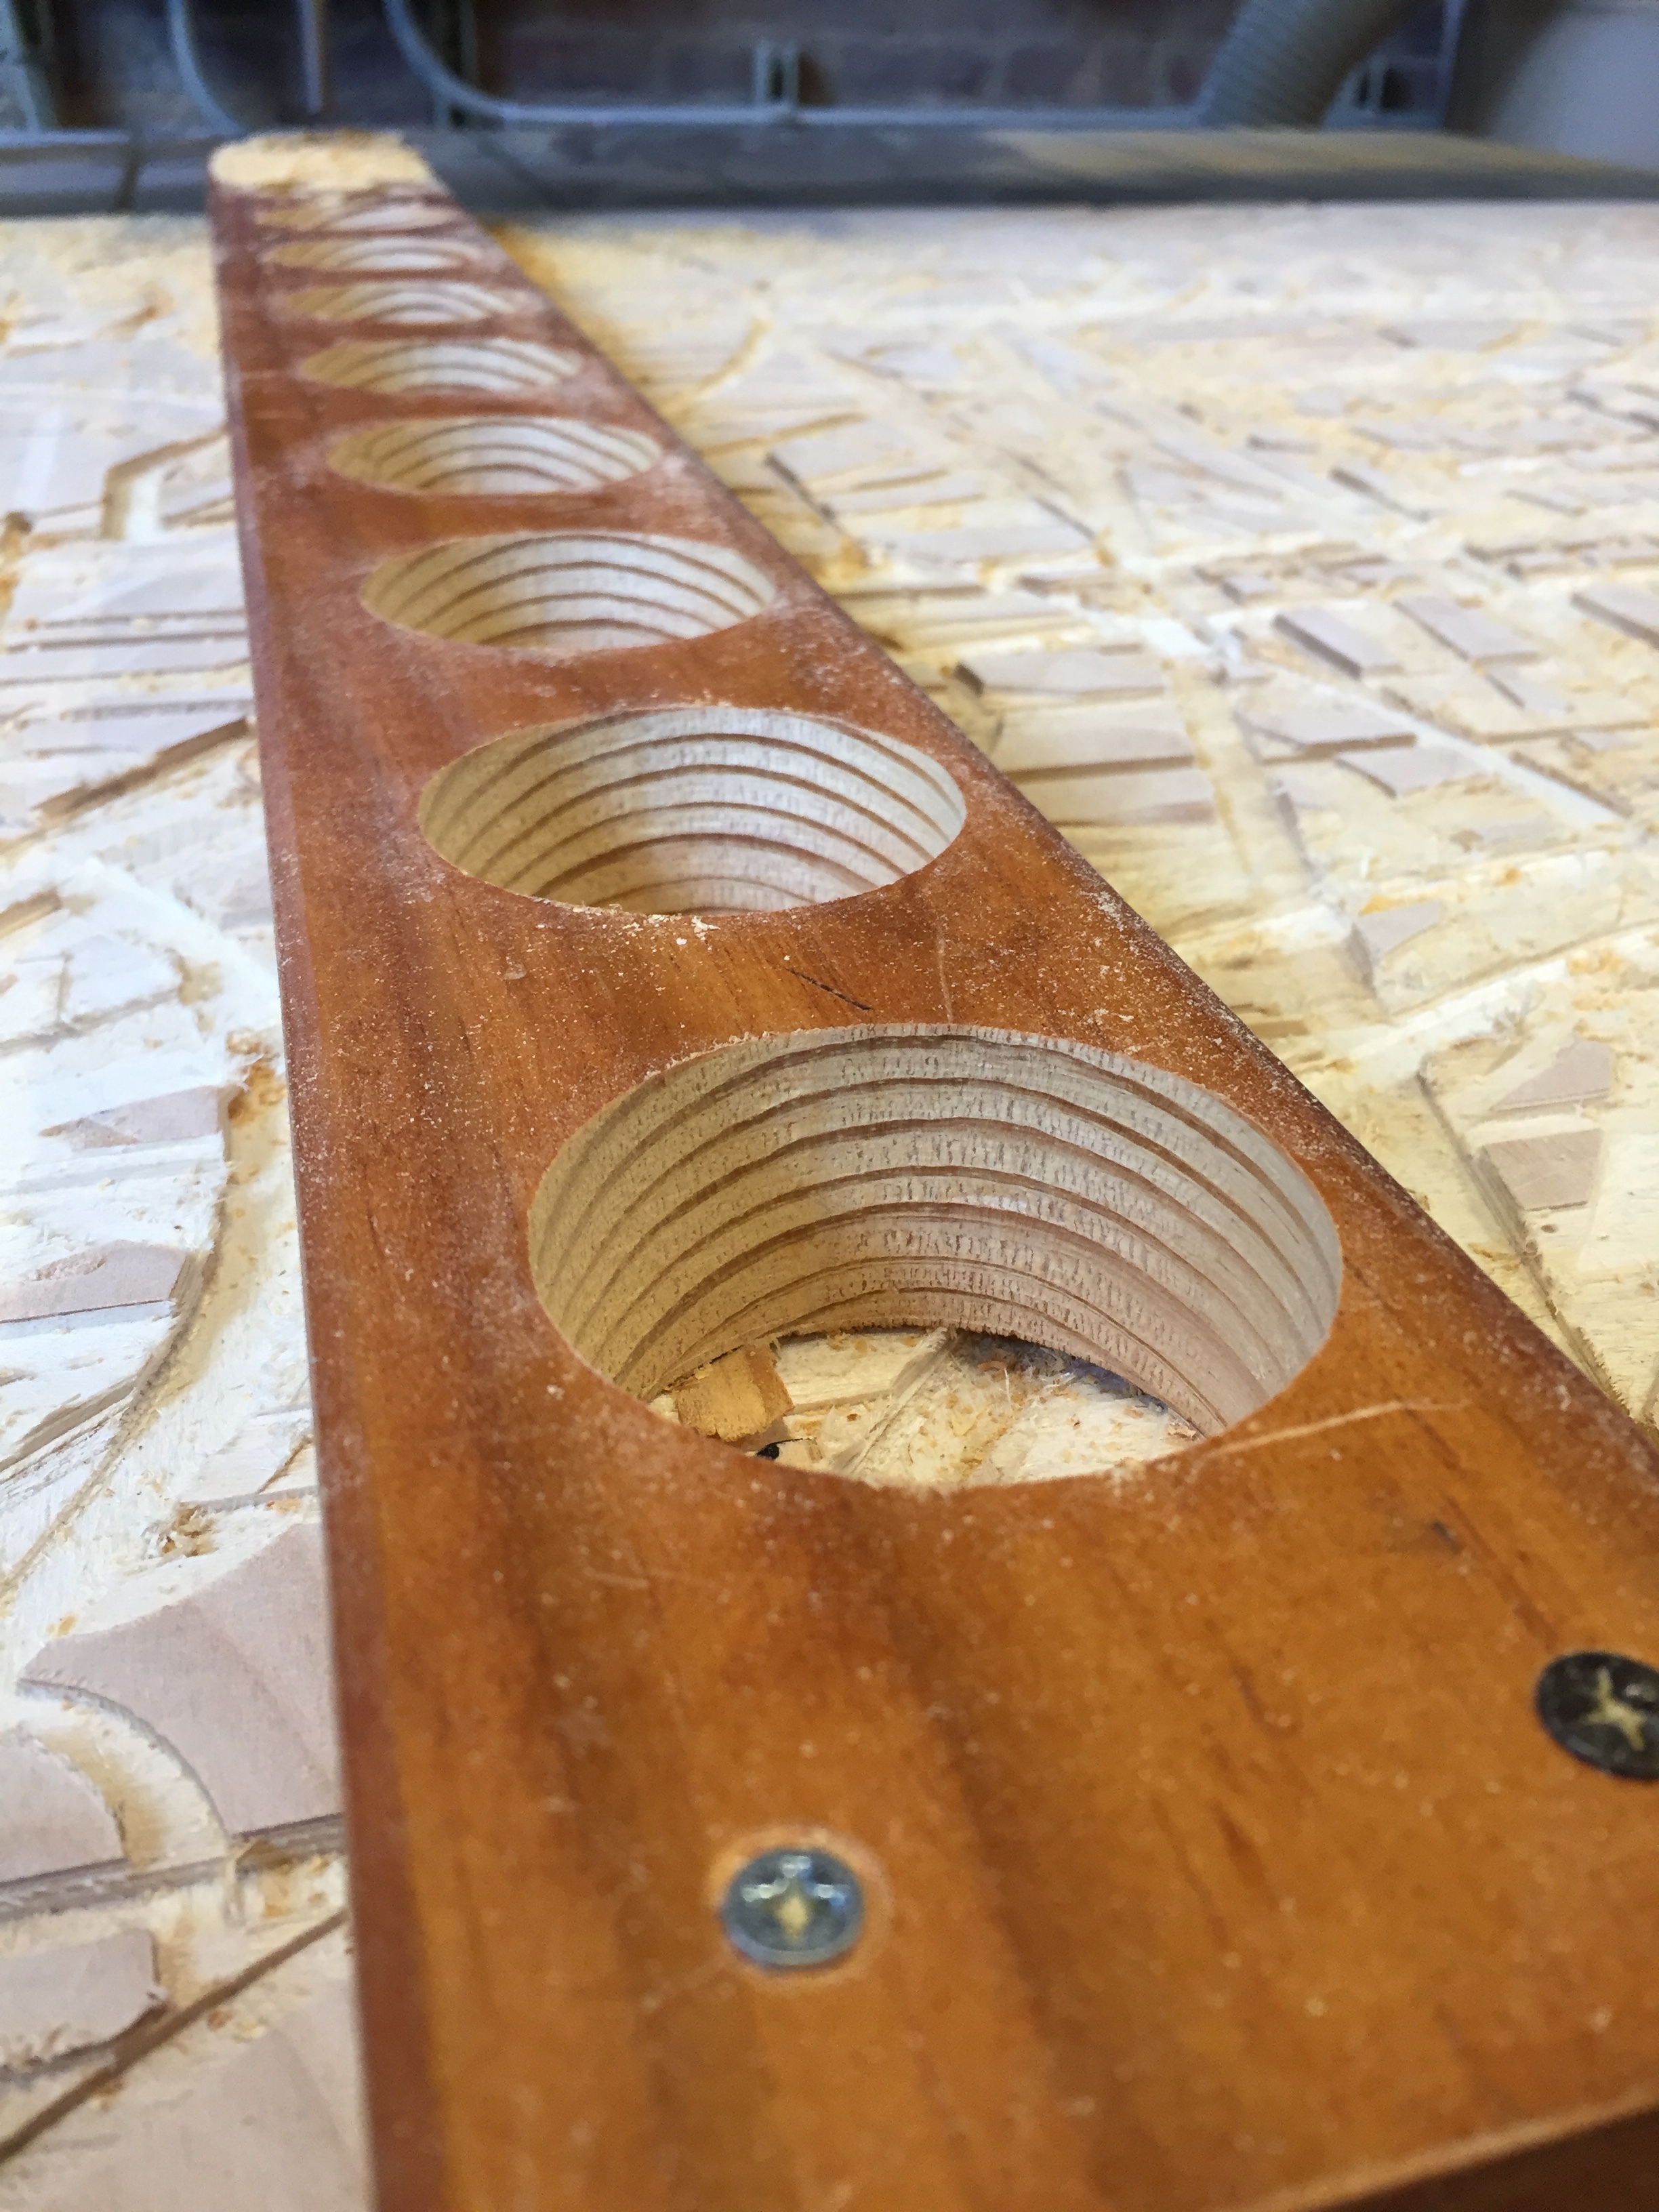
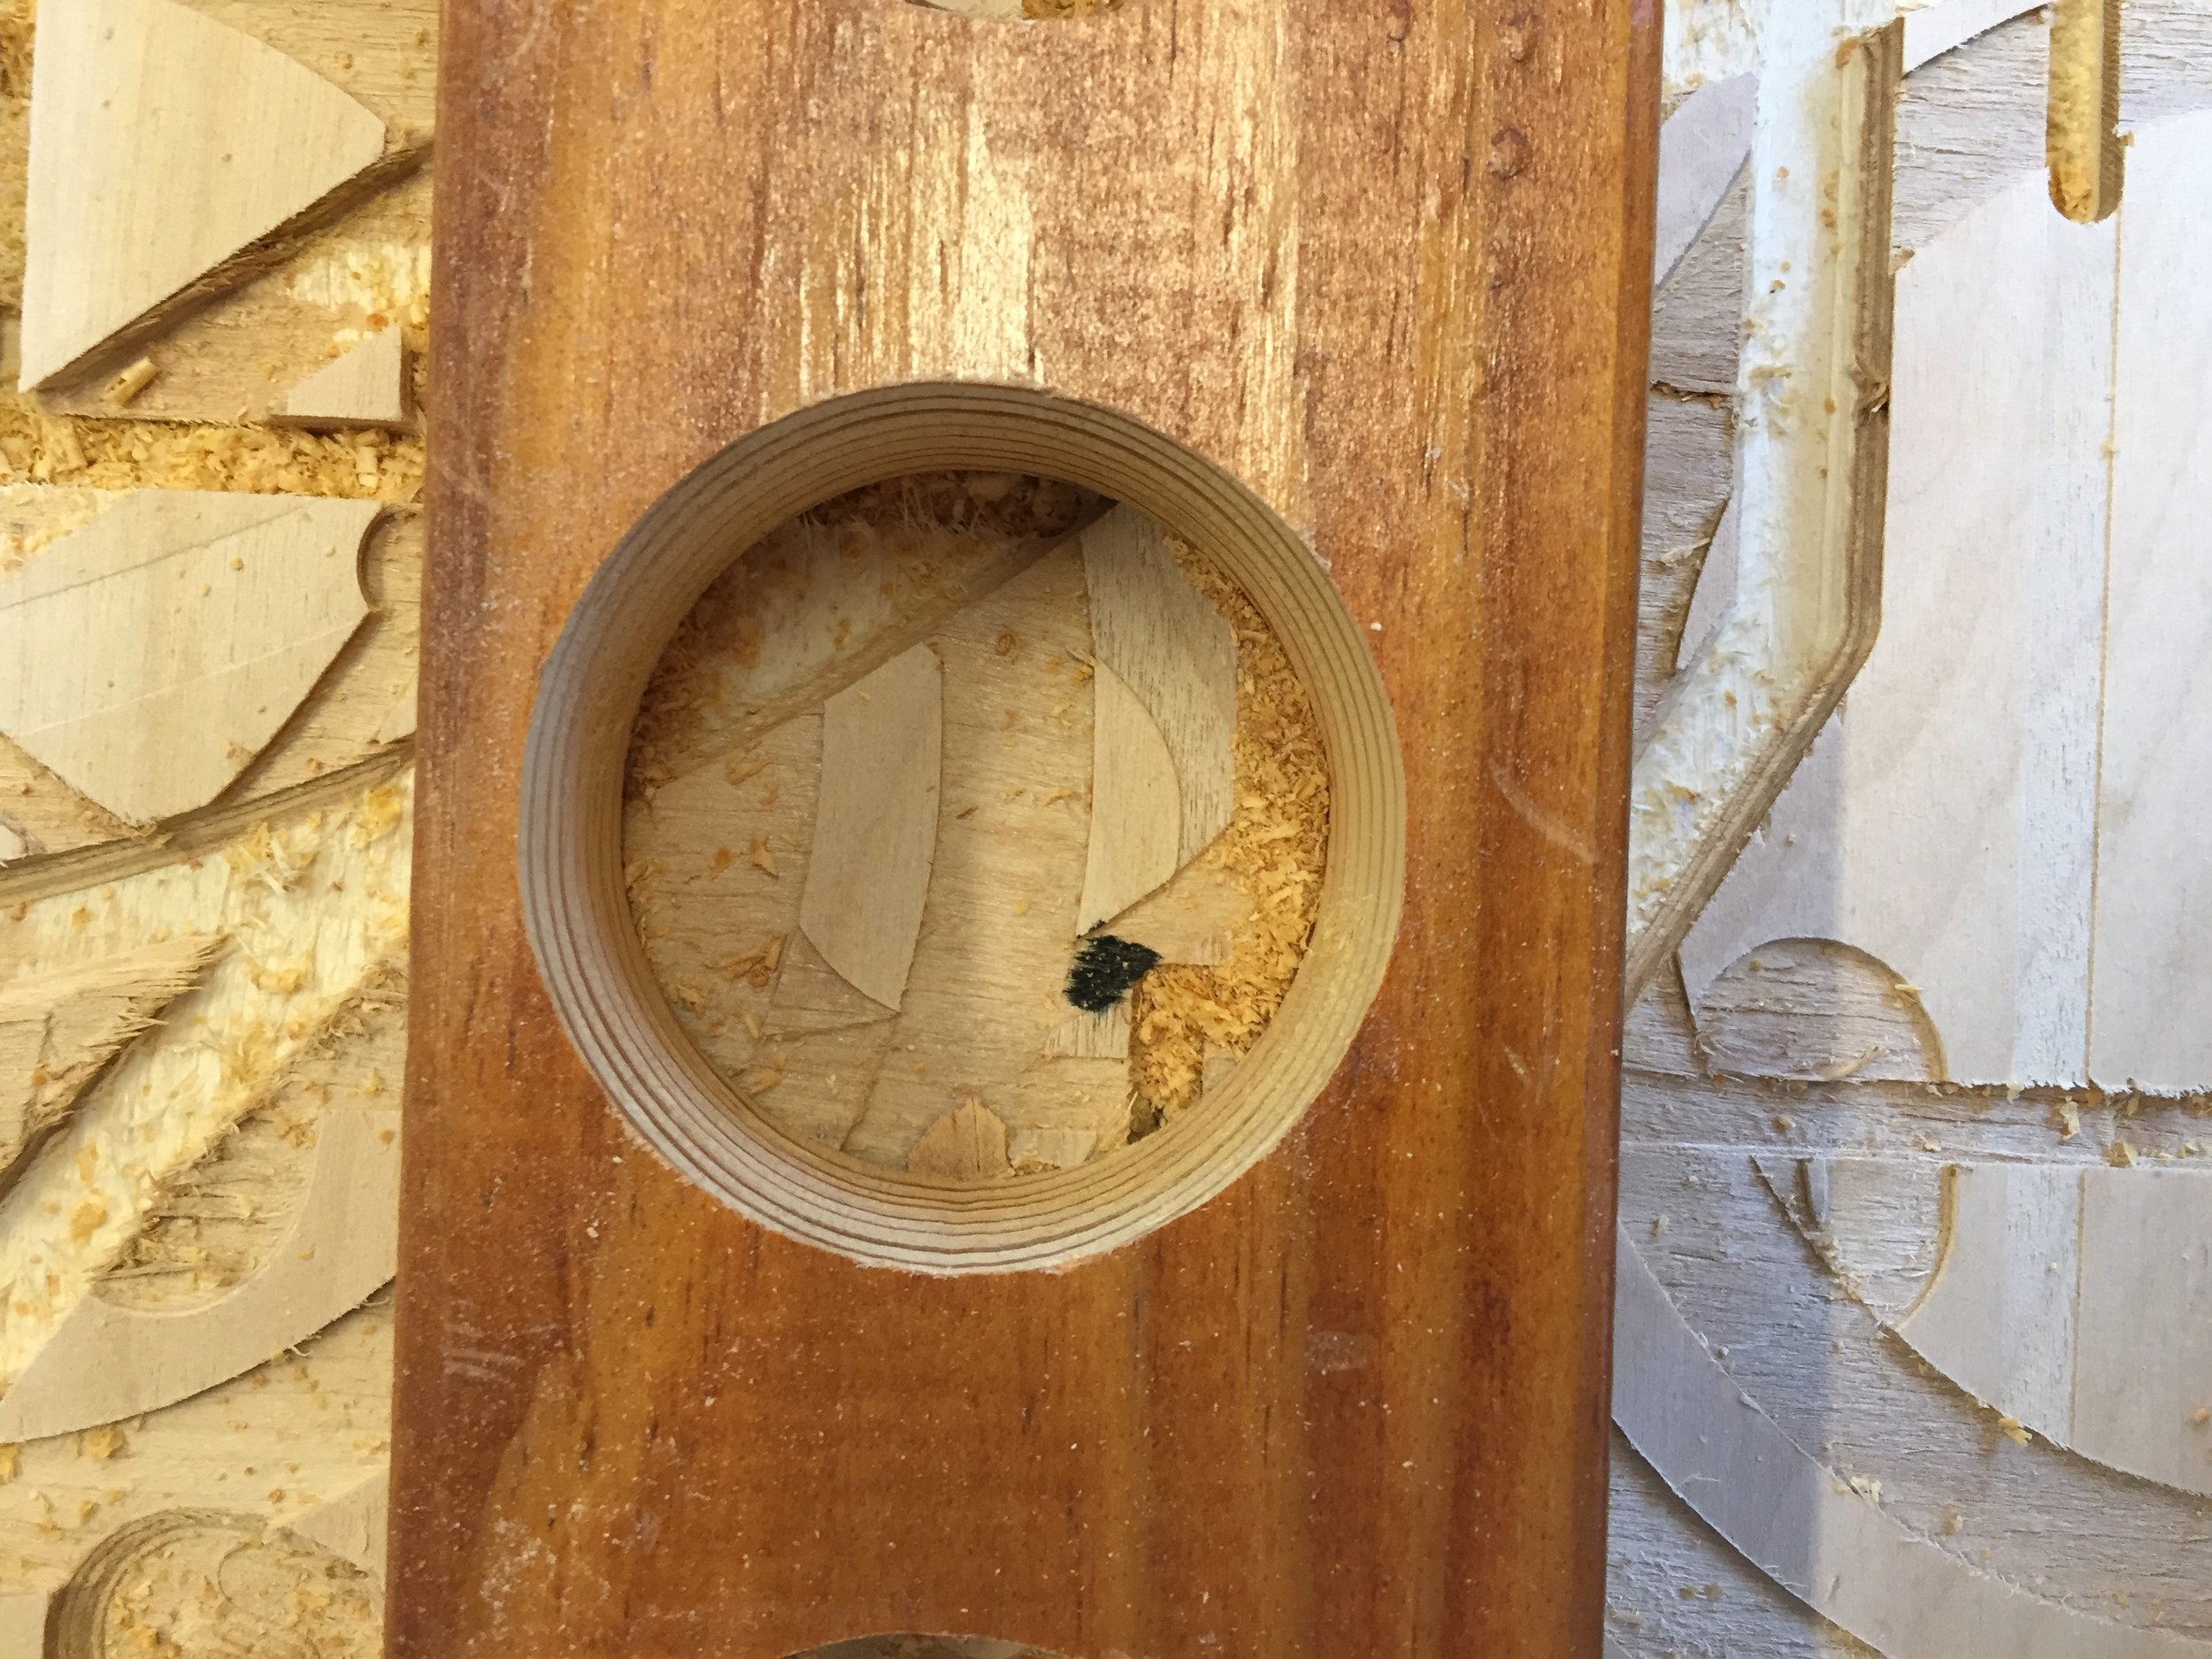
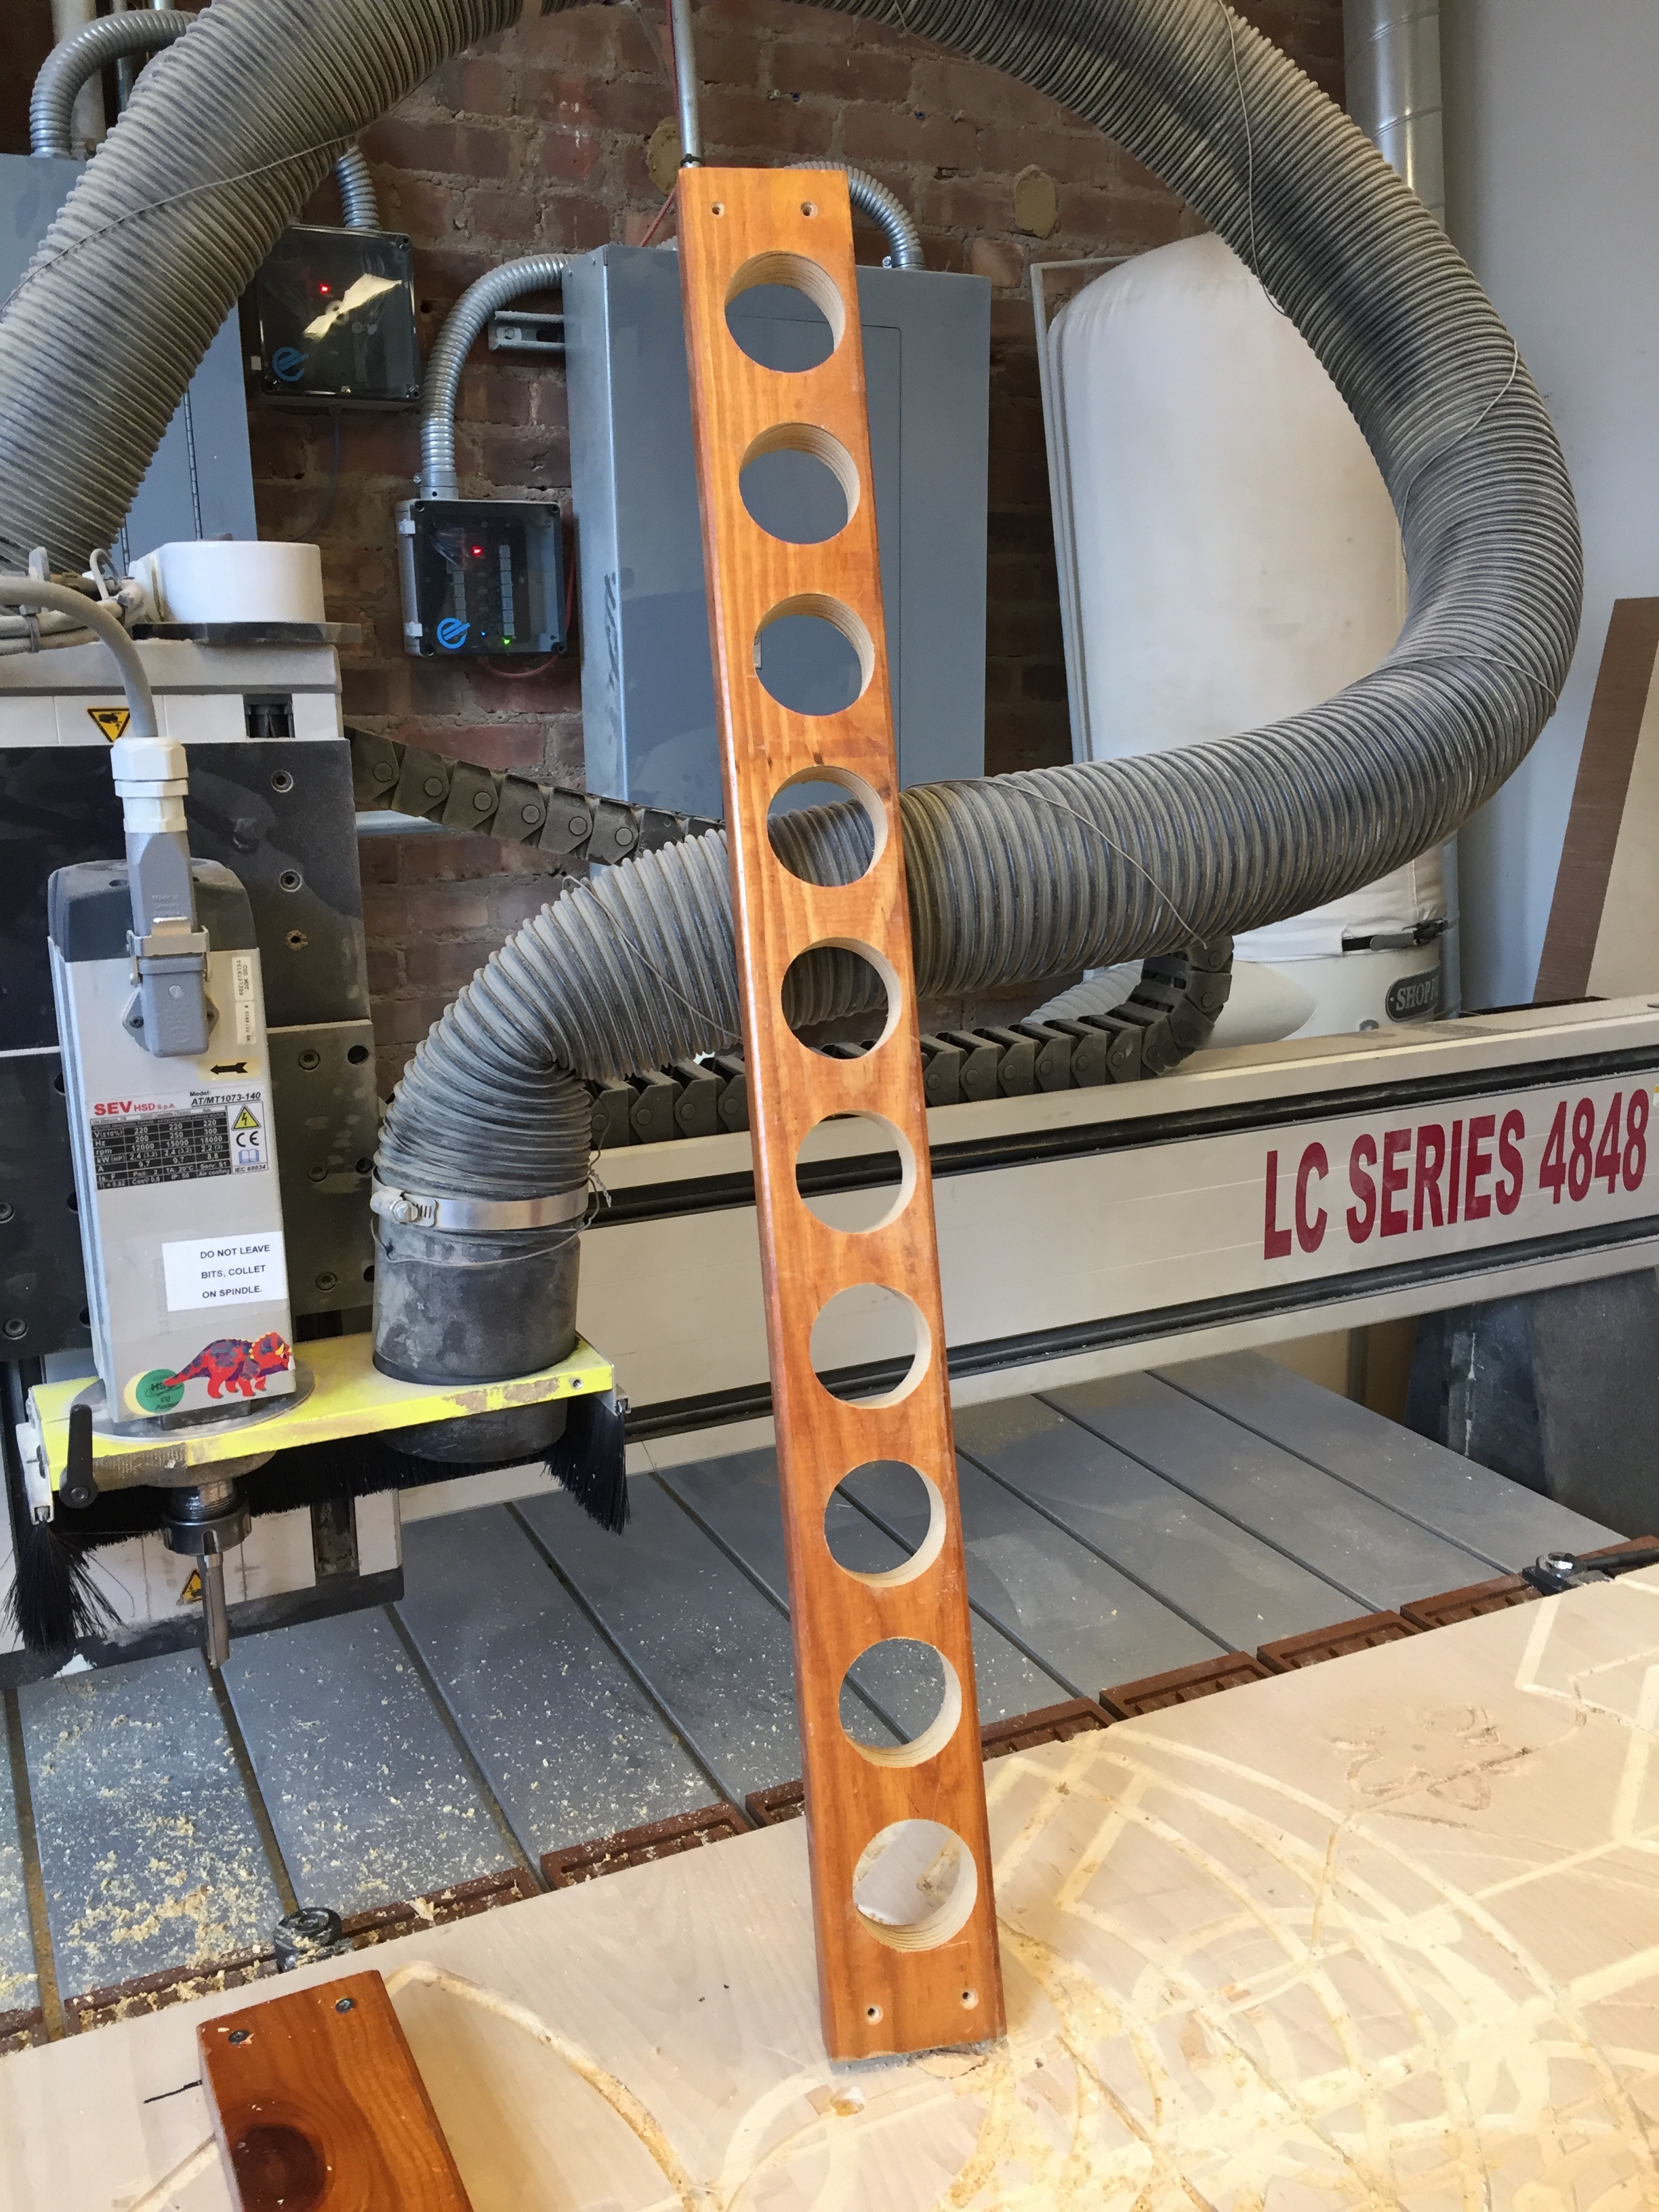
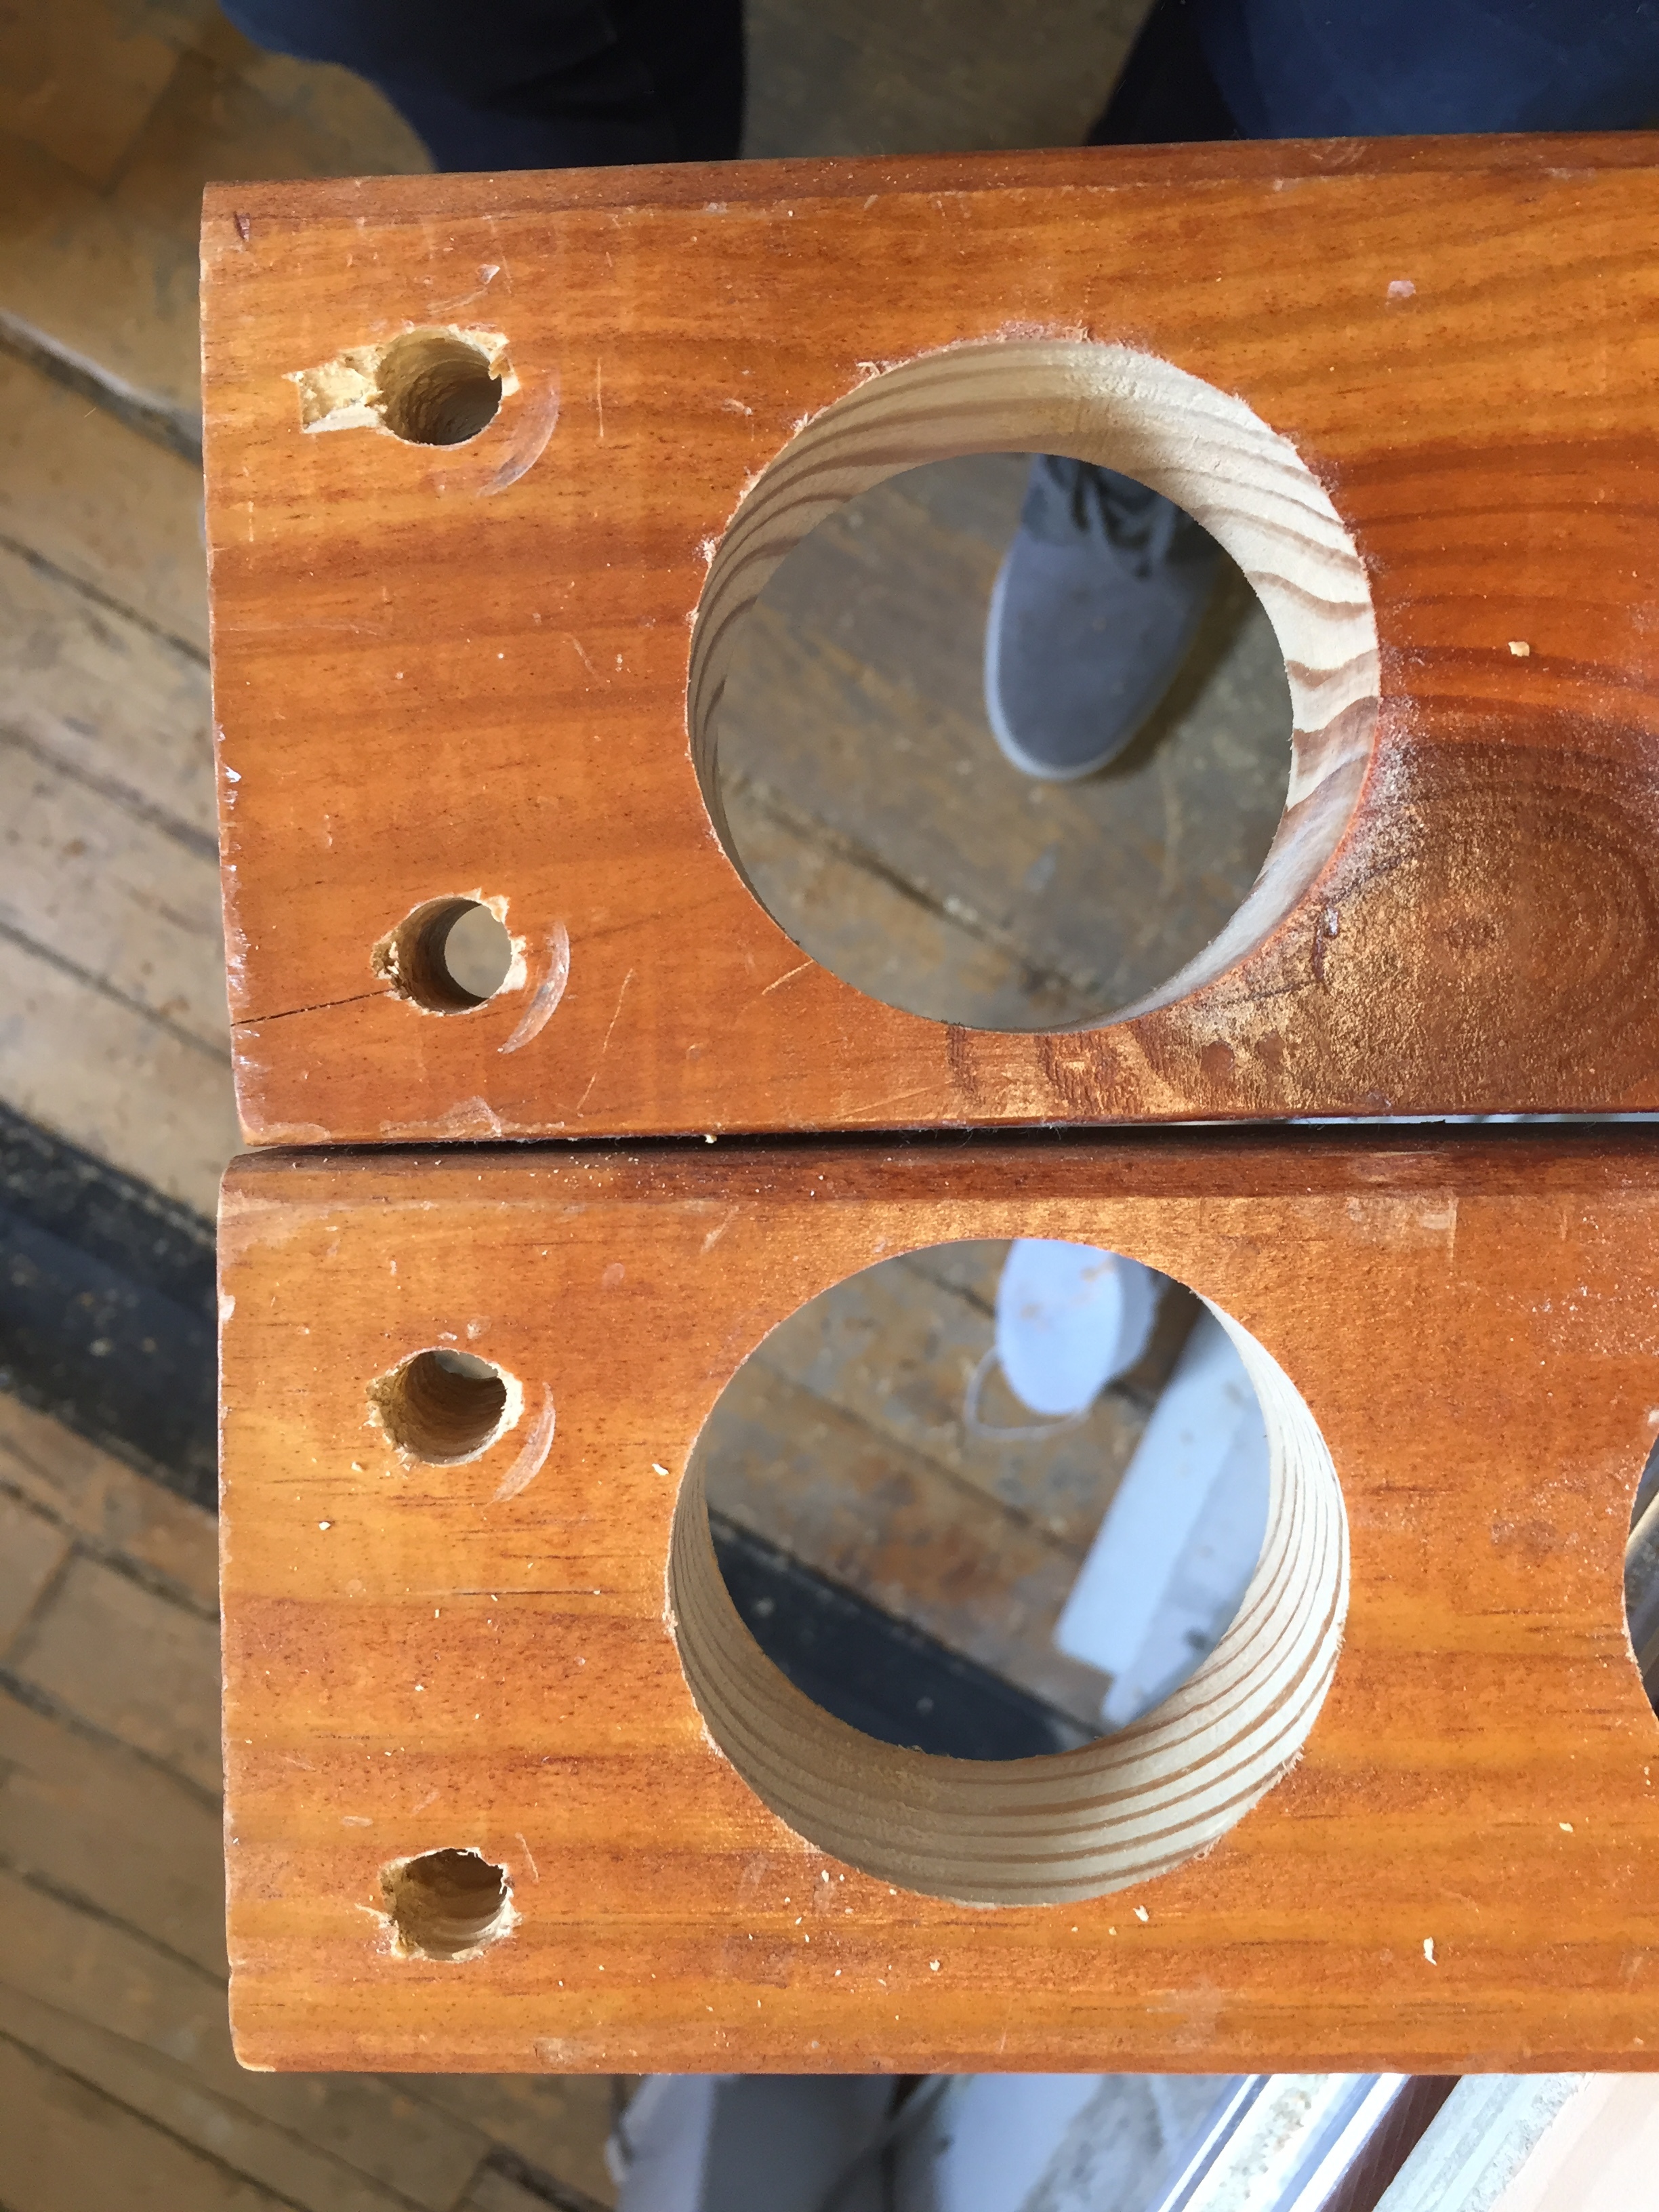
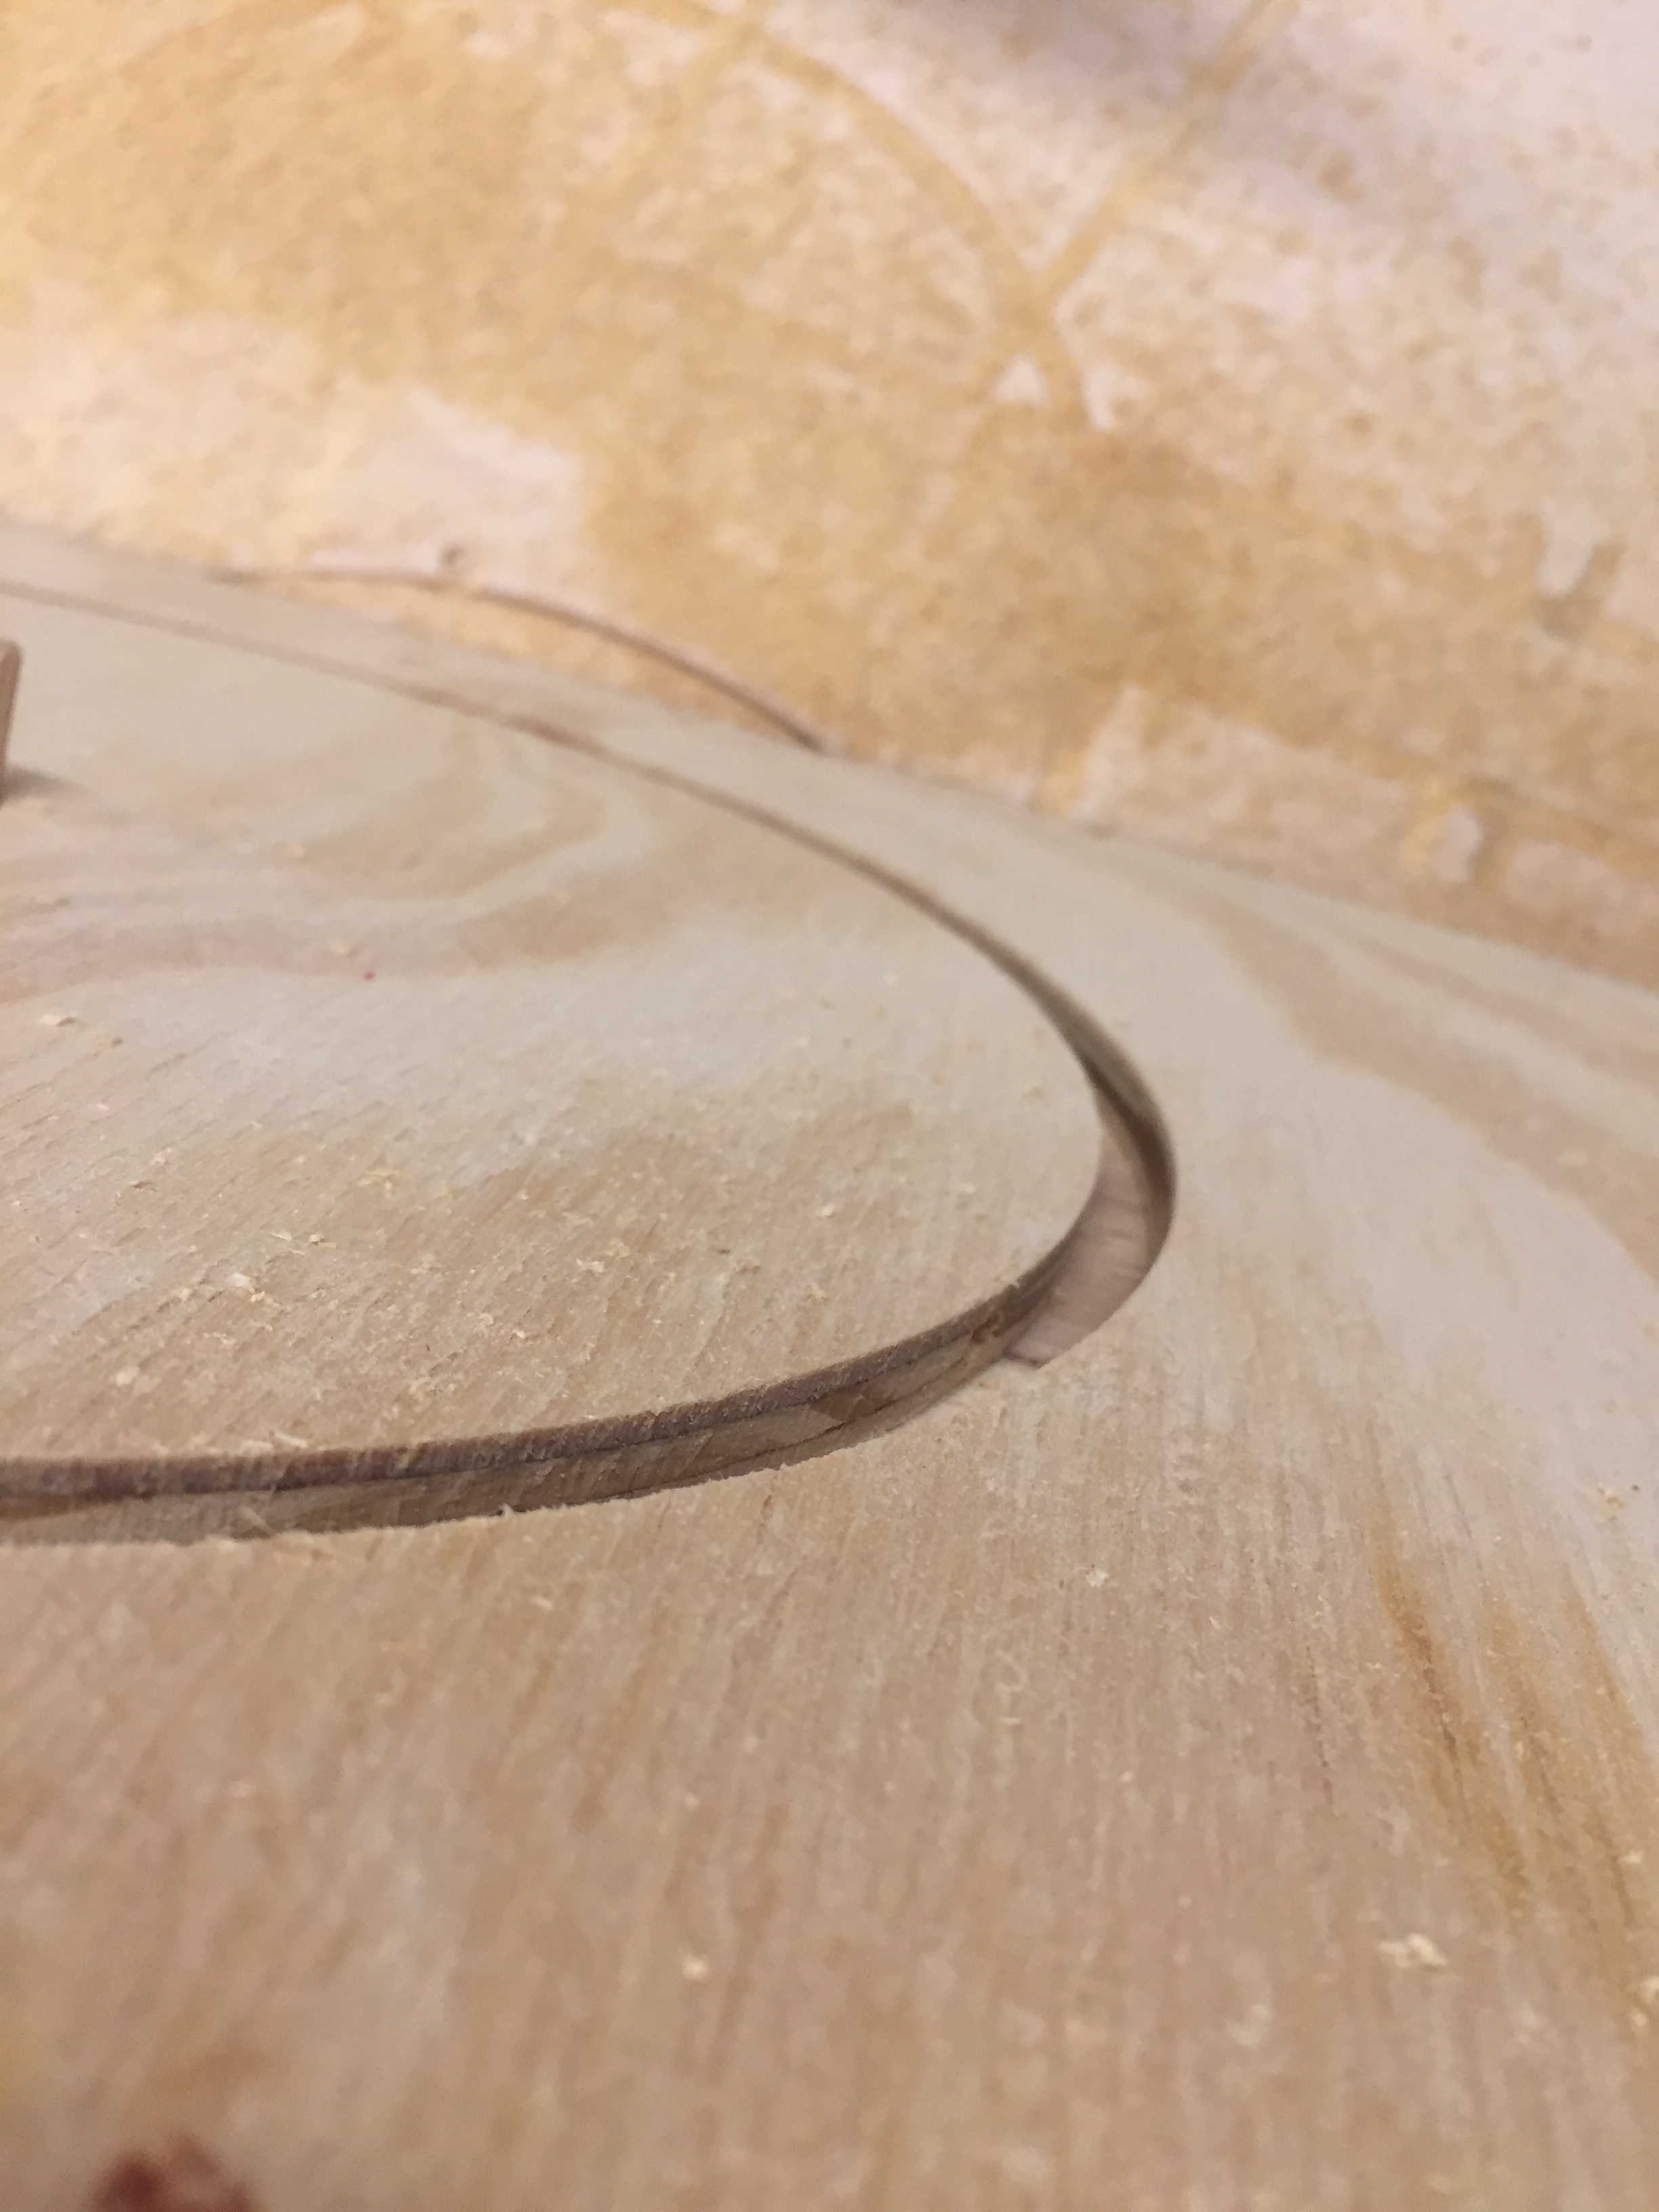
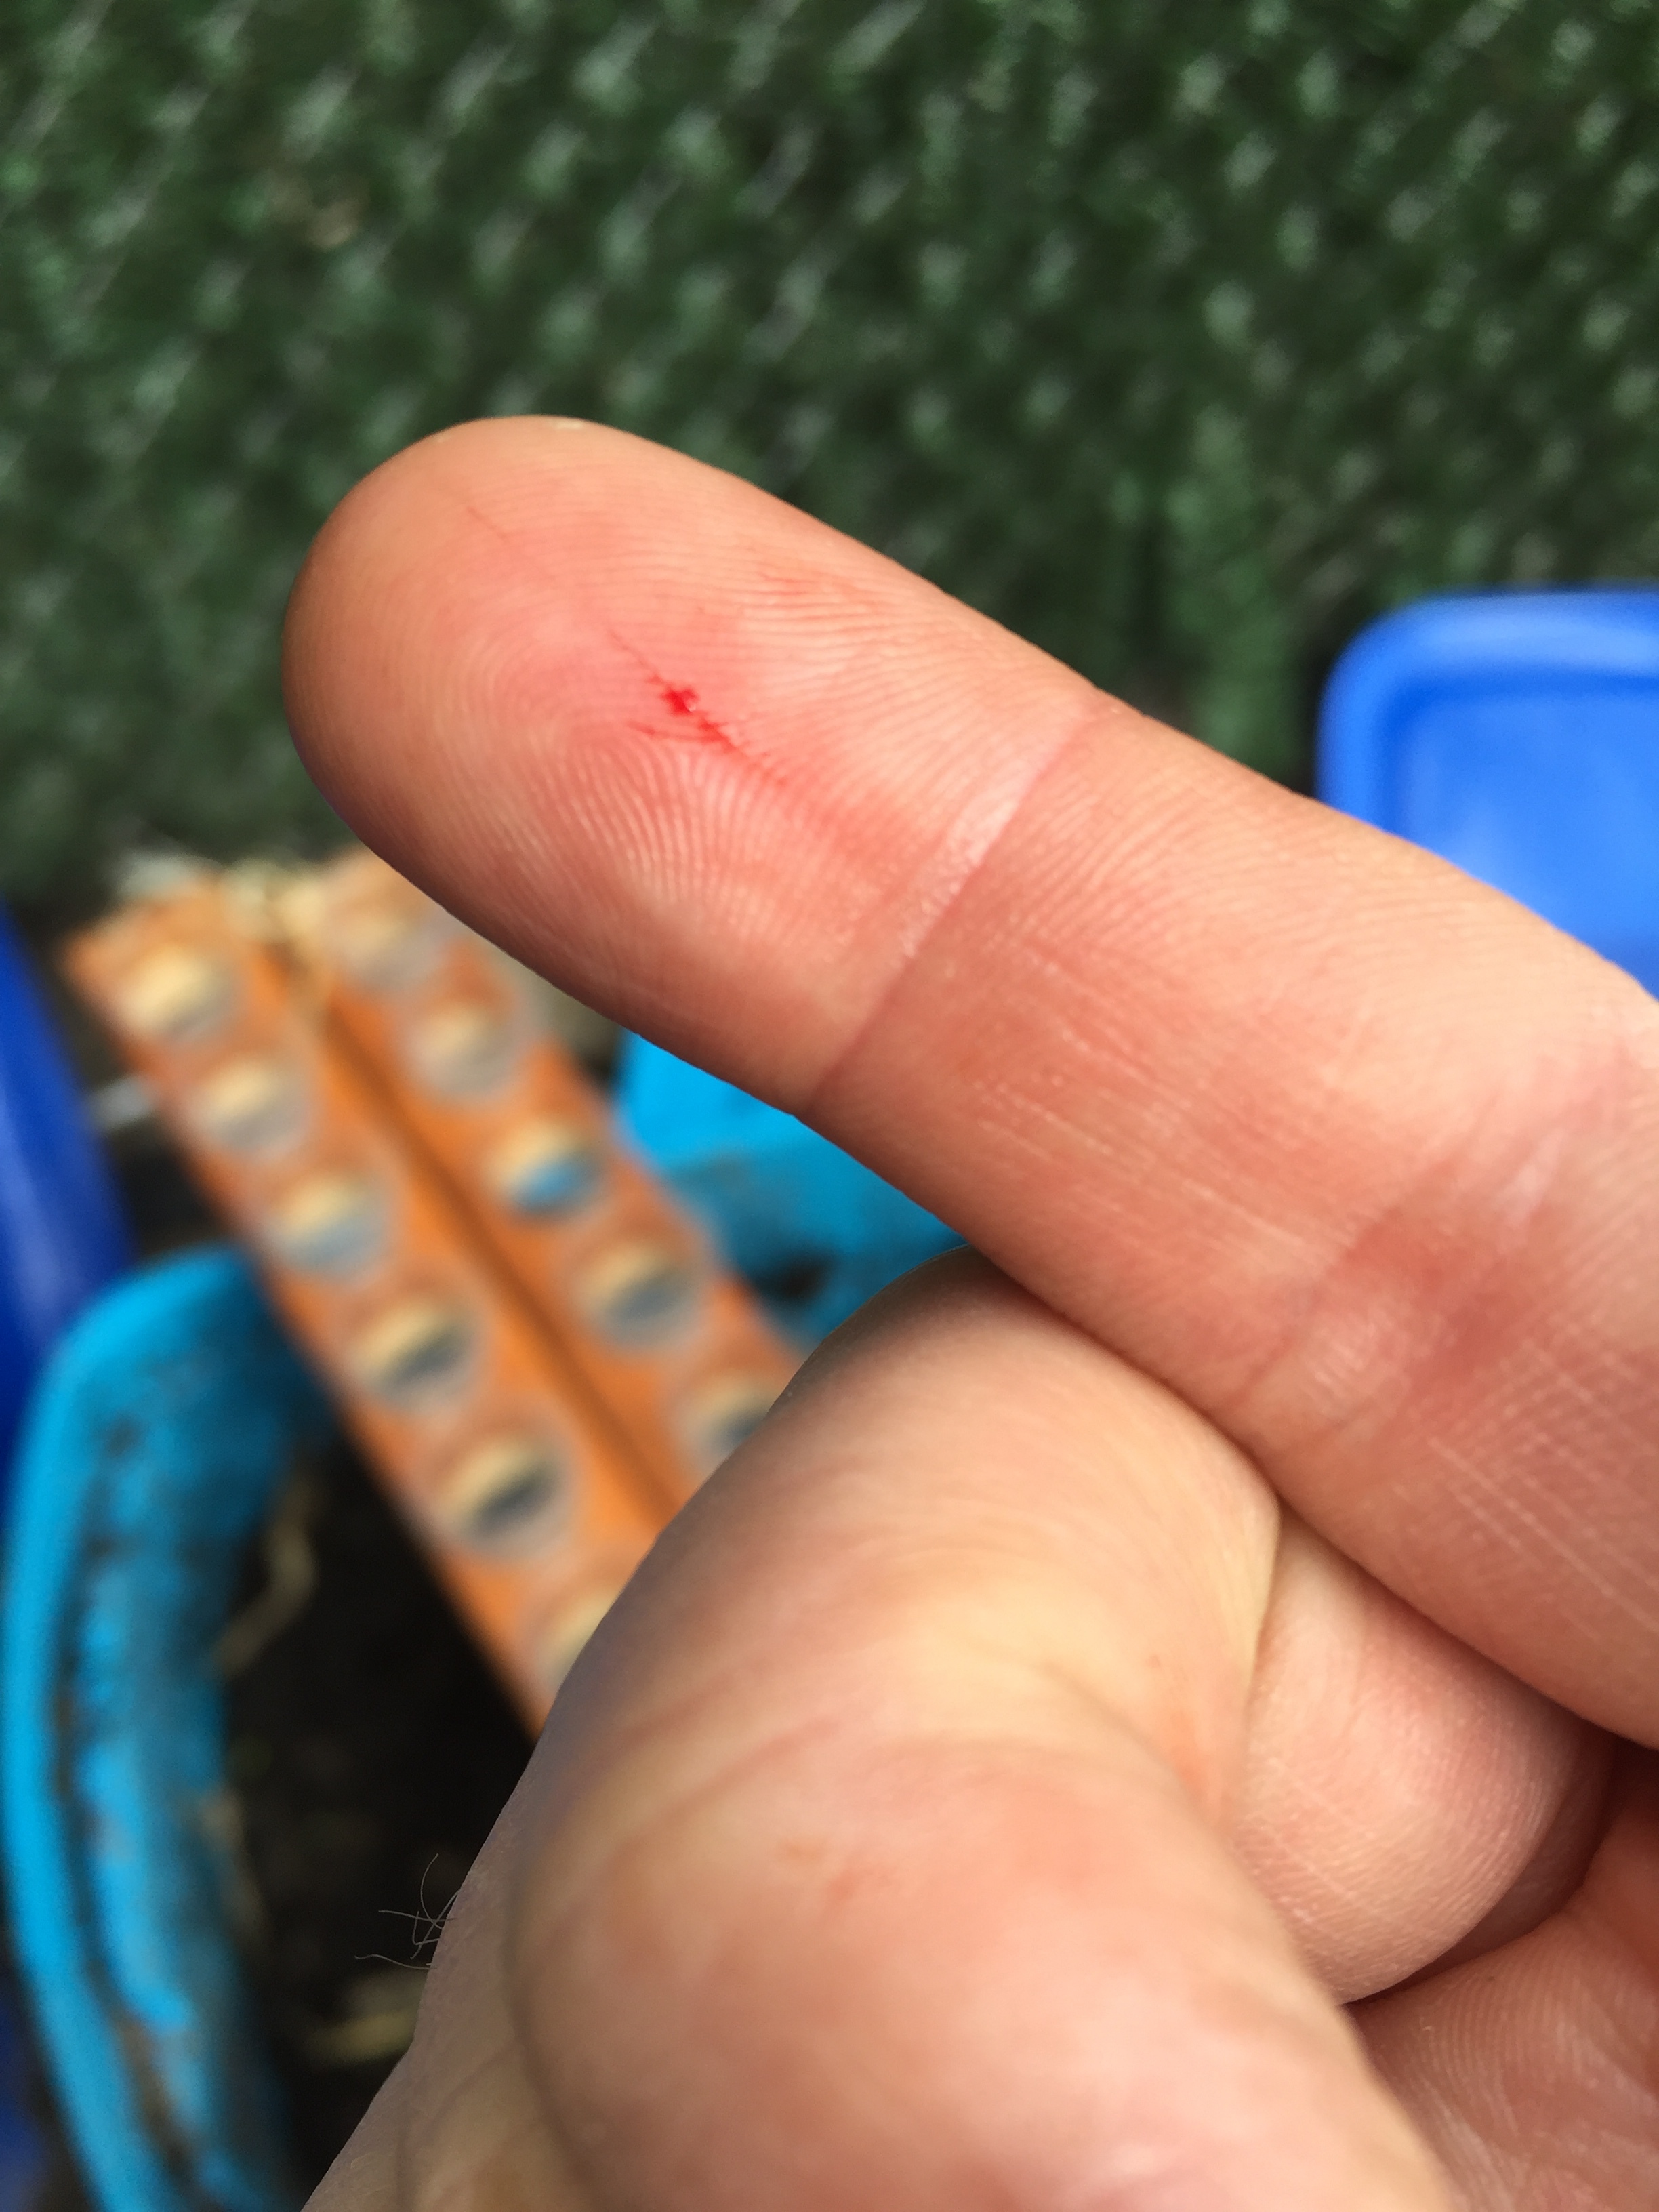
 Even so, I ended up being about 1/8-1/4 of an in. off, which is actually quite noticeable. I attempted to rectify my mistake, but only succeeded in pushing my piece too far the other direction. No worries, it still looks beautiful, and the cups will hold.

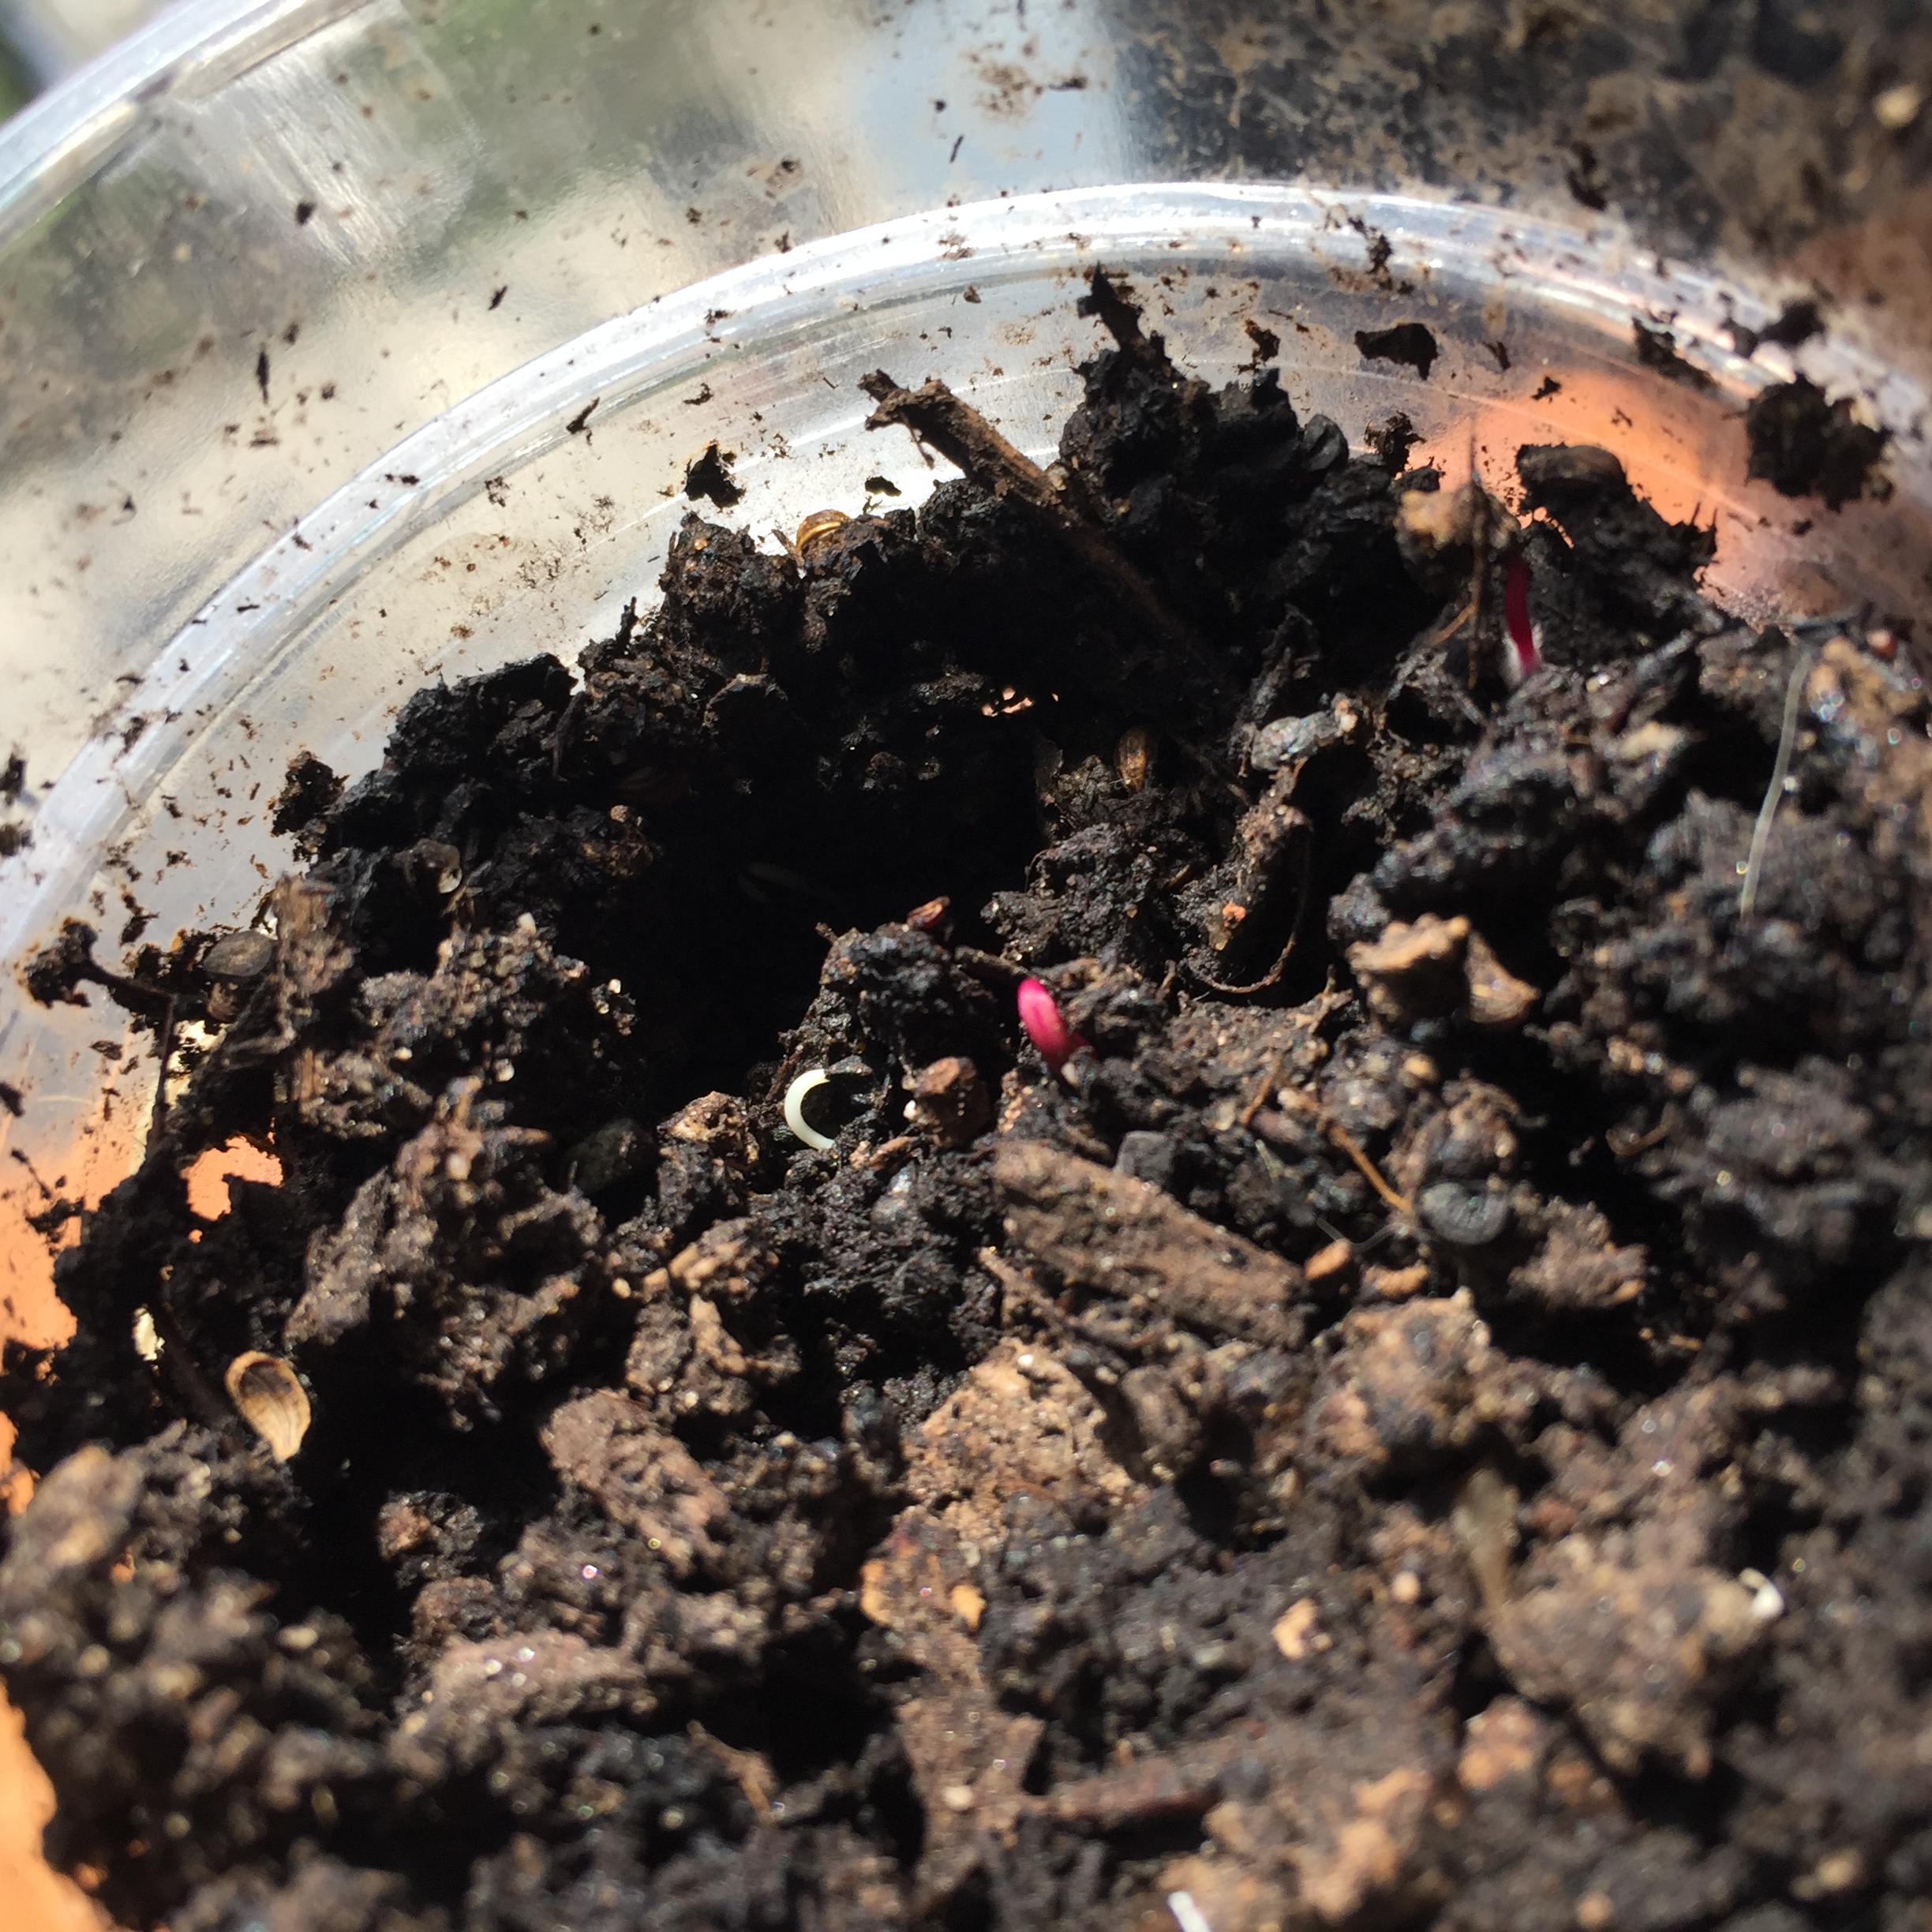
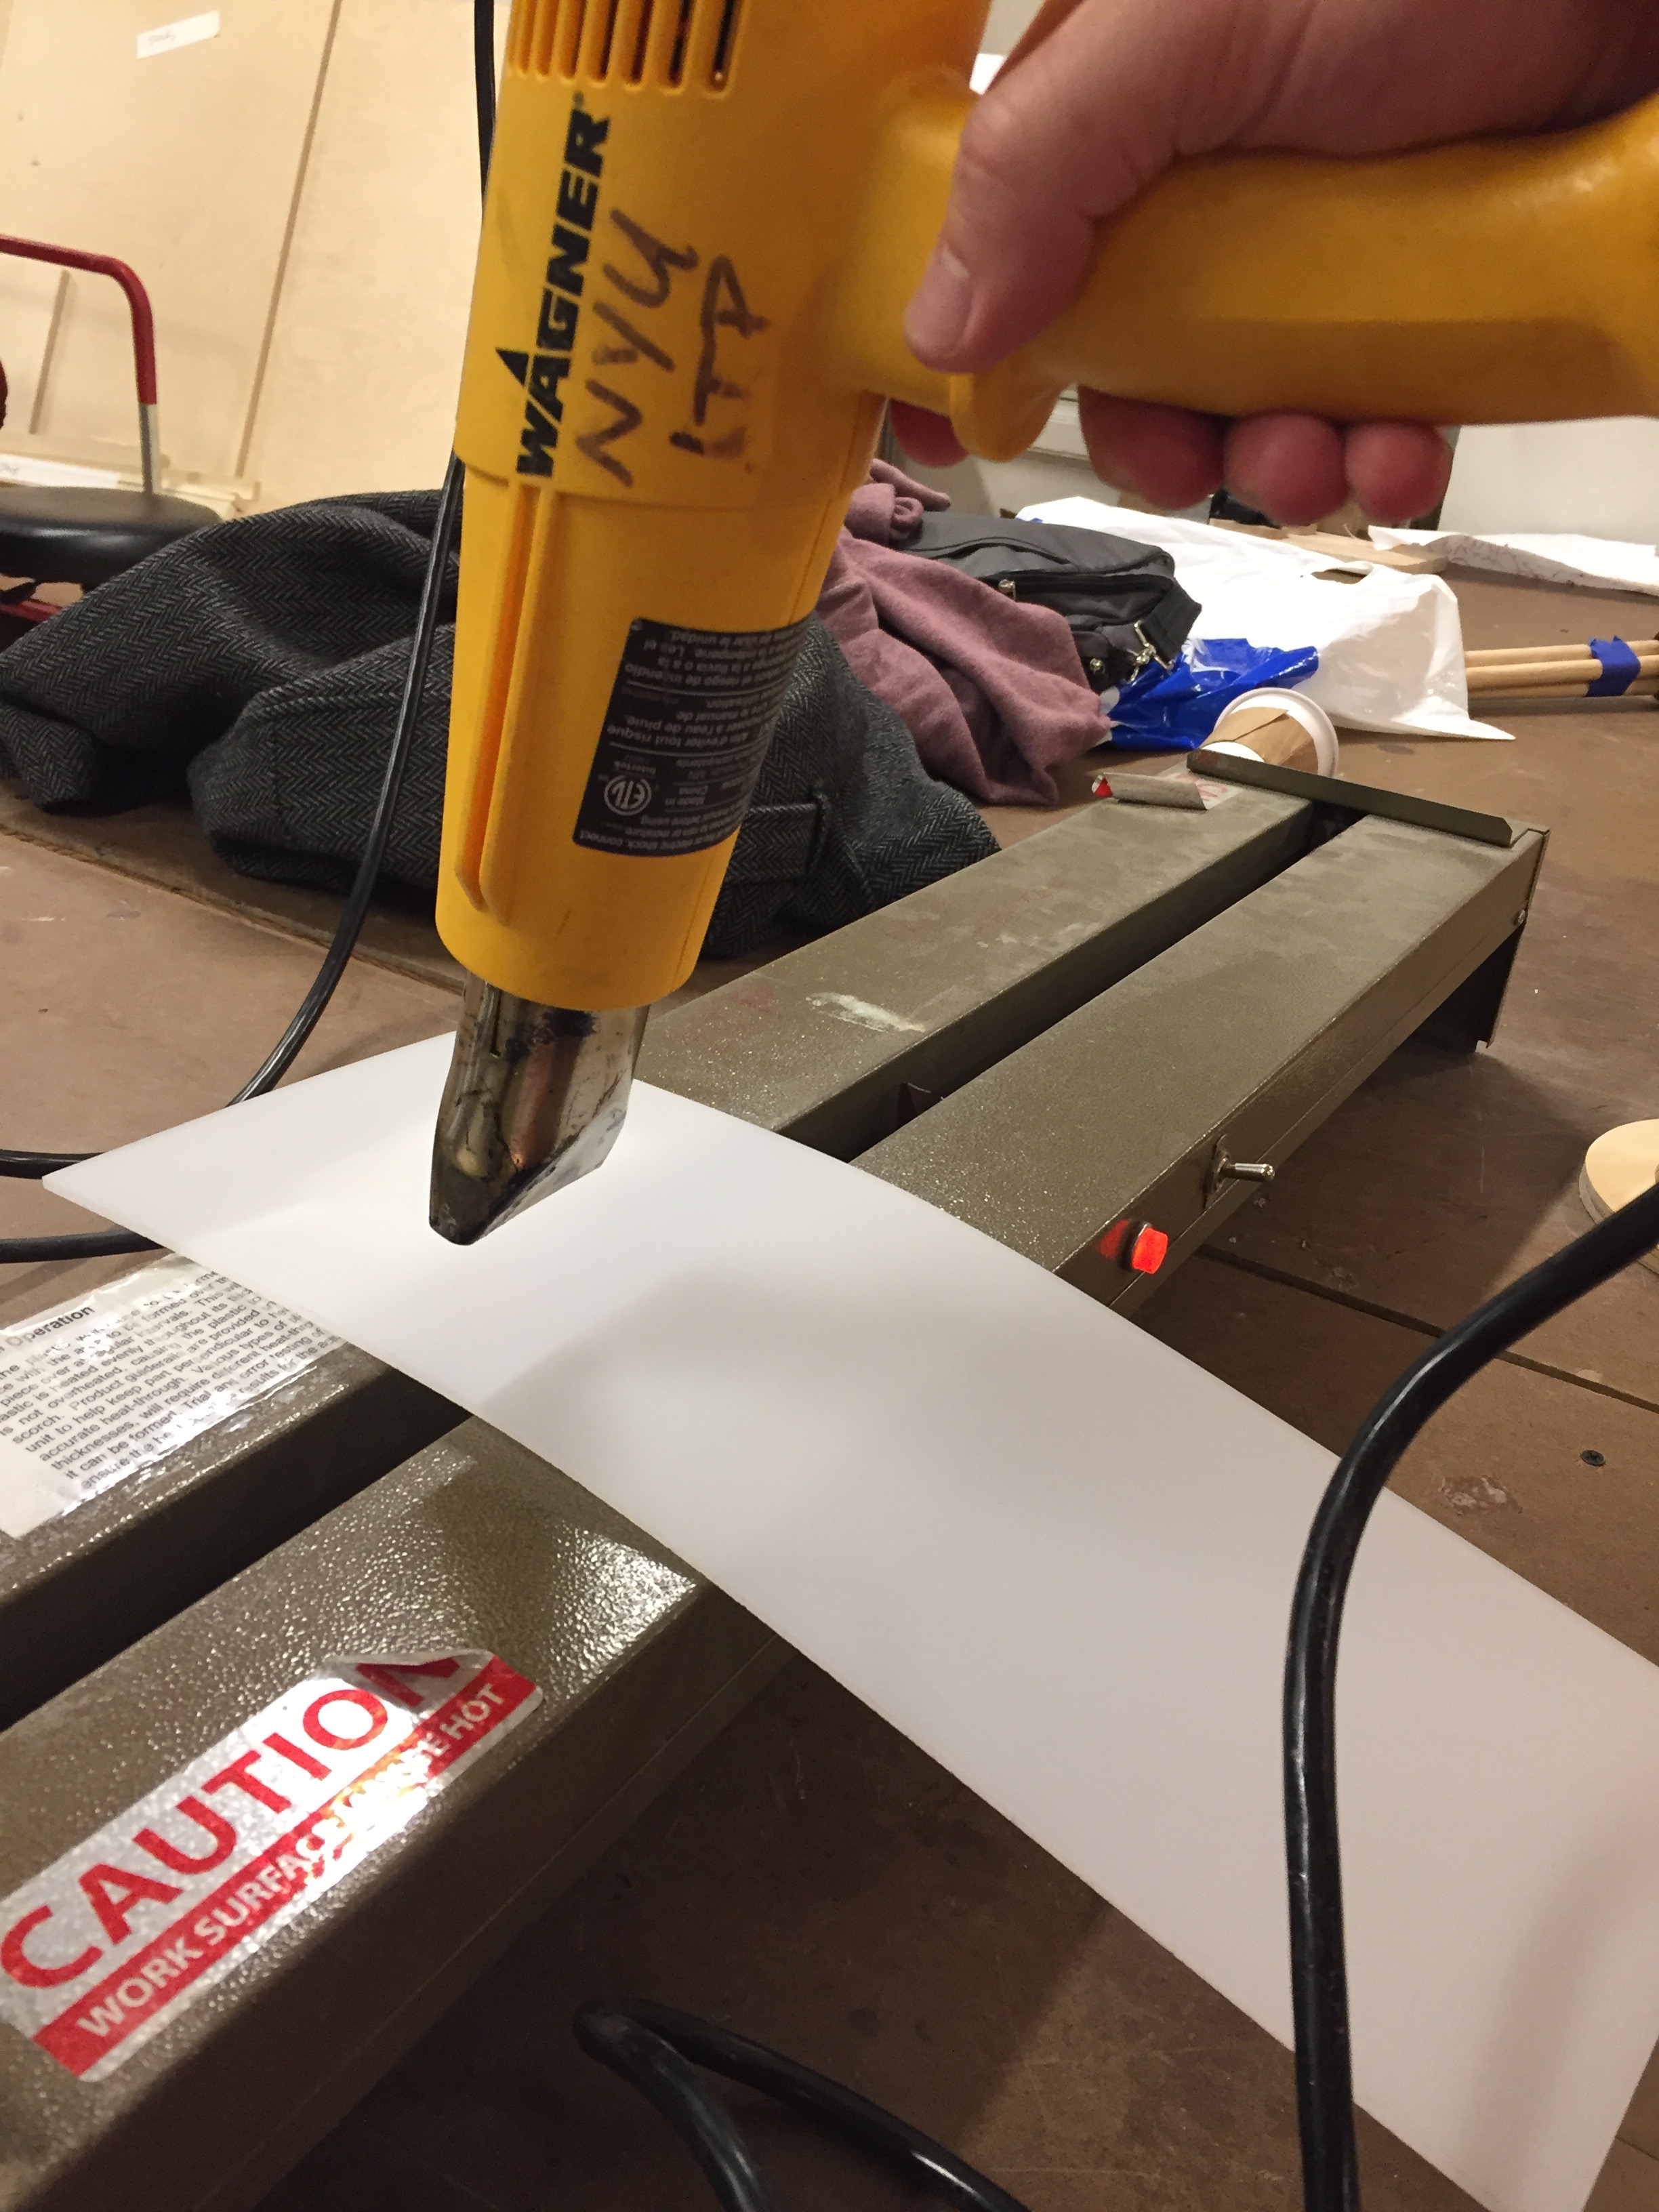
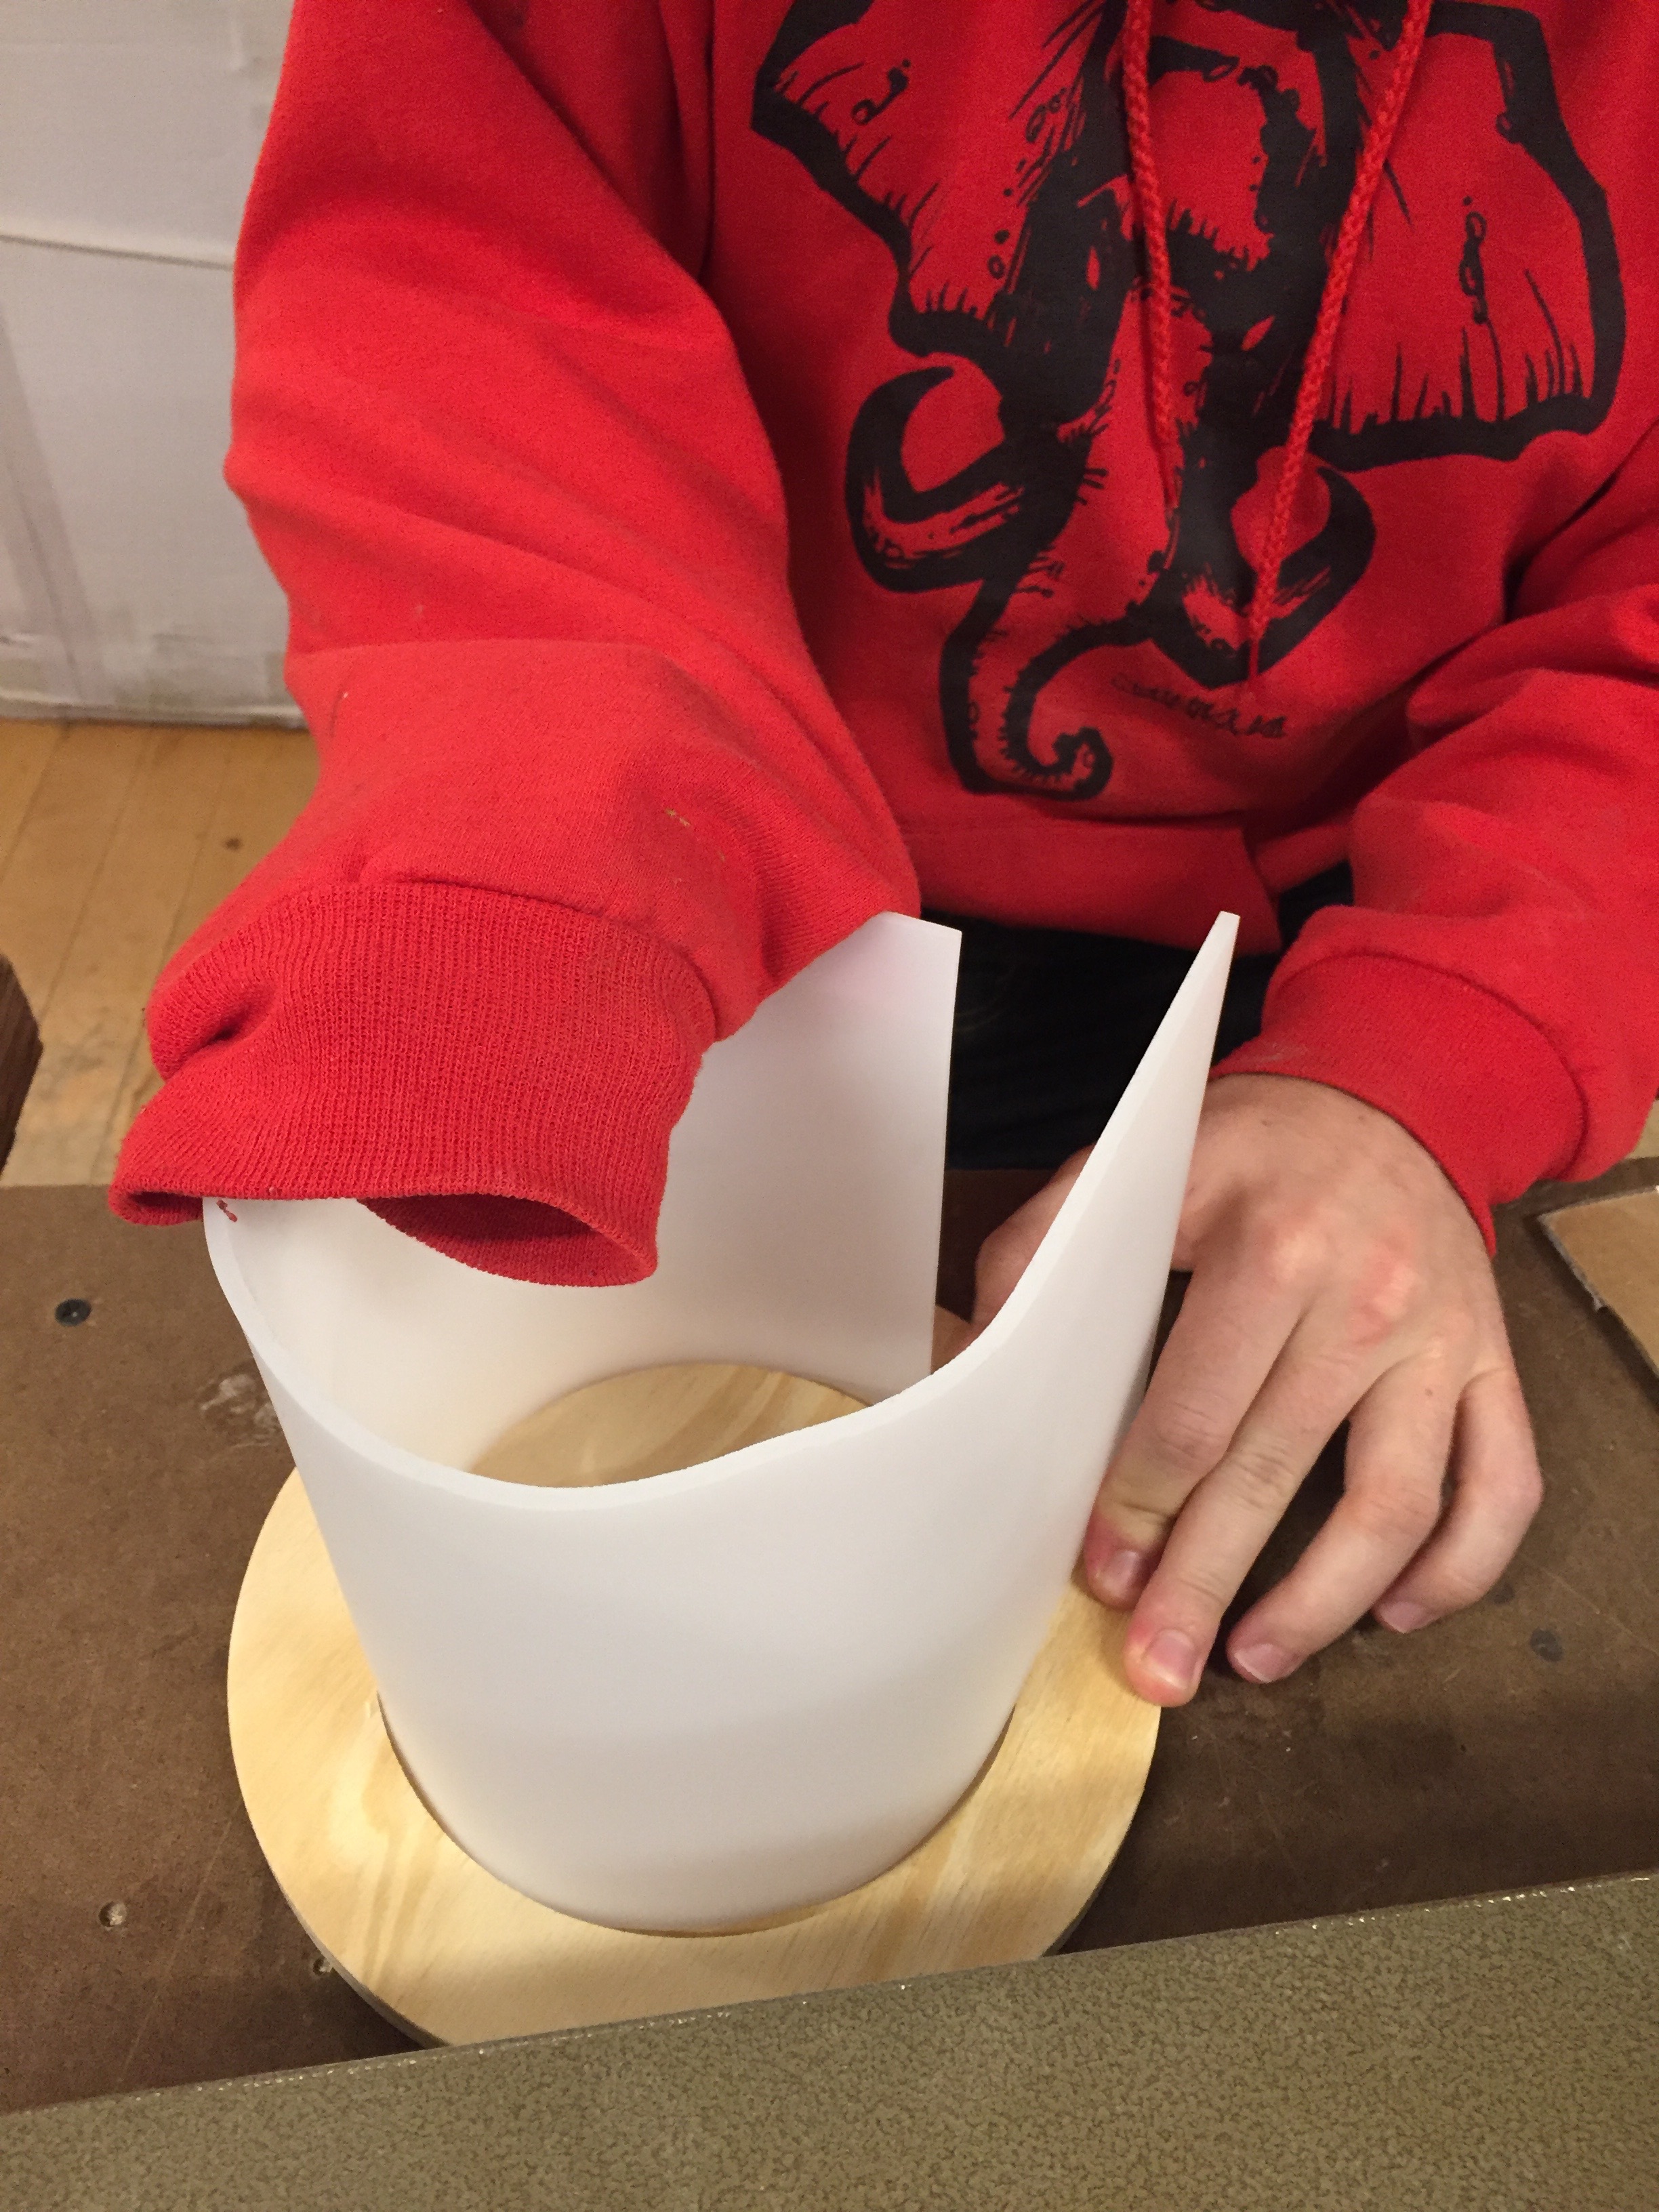
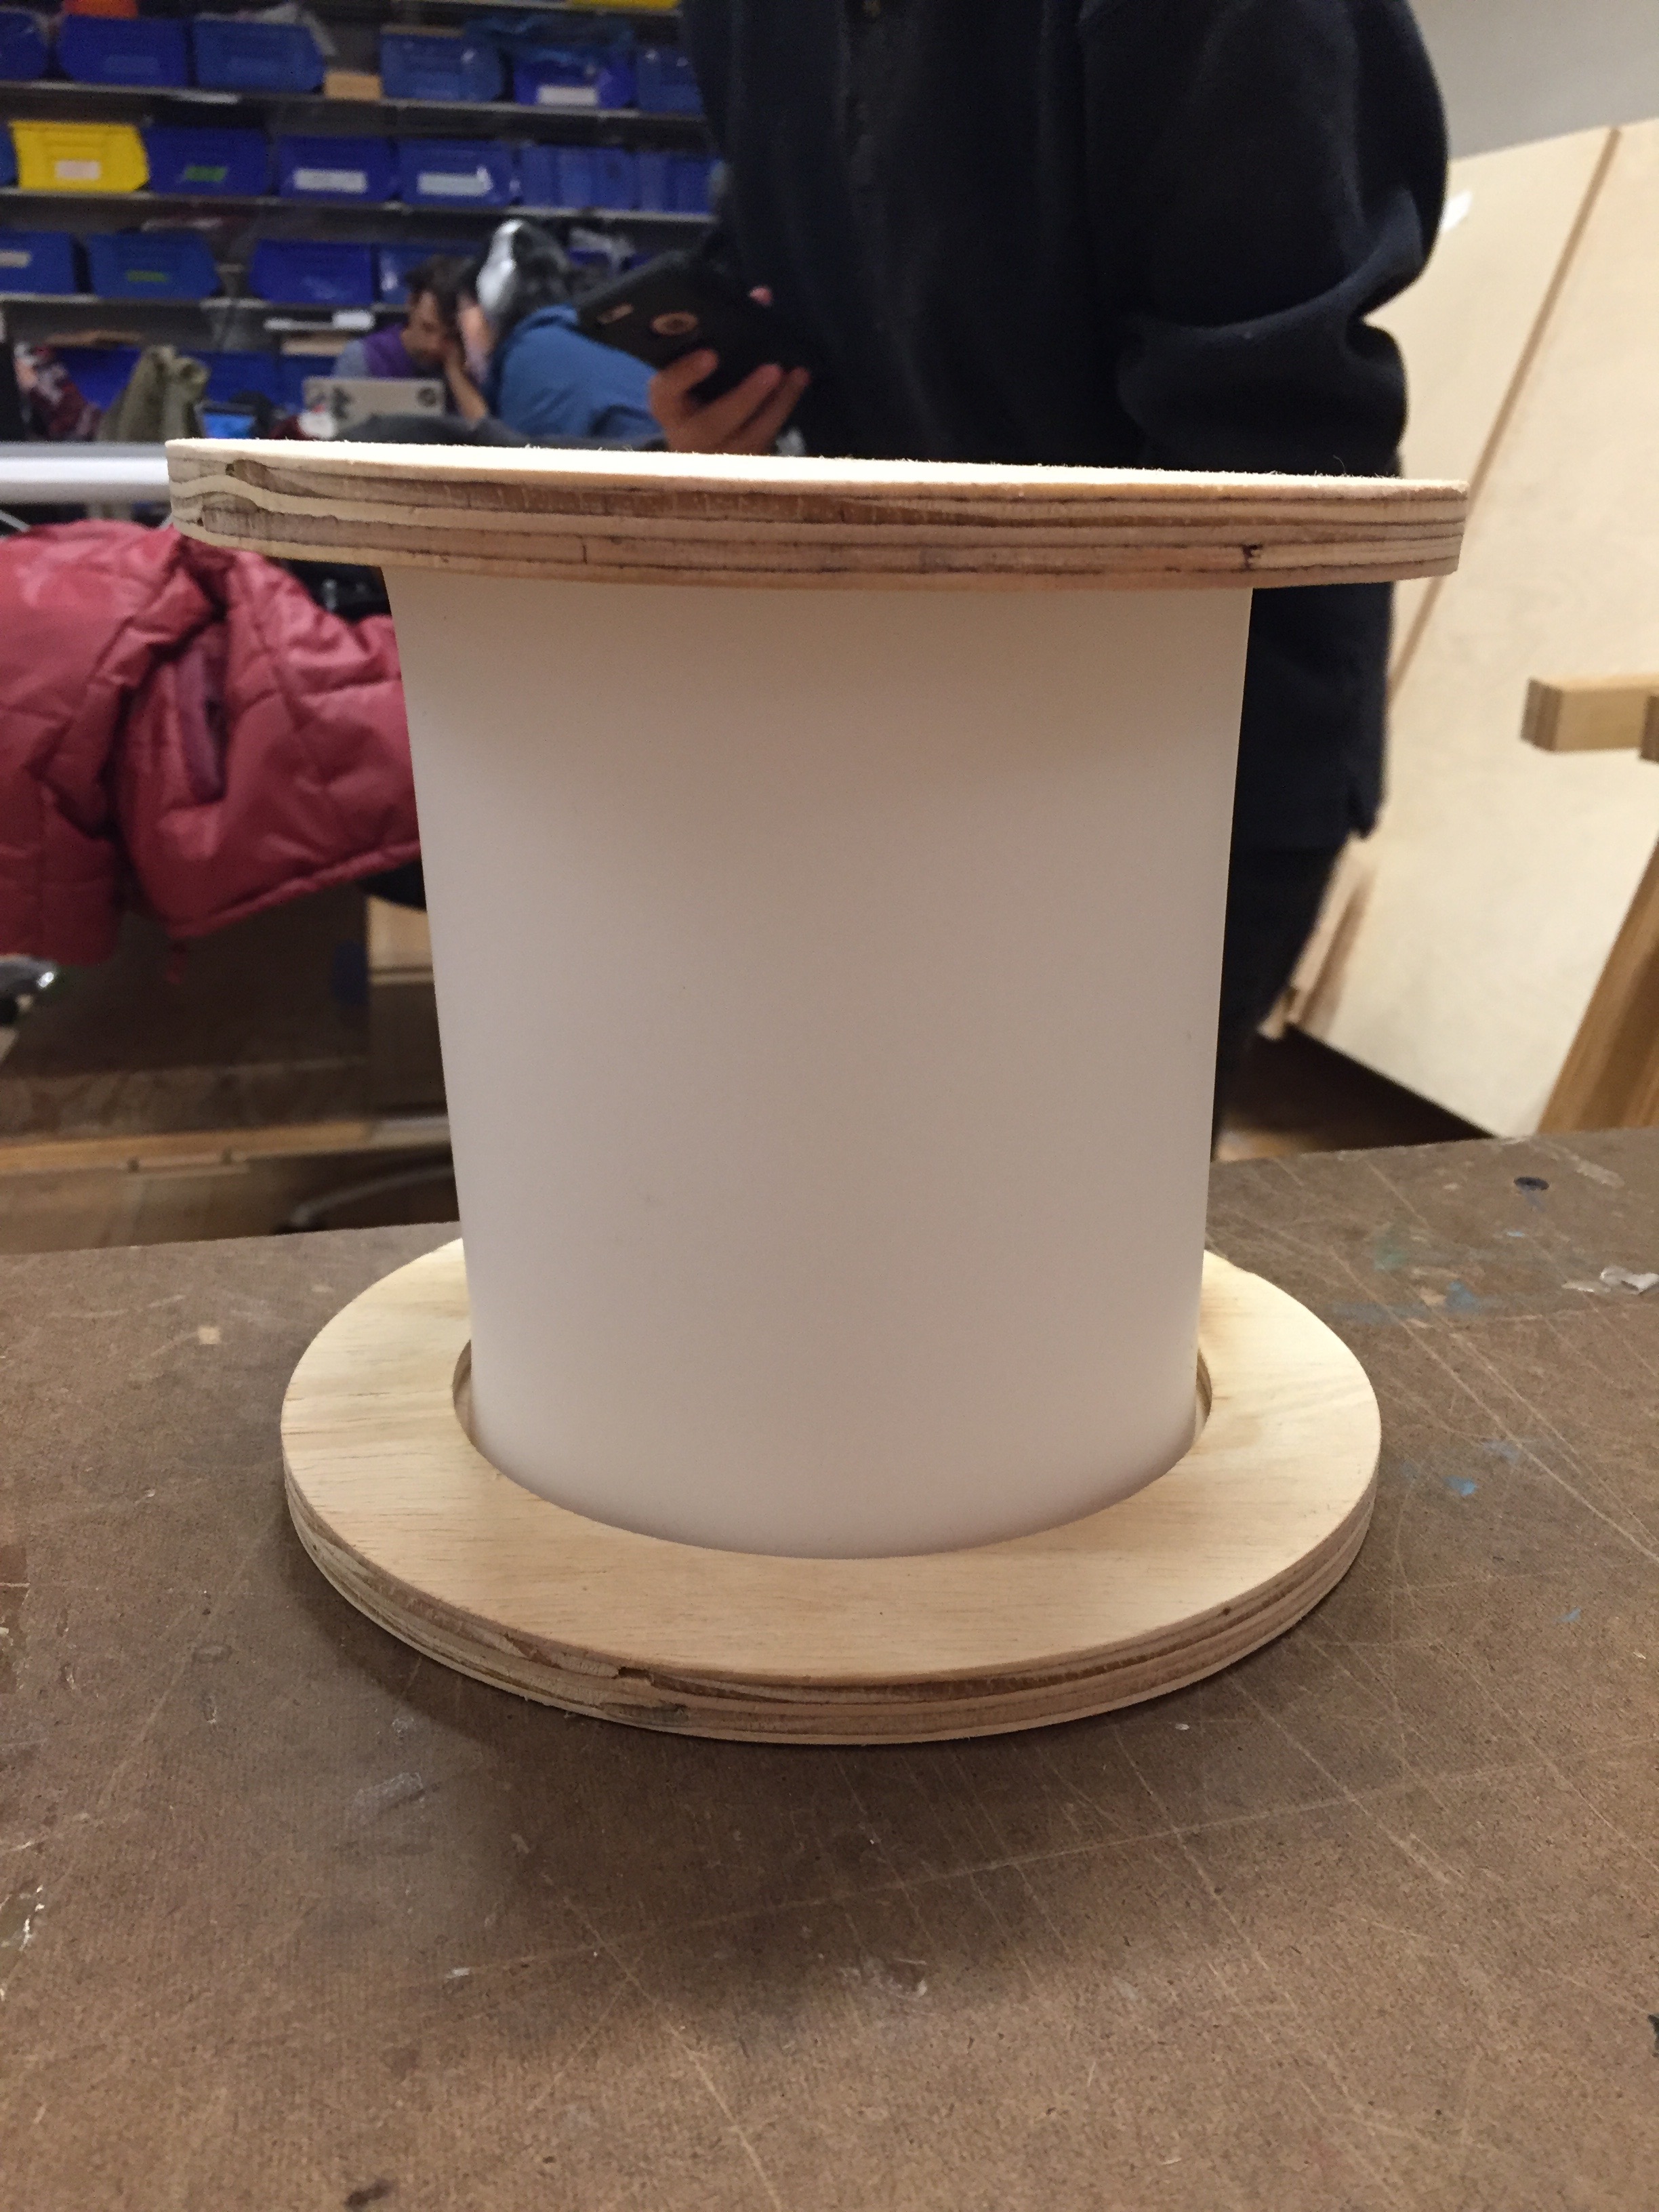
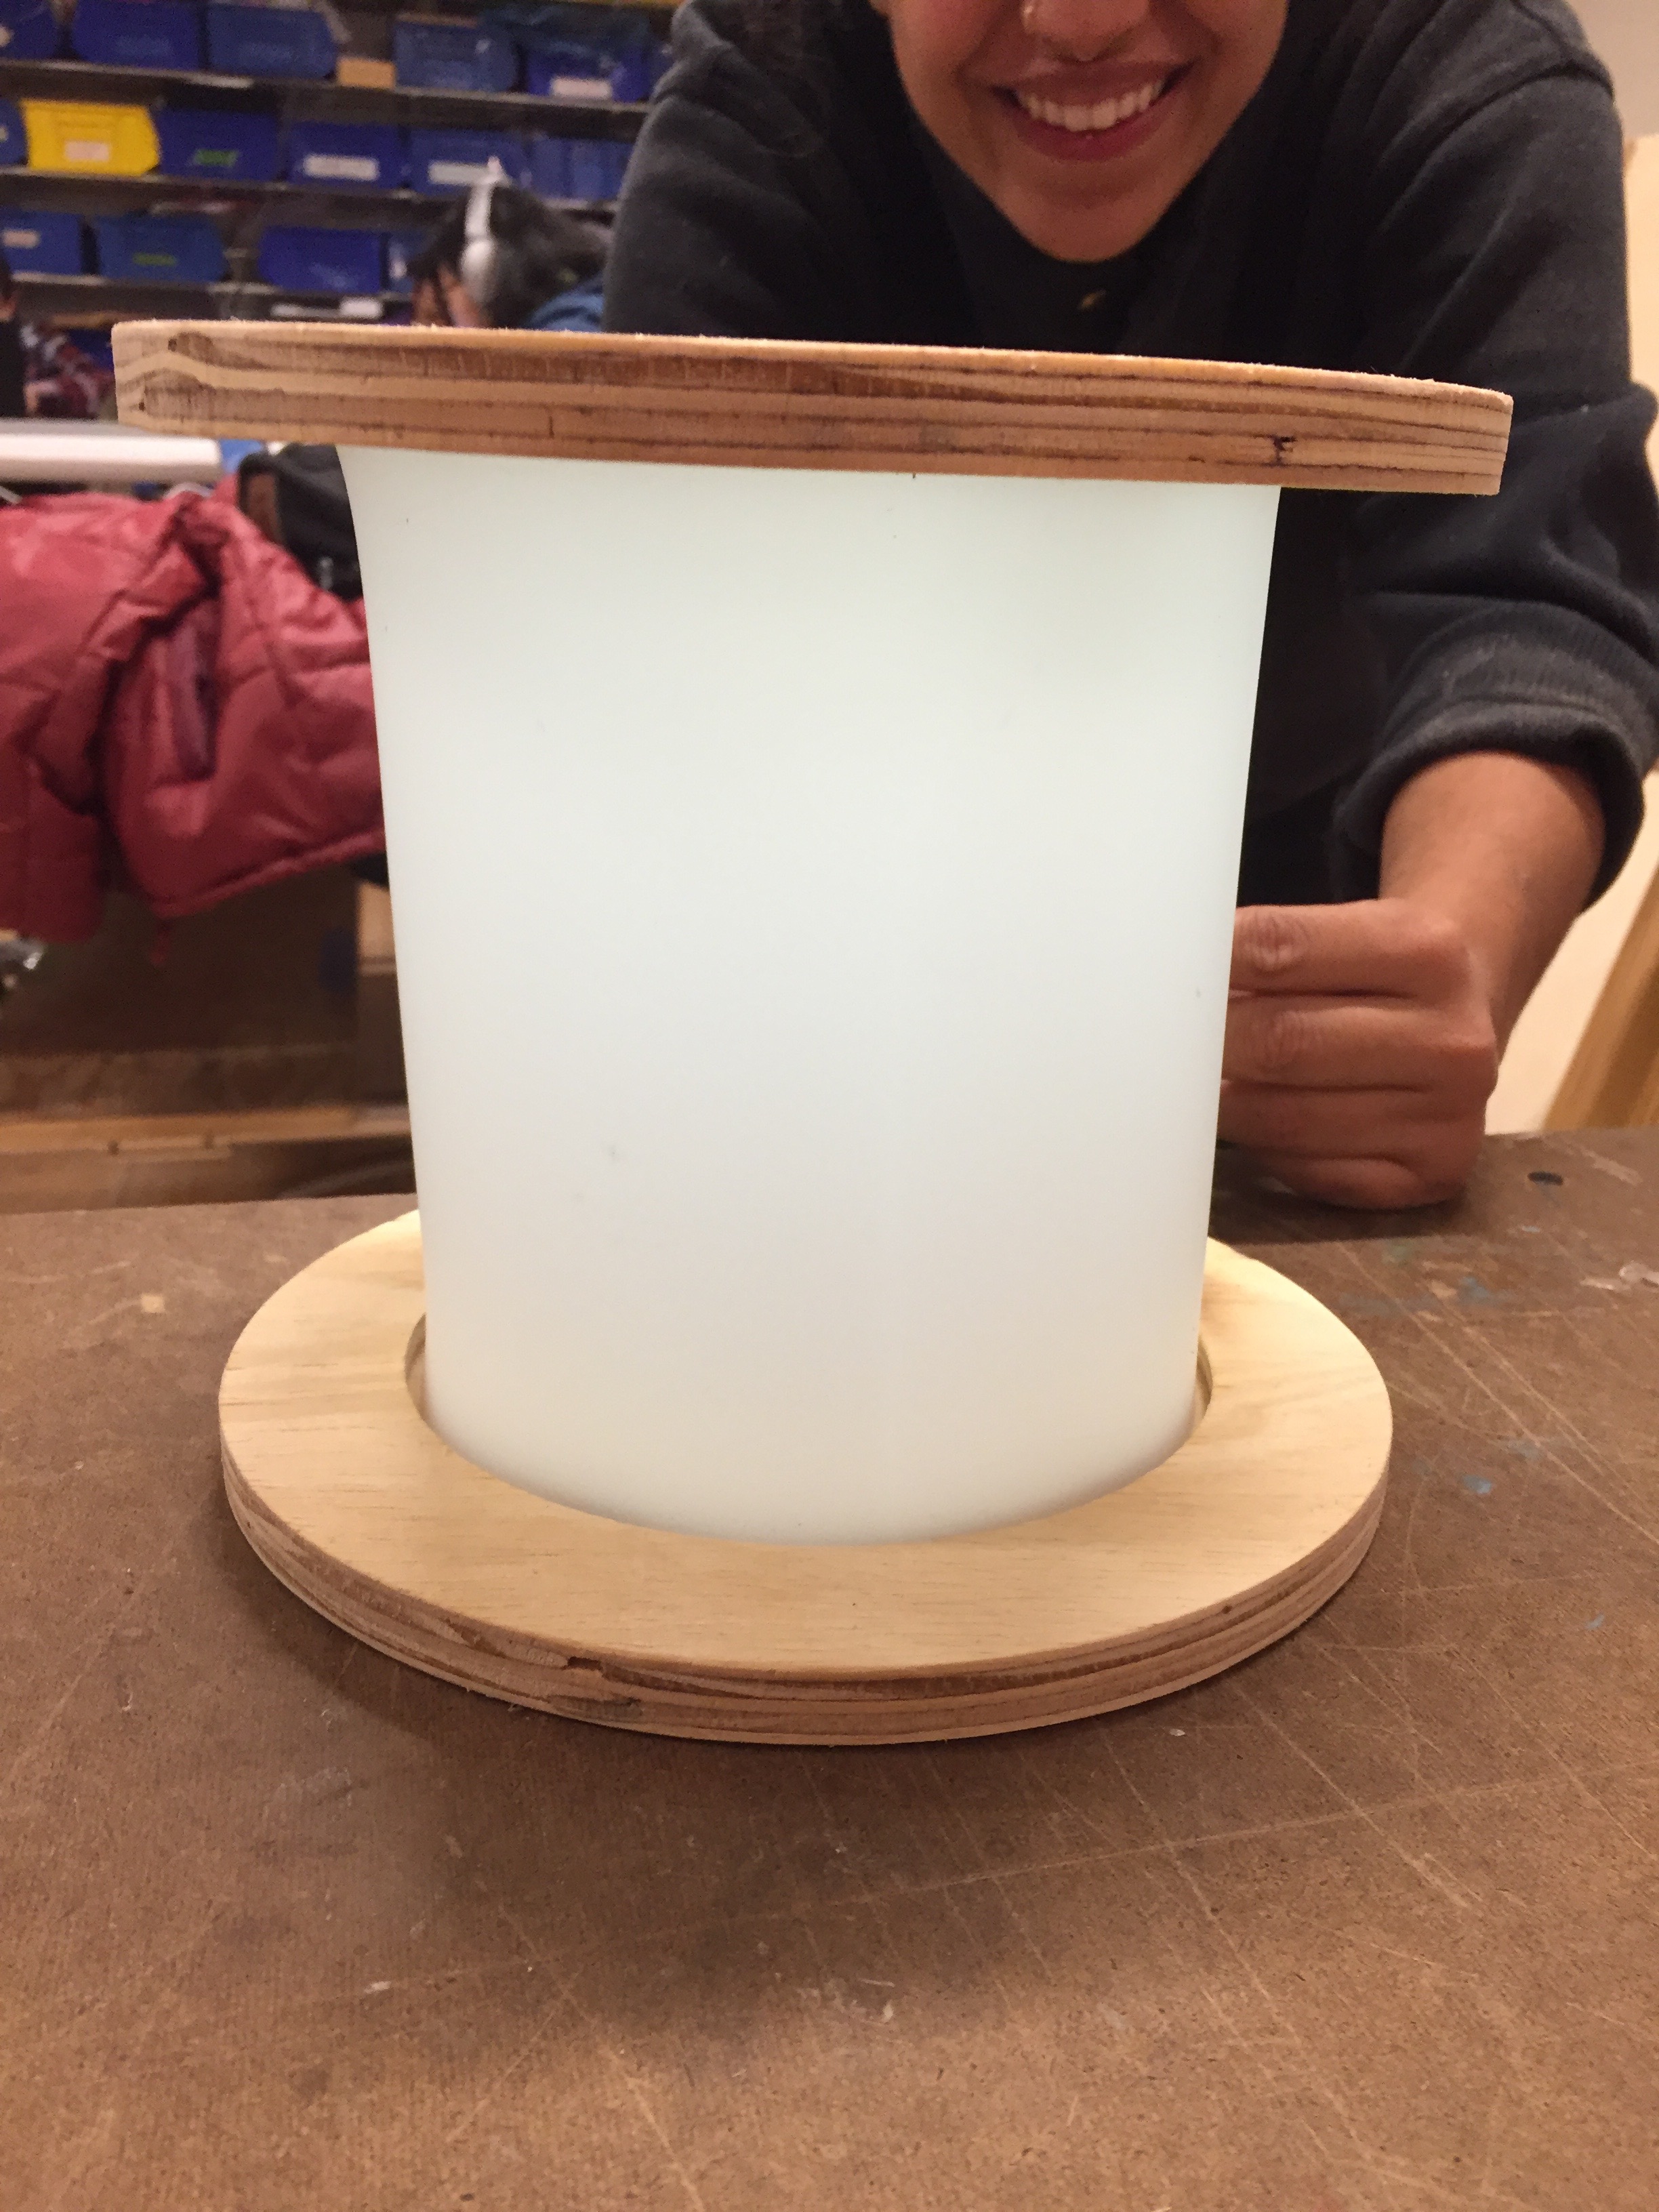
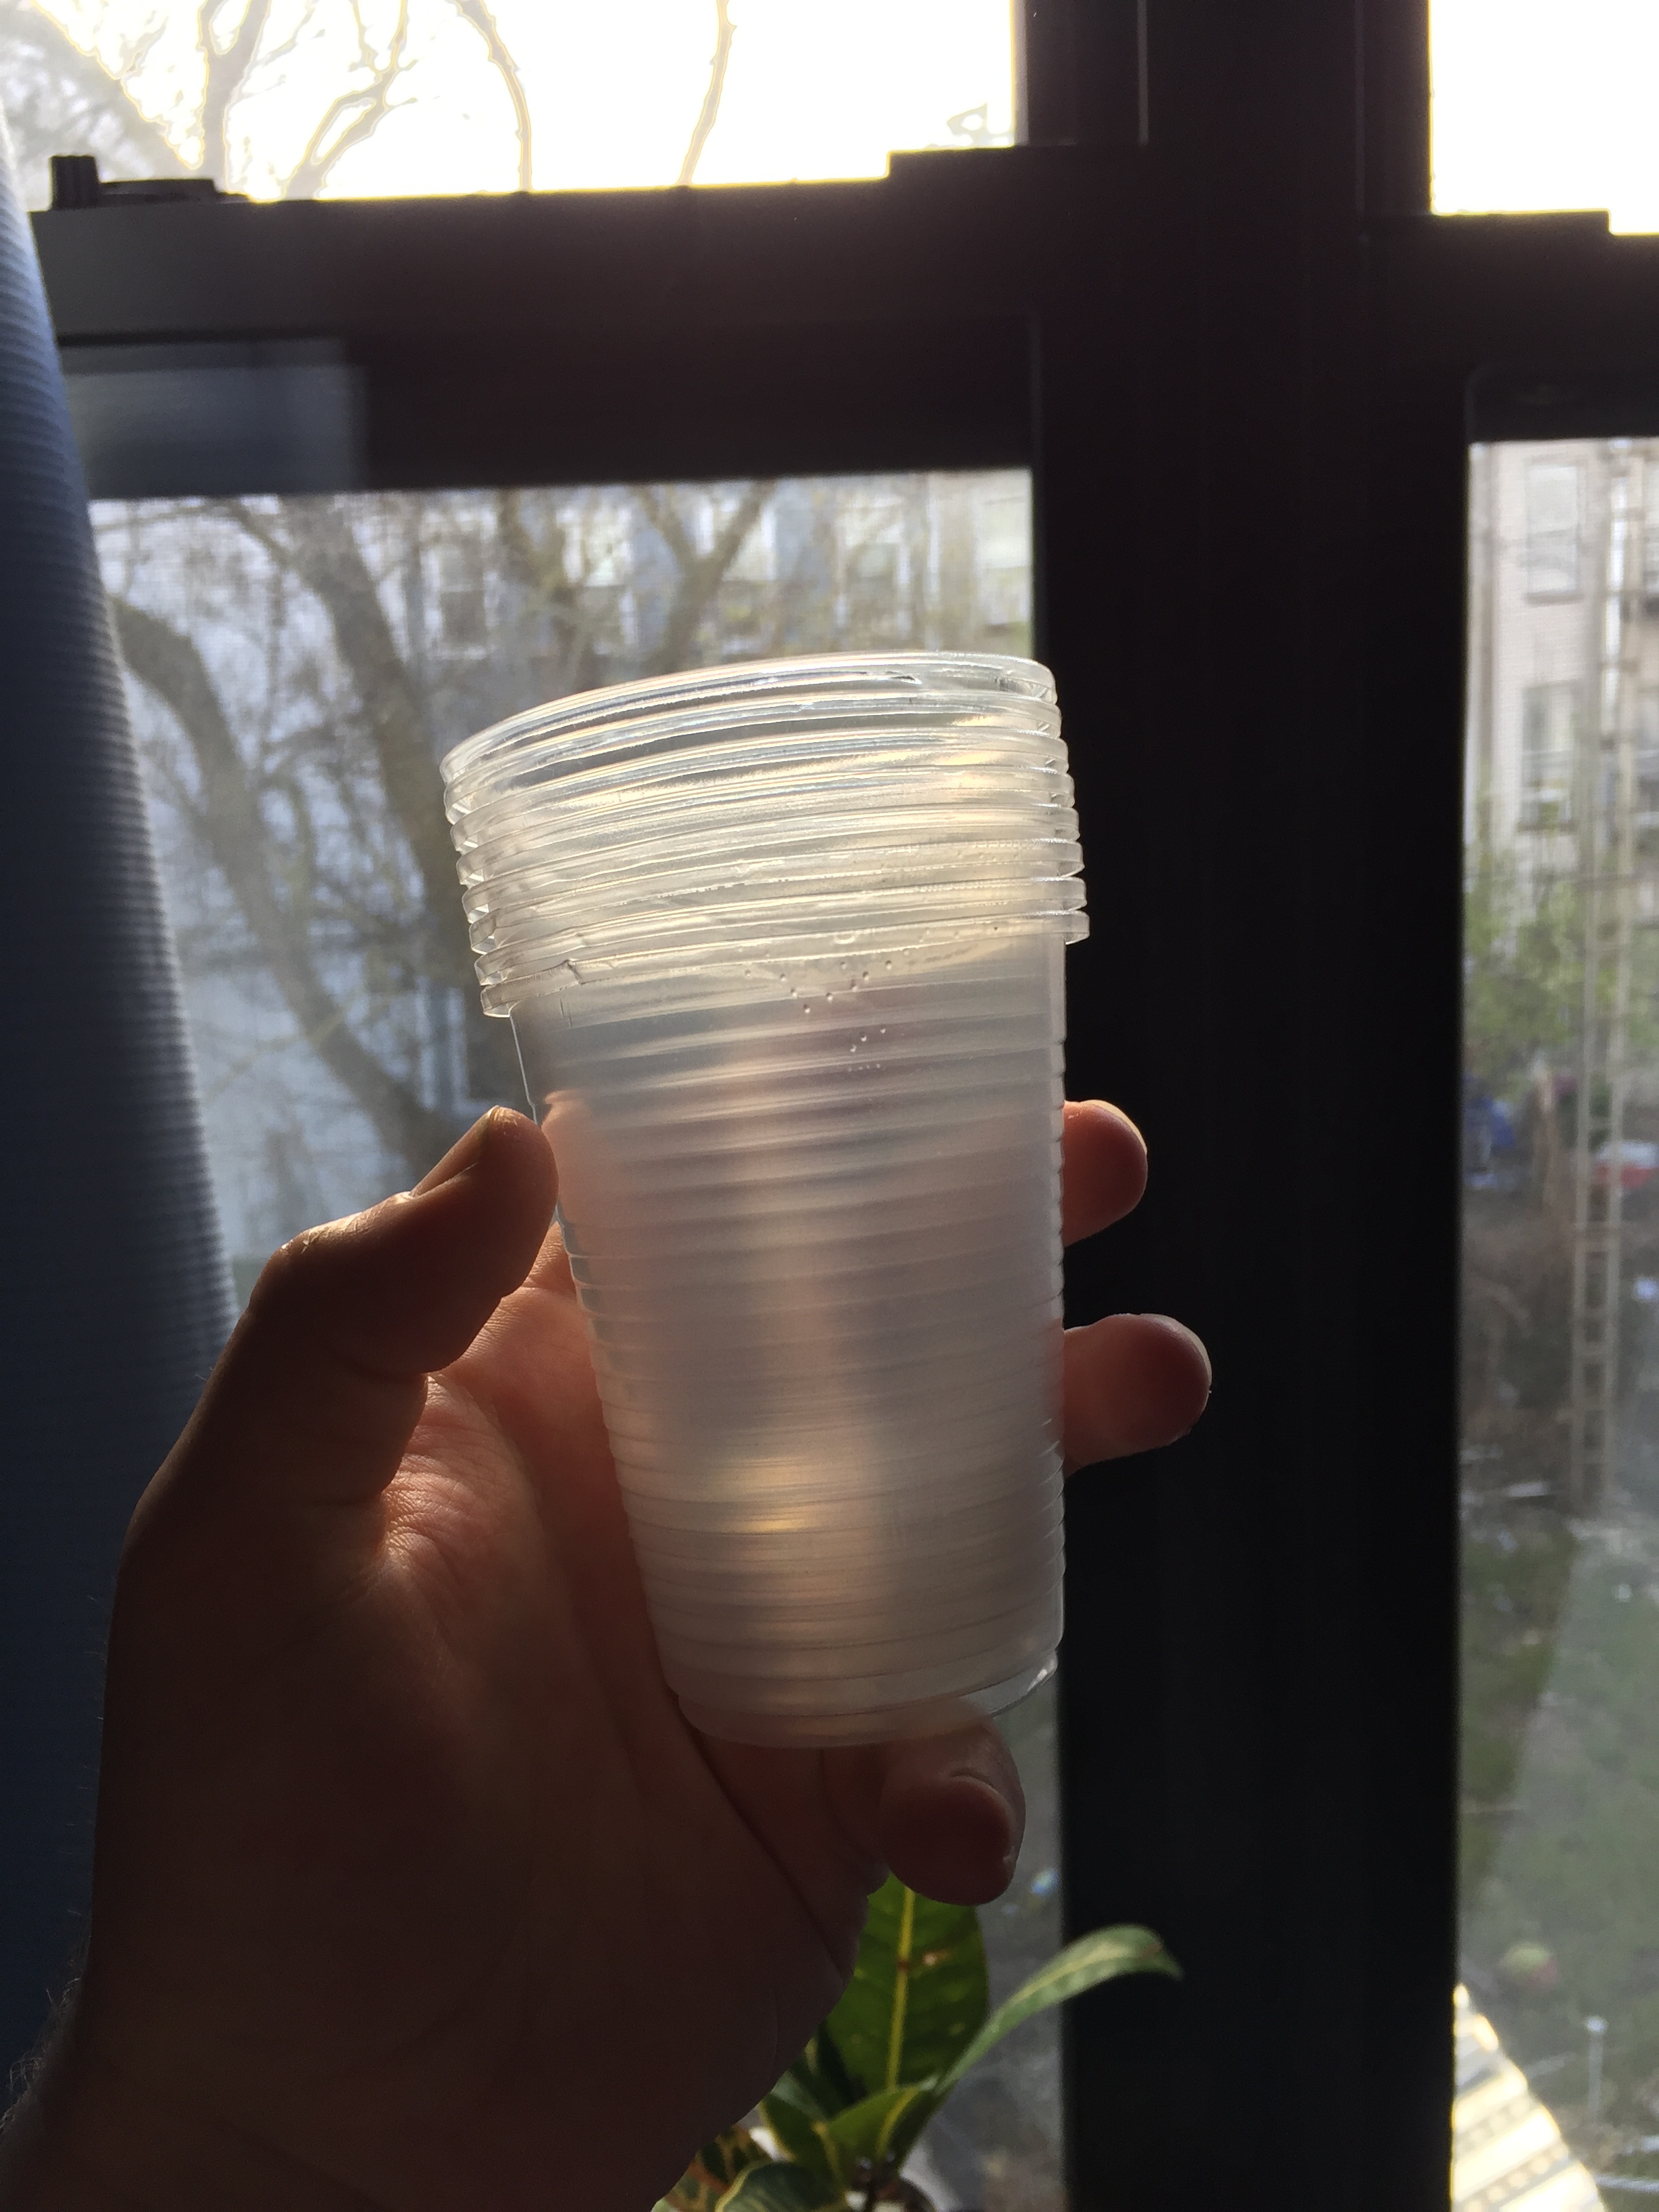
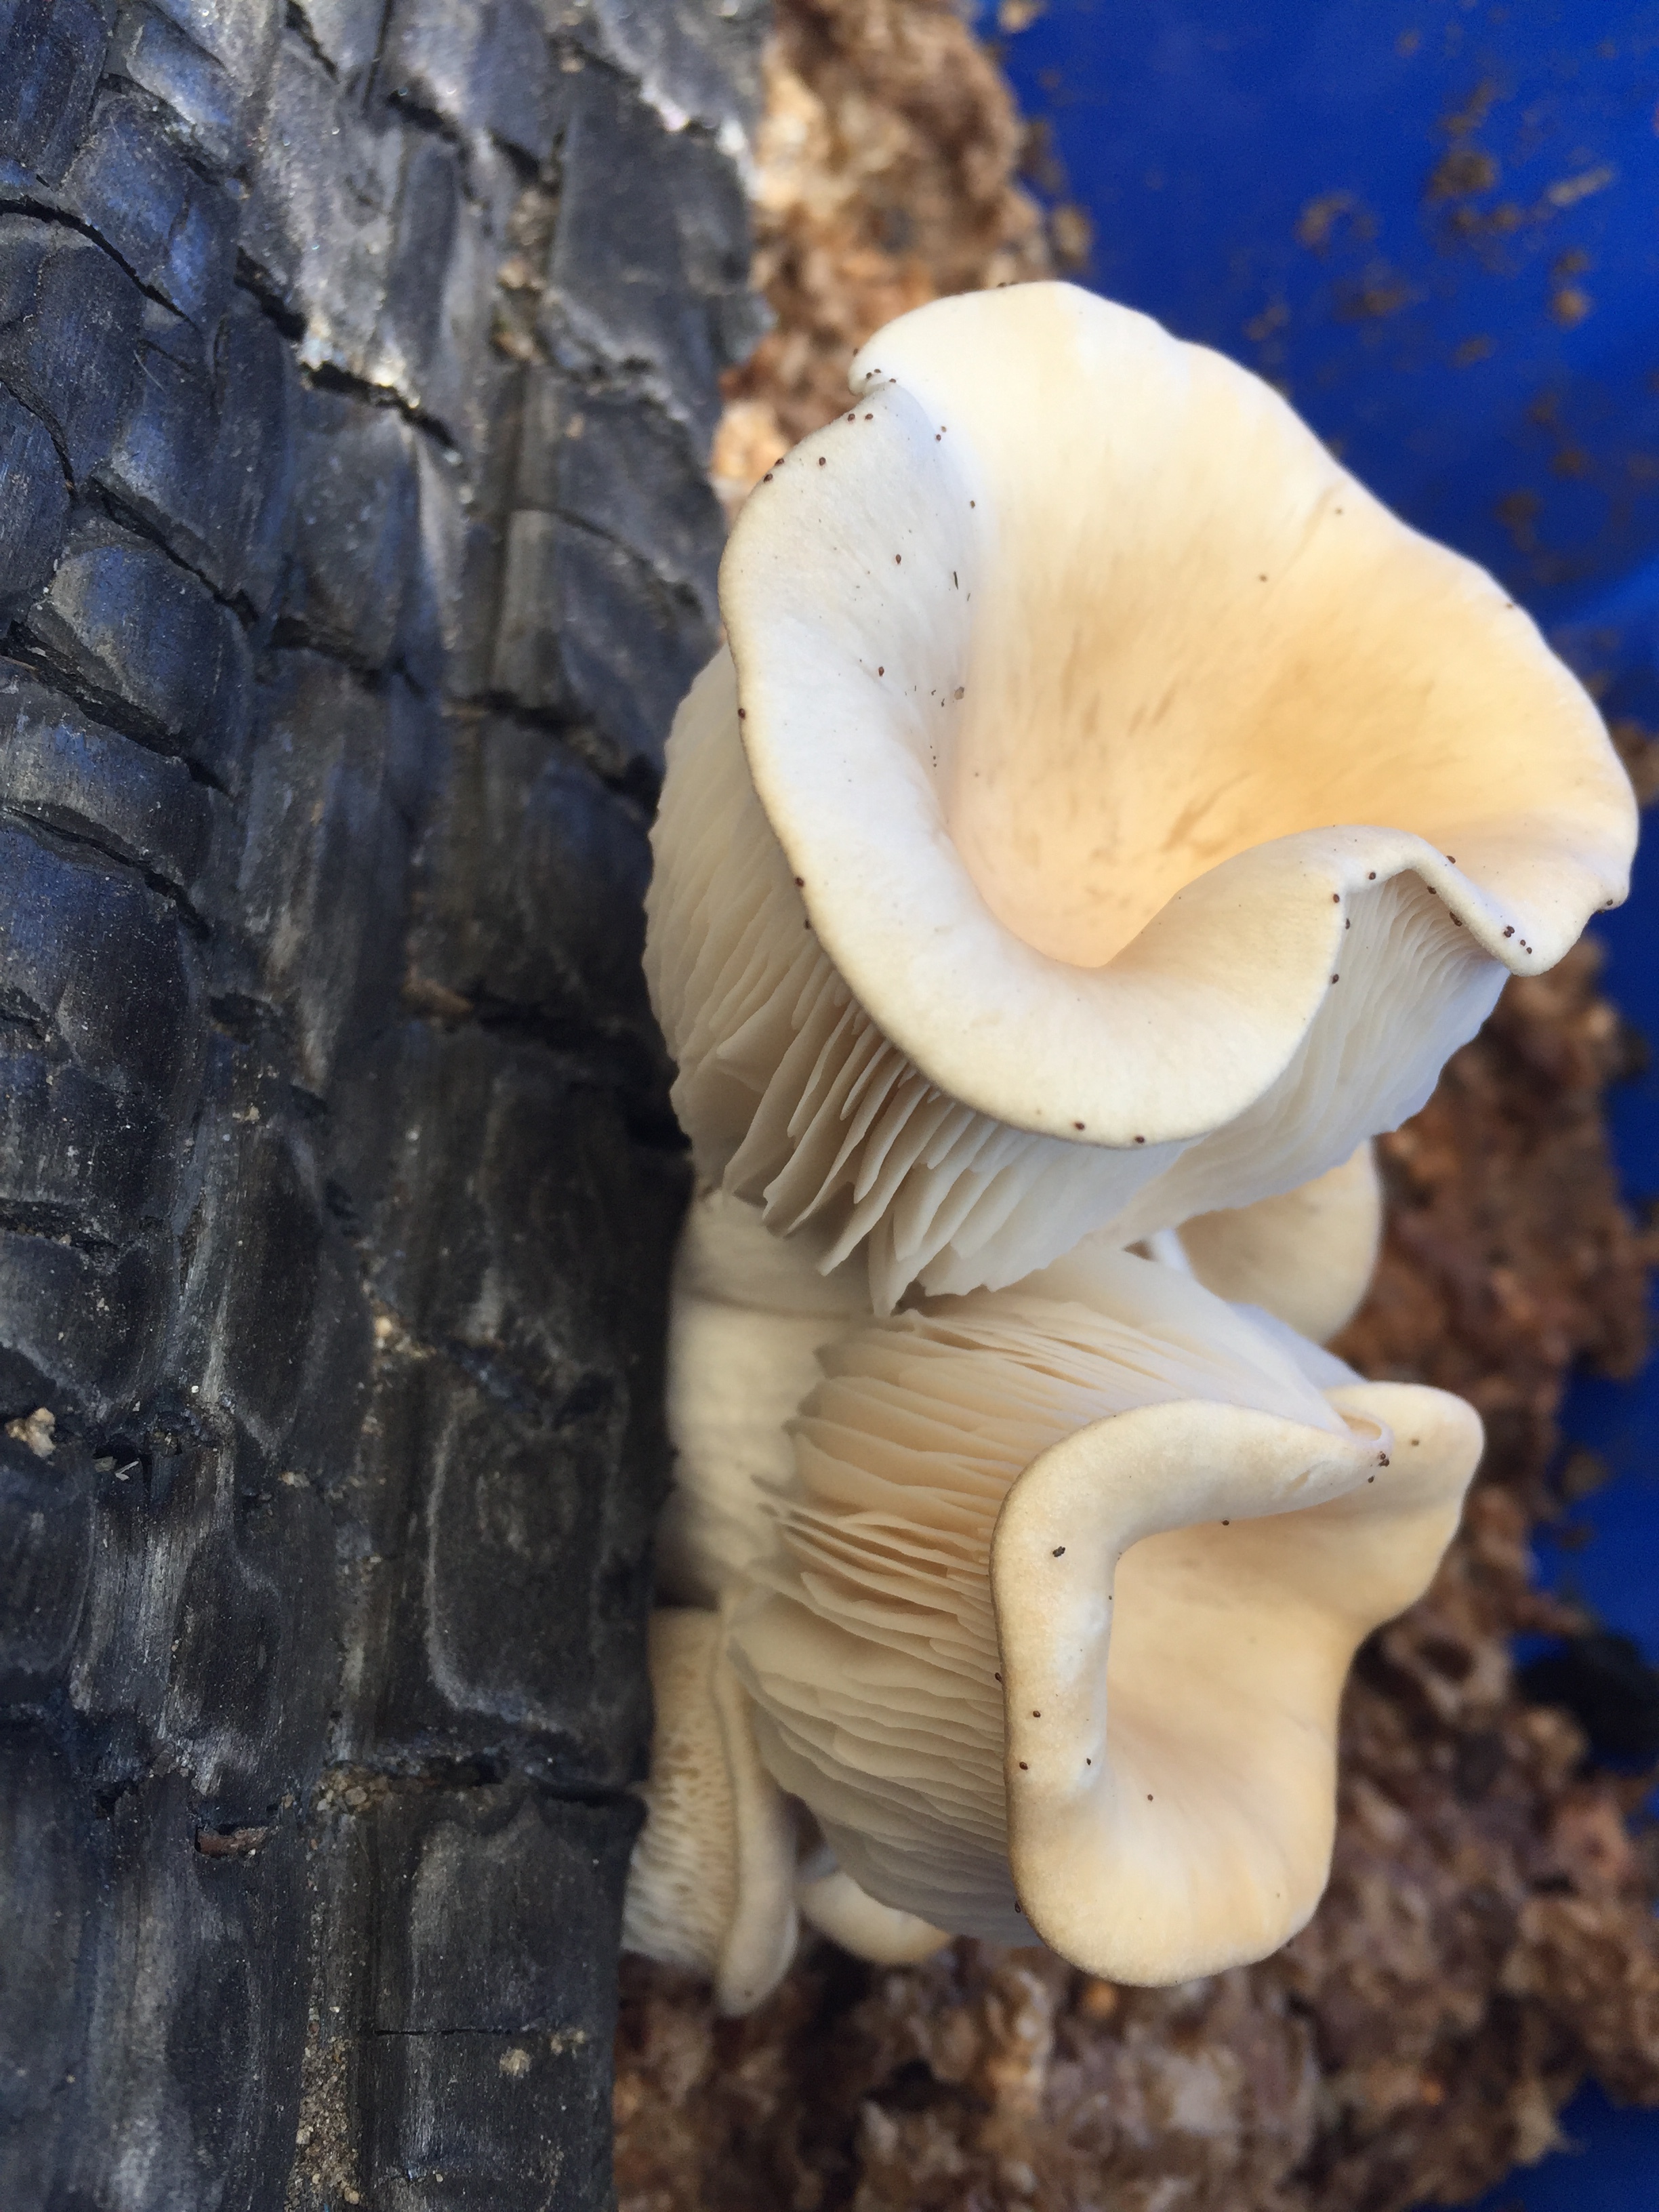
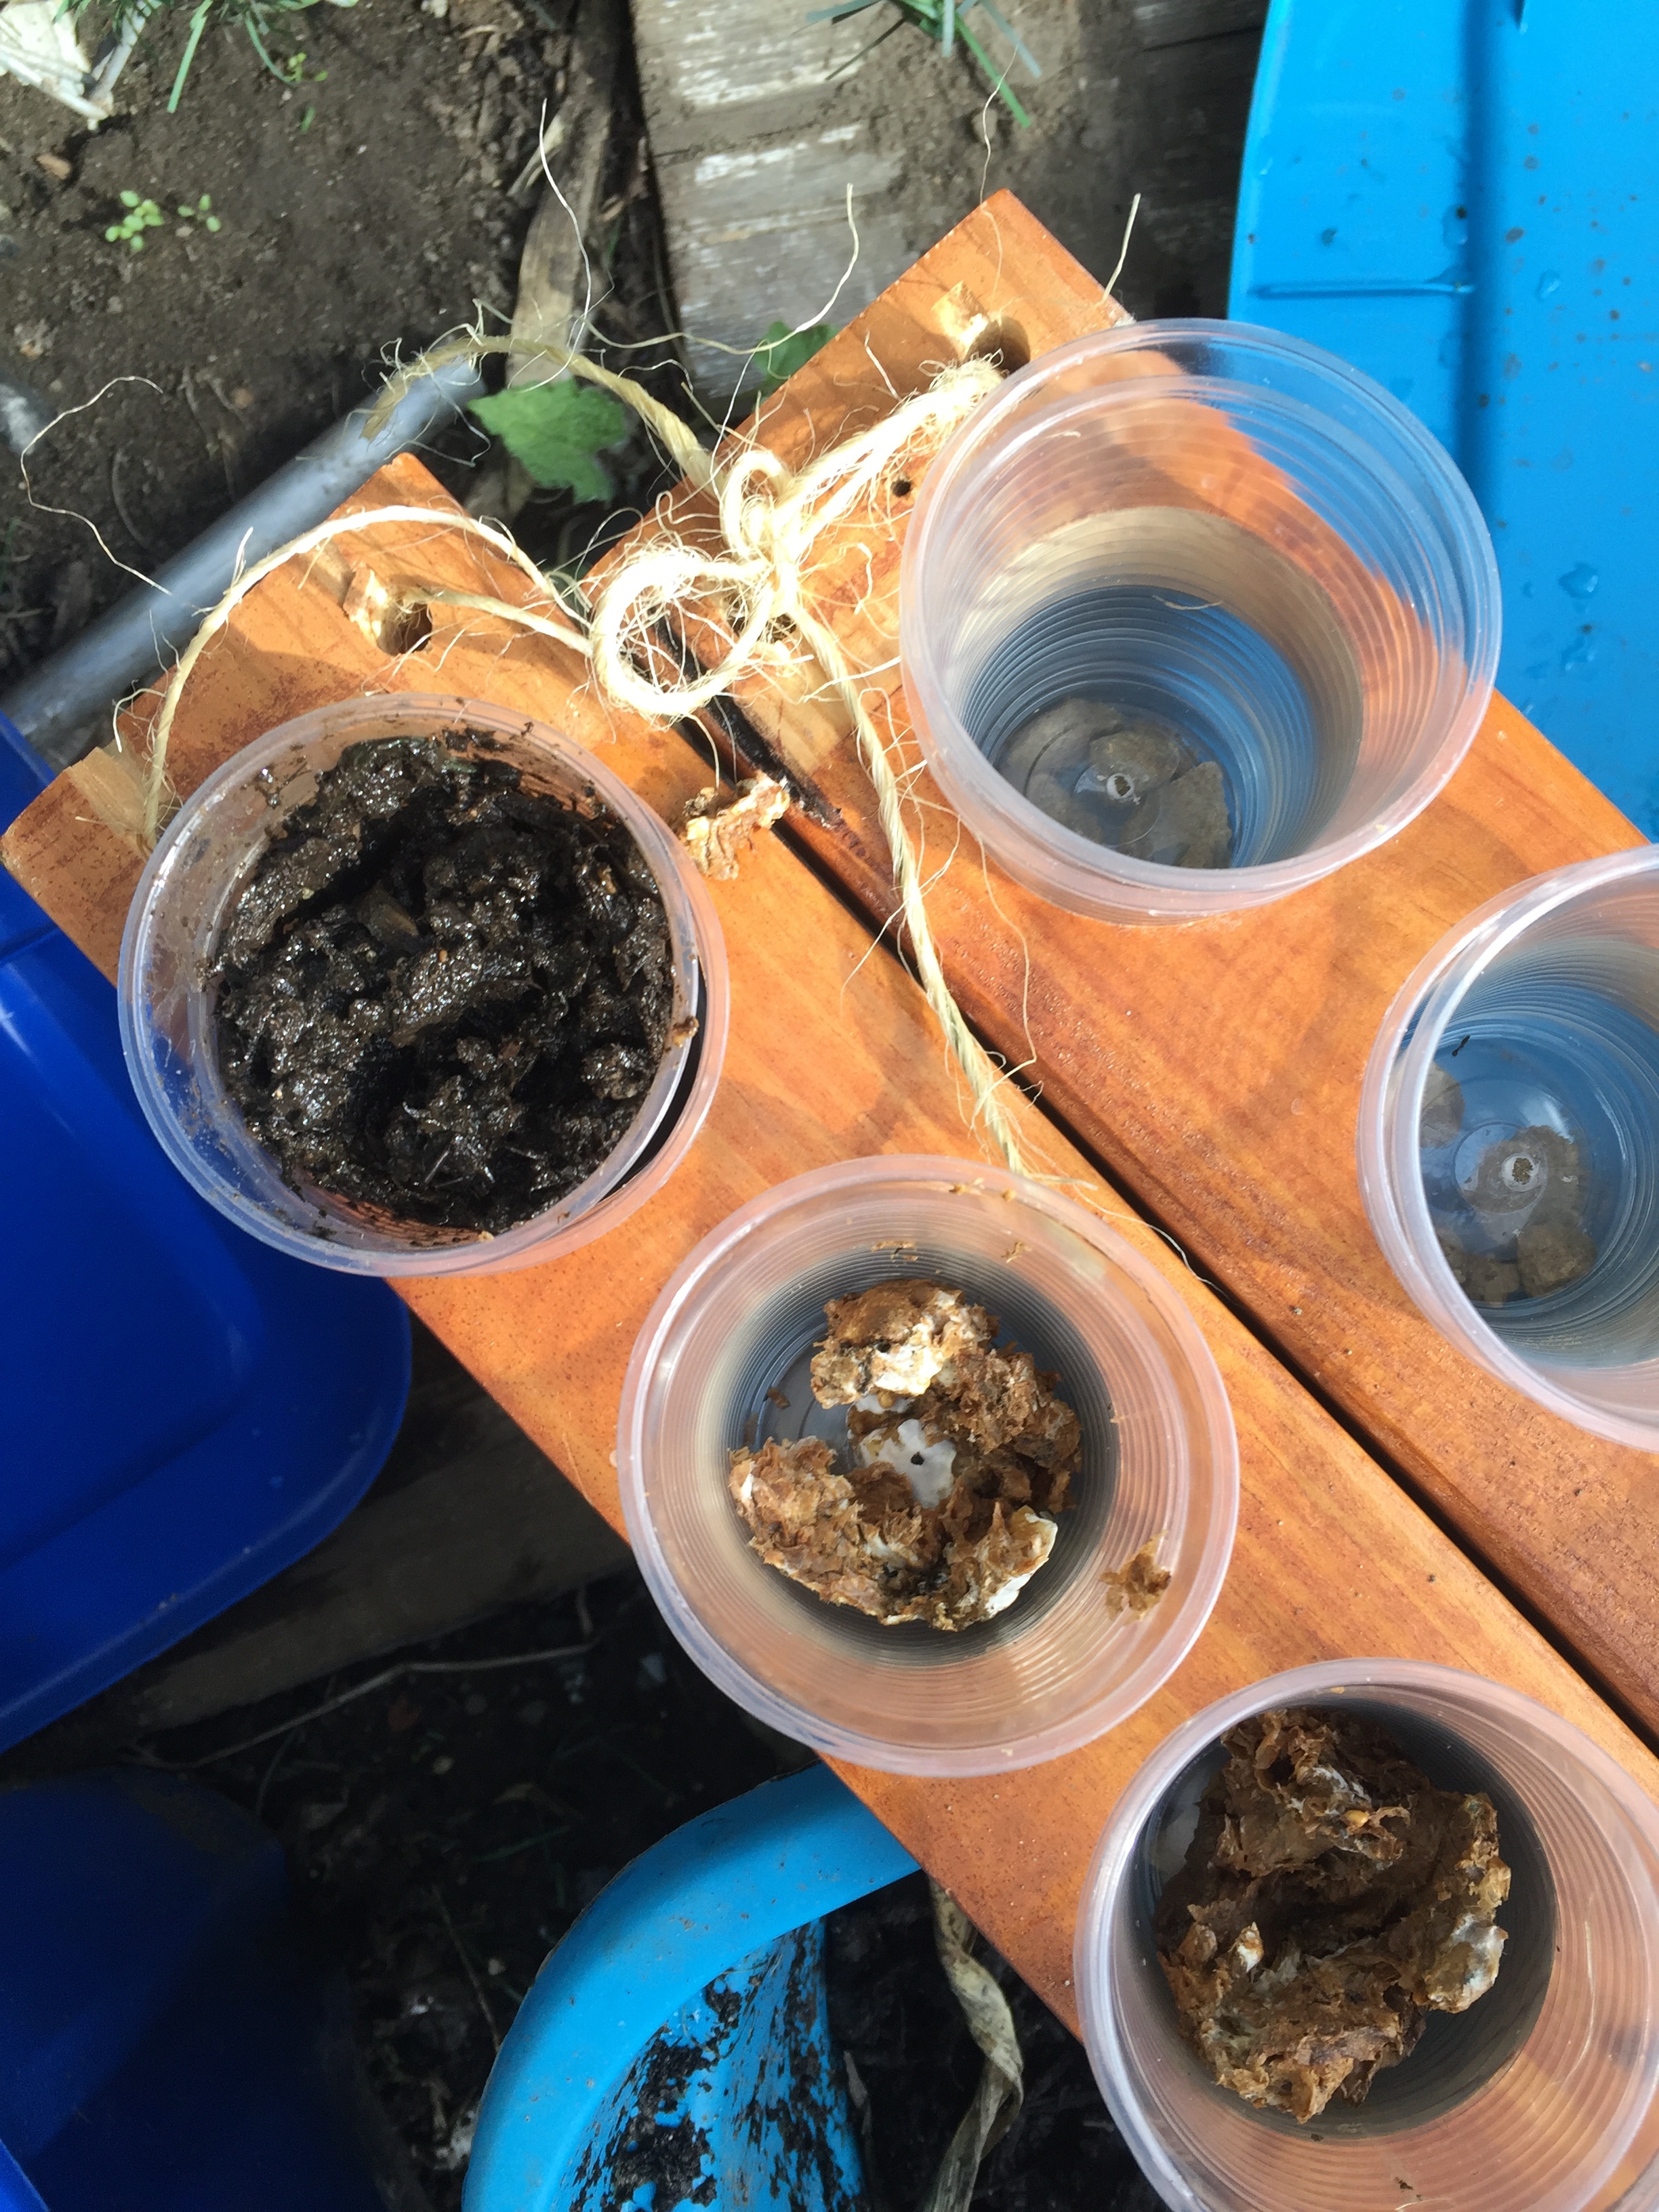
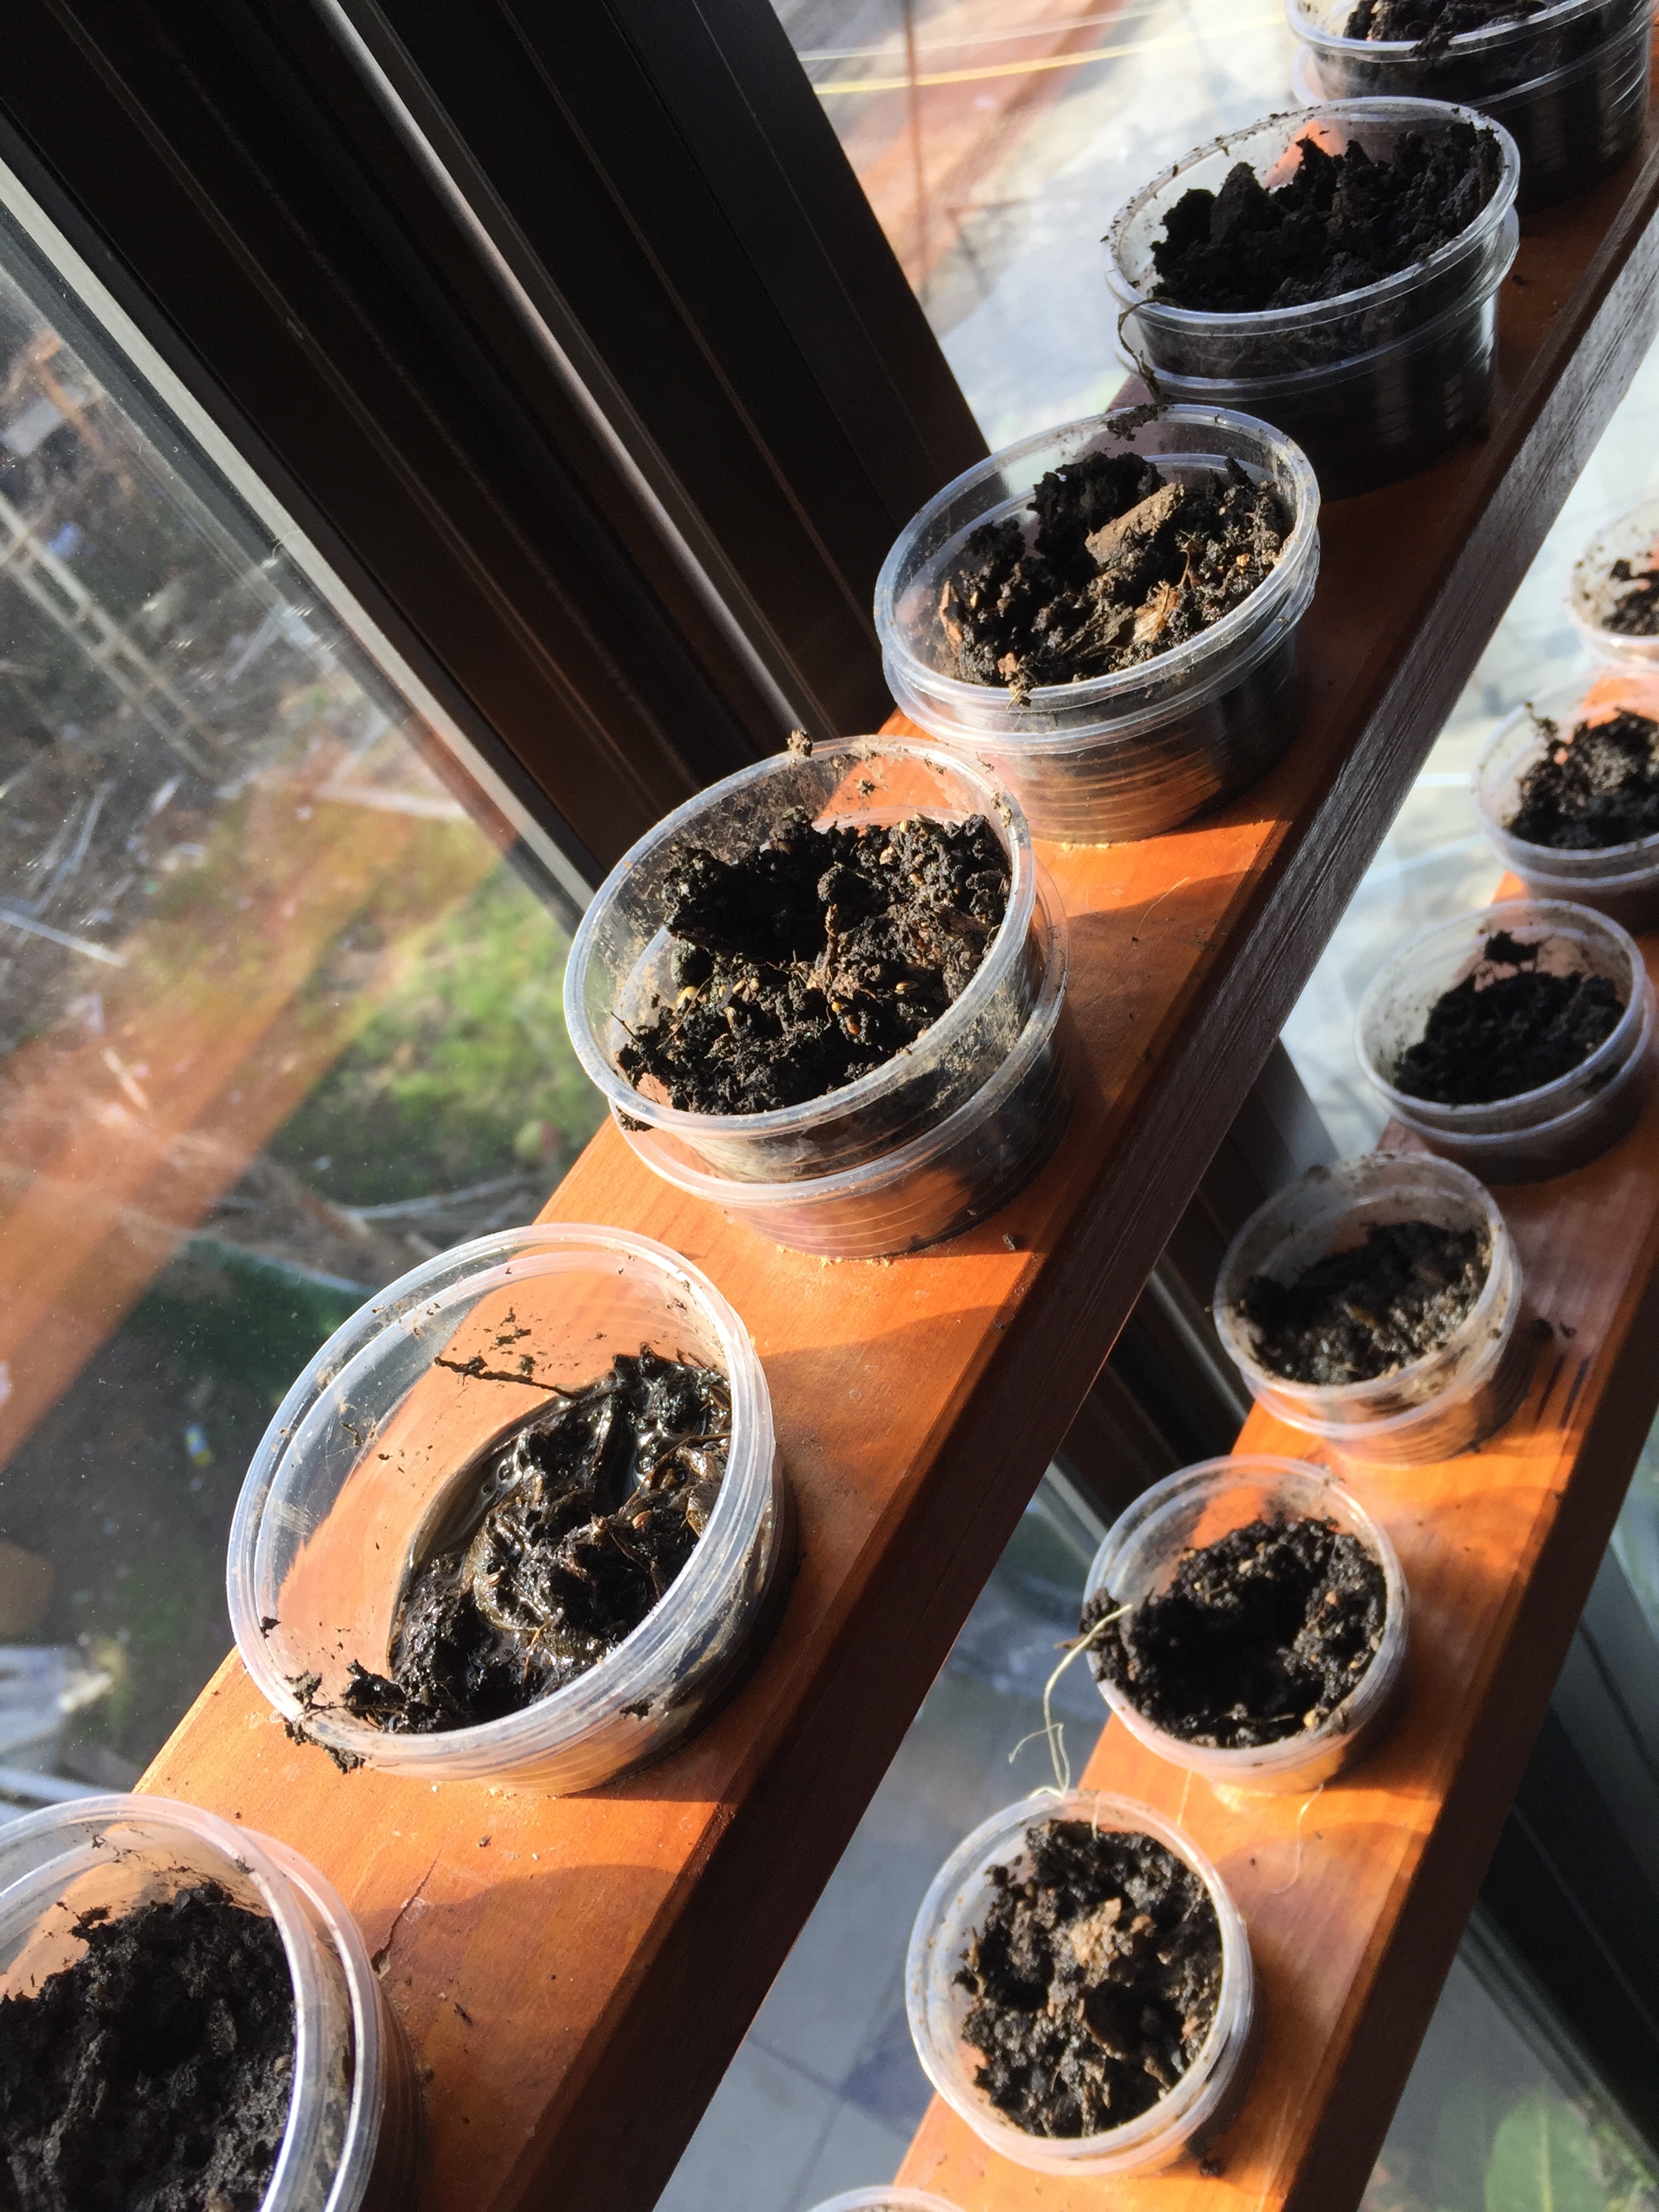
The next step was to prepare my planters. Also, when I went outside to get the compost for these cups - for part of this project is to test my various compost mixtures out, along with my mycelium - I found my oyster mushrooms had bloomed! How wonderful and surprising.

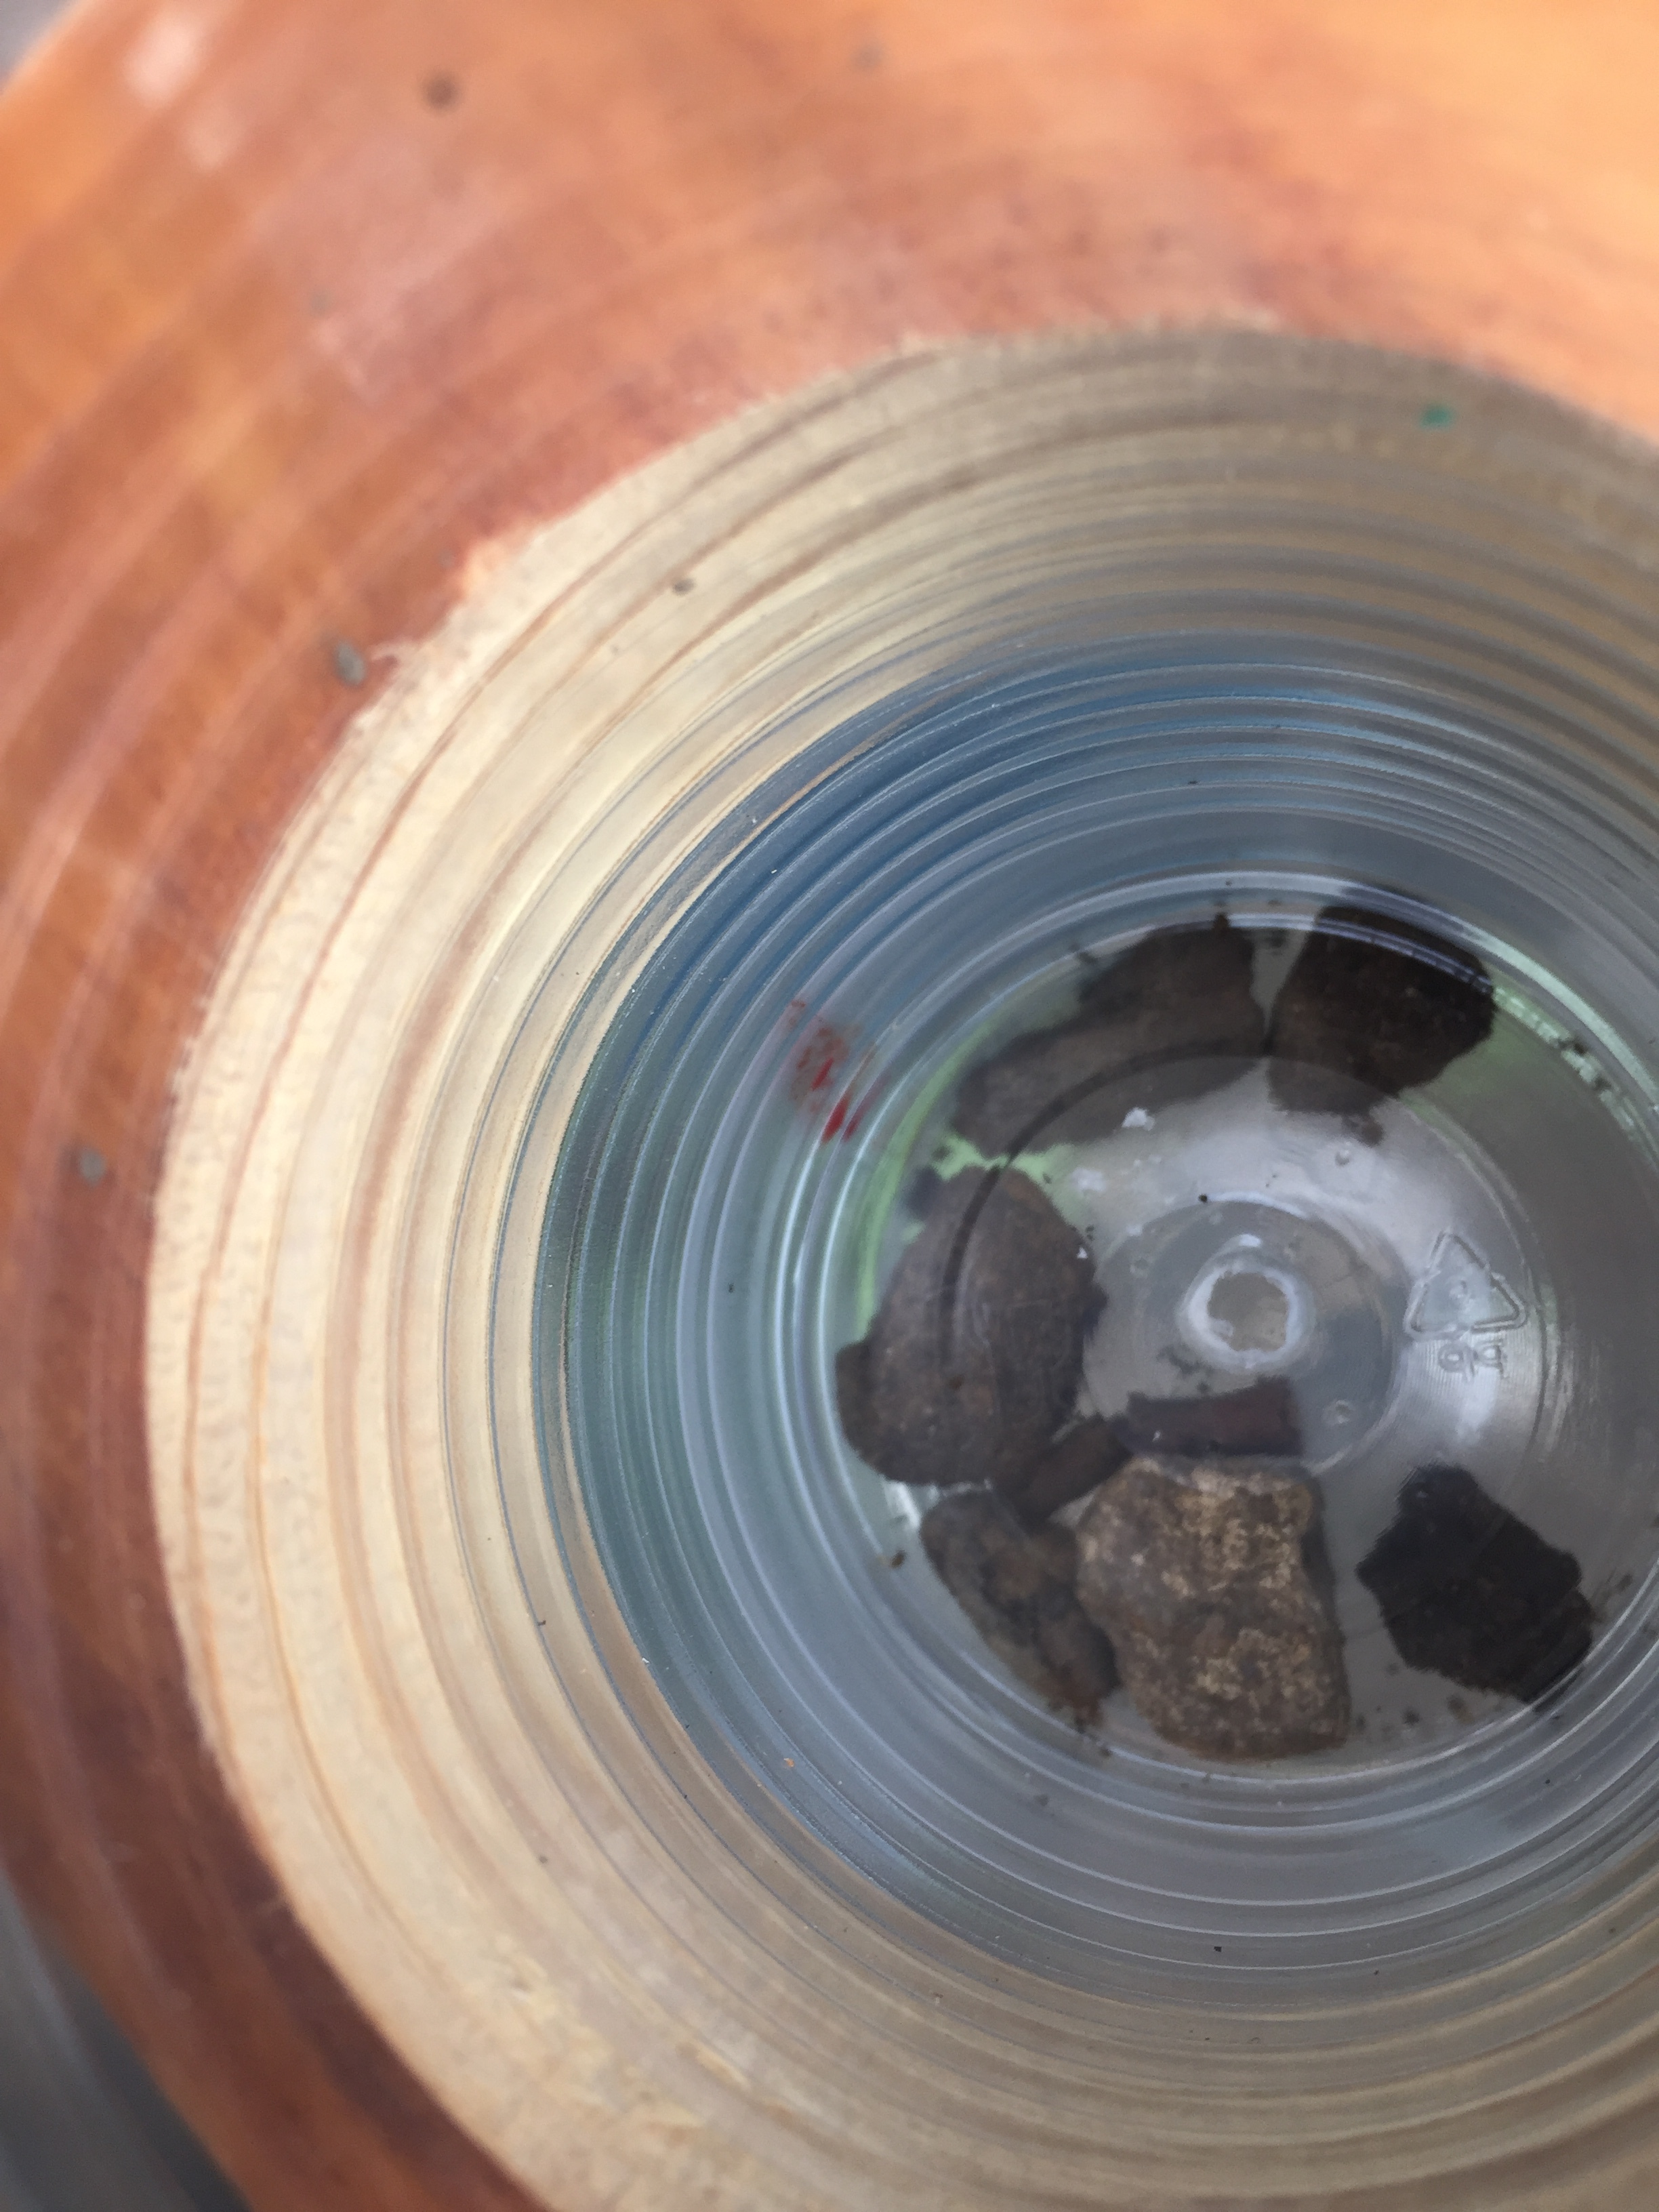
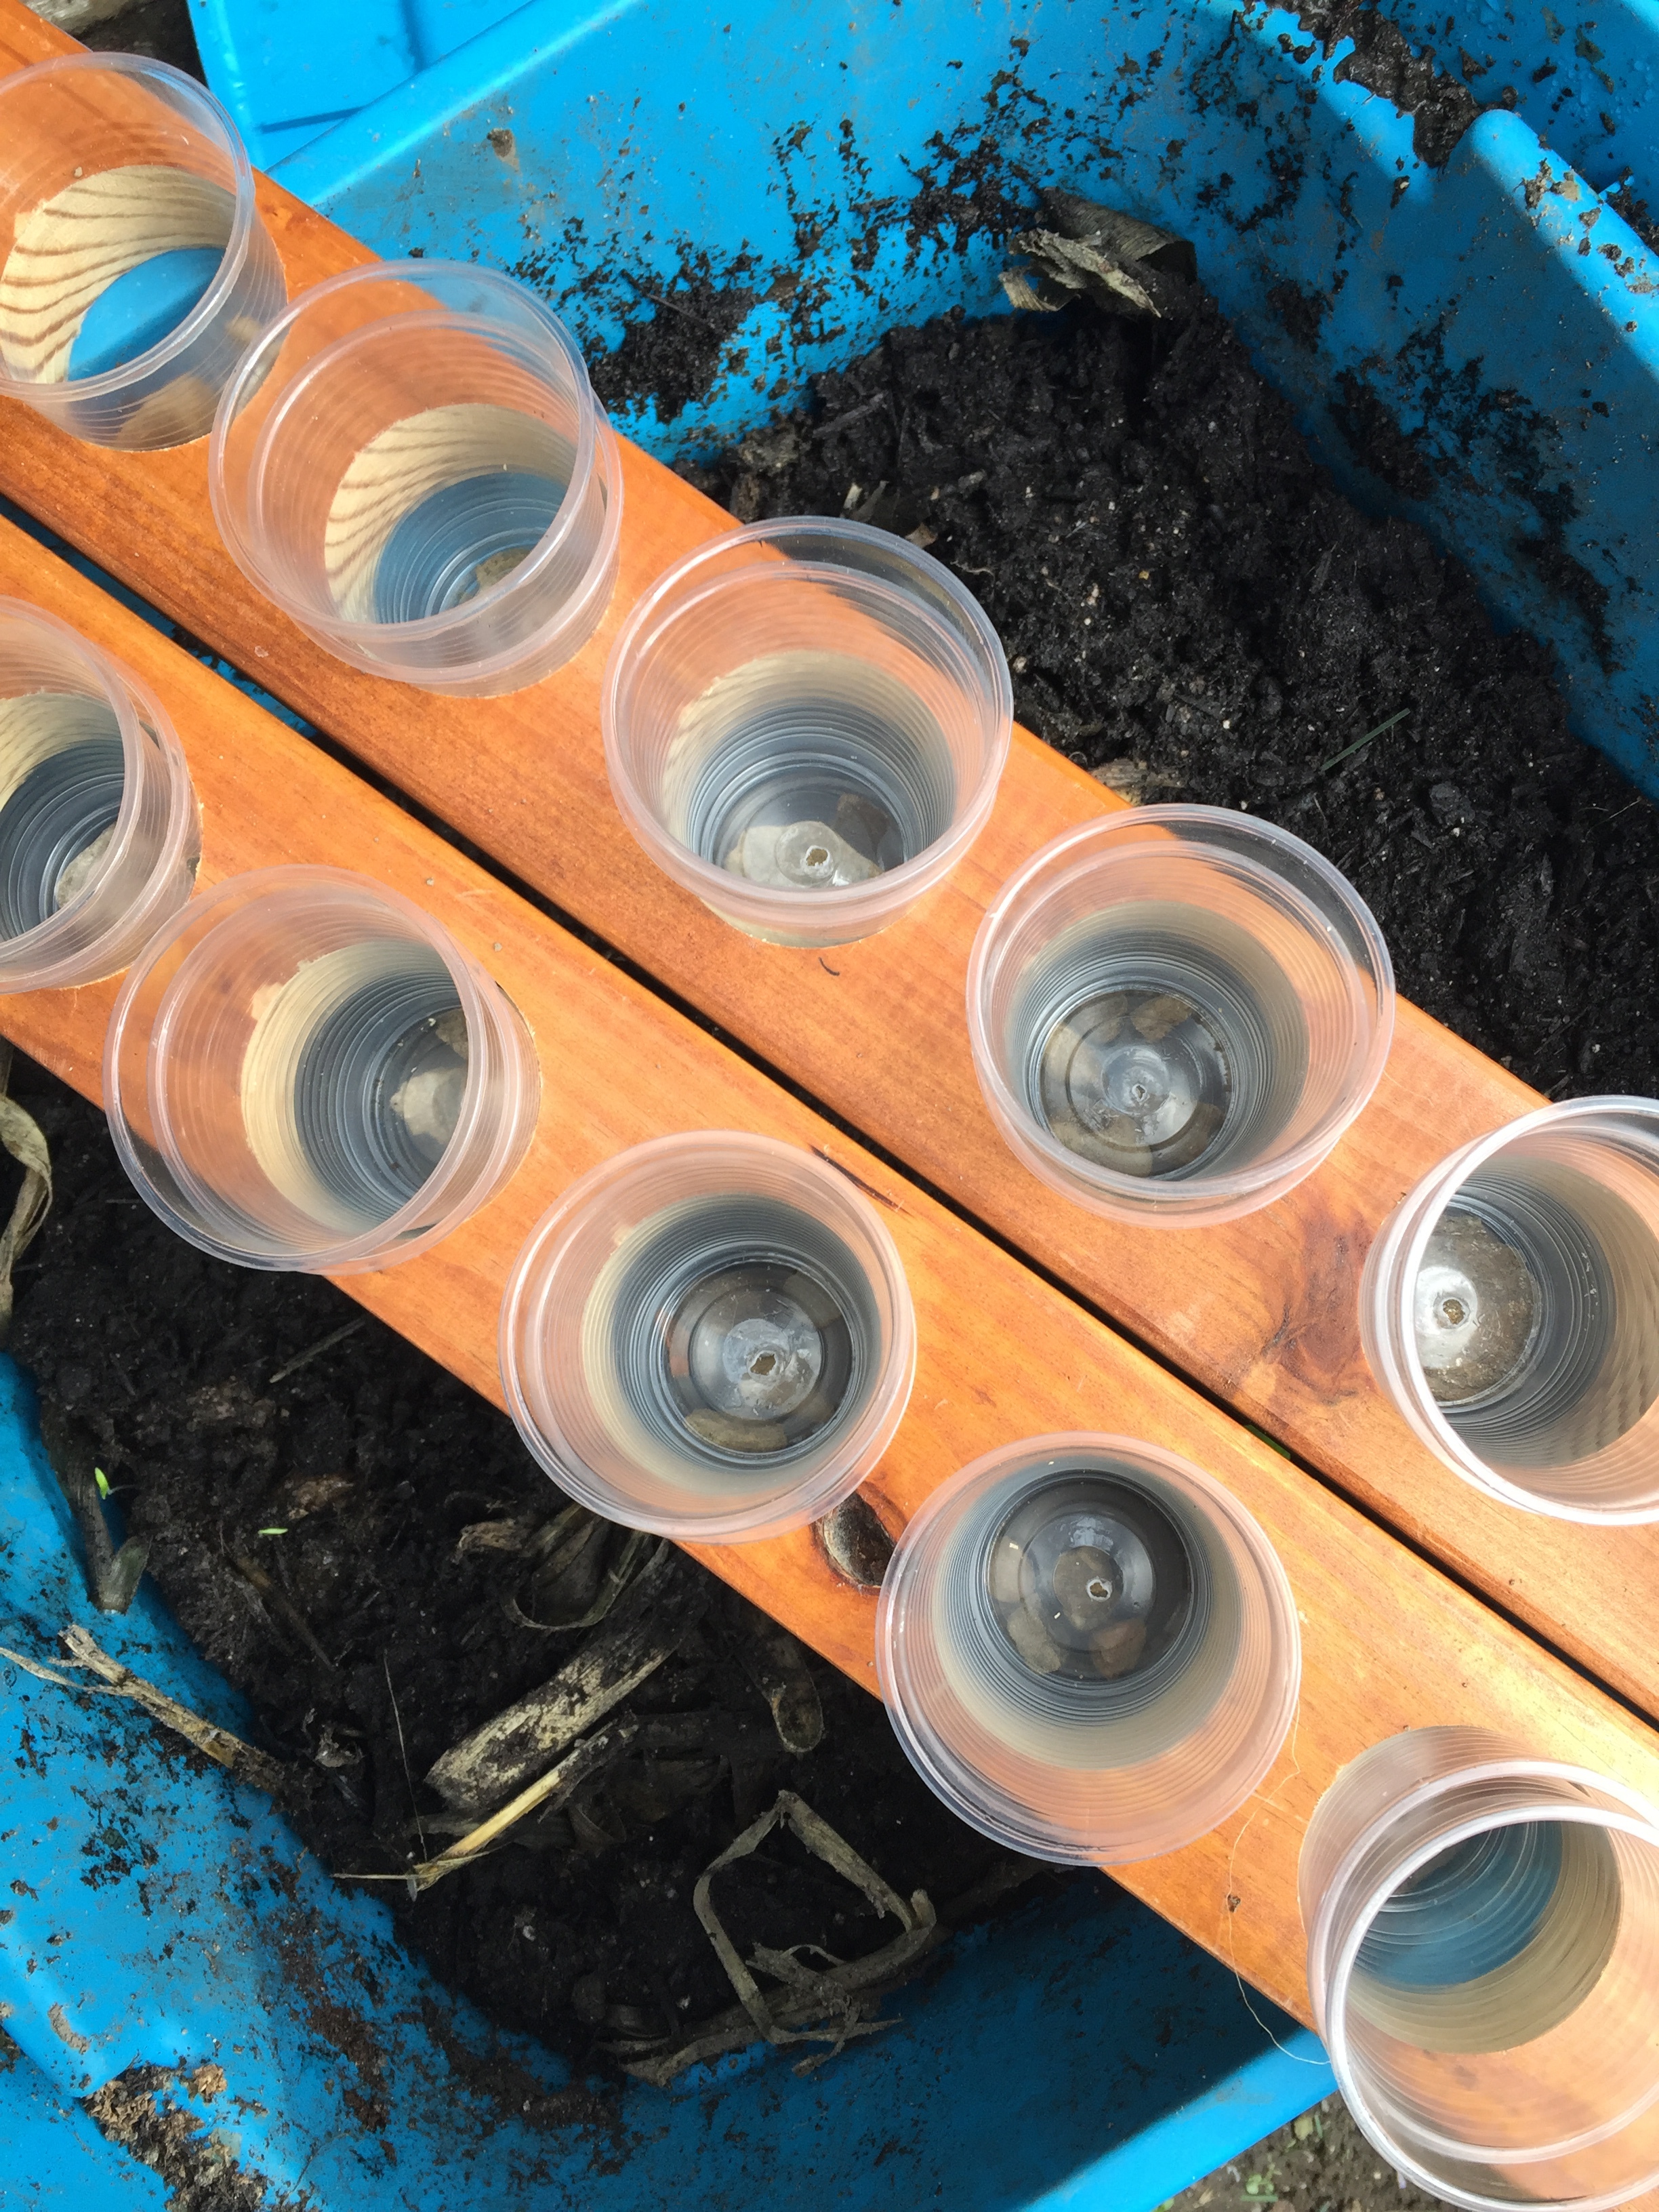
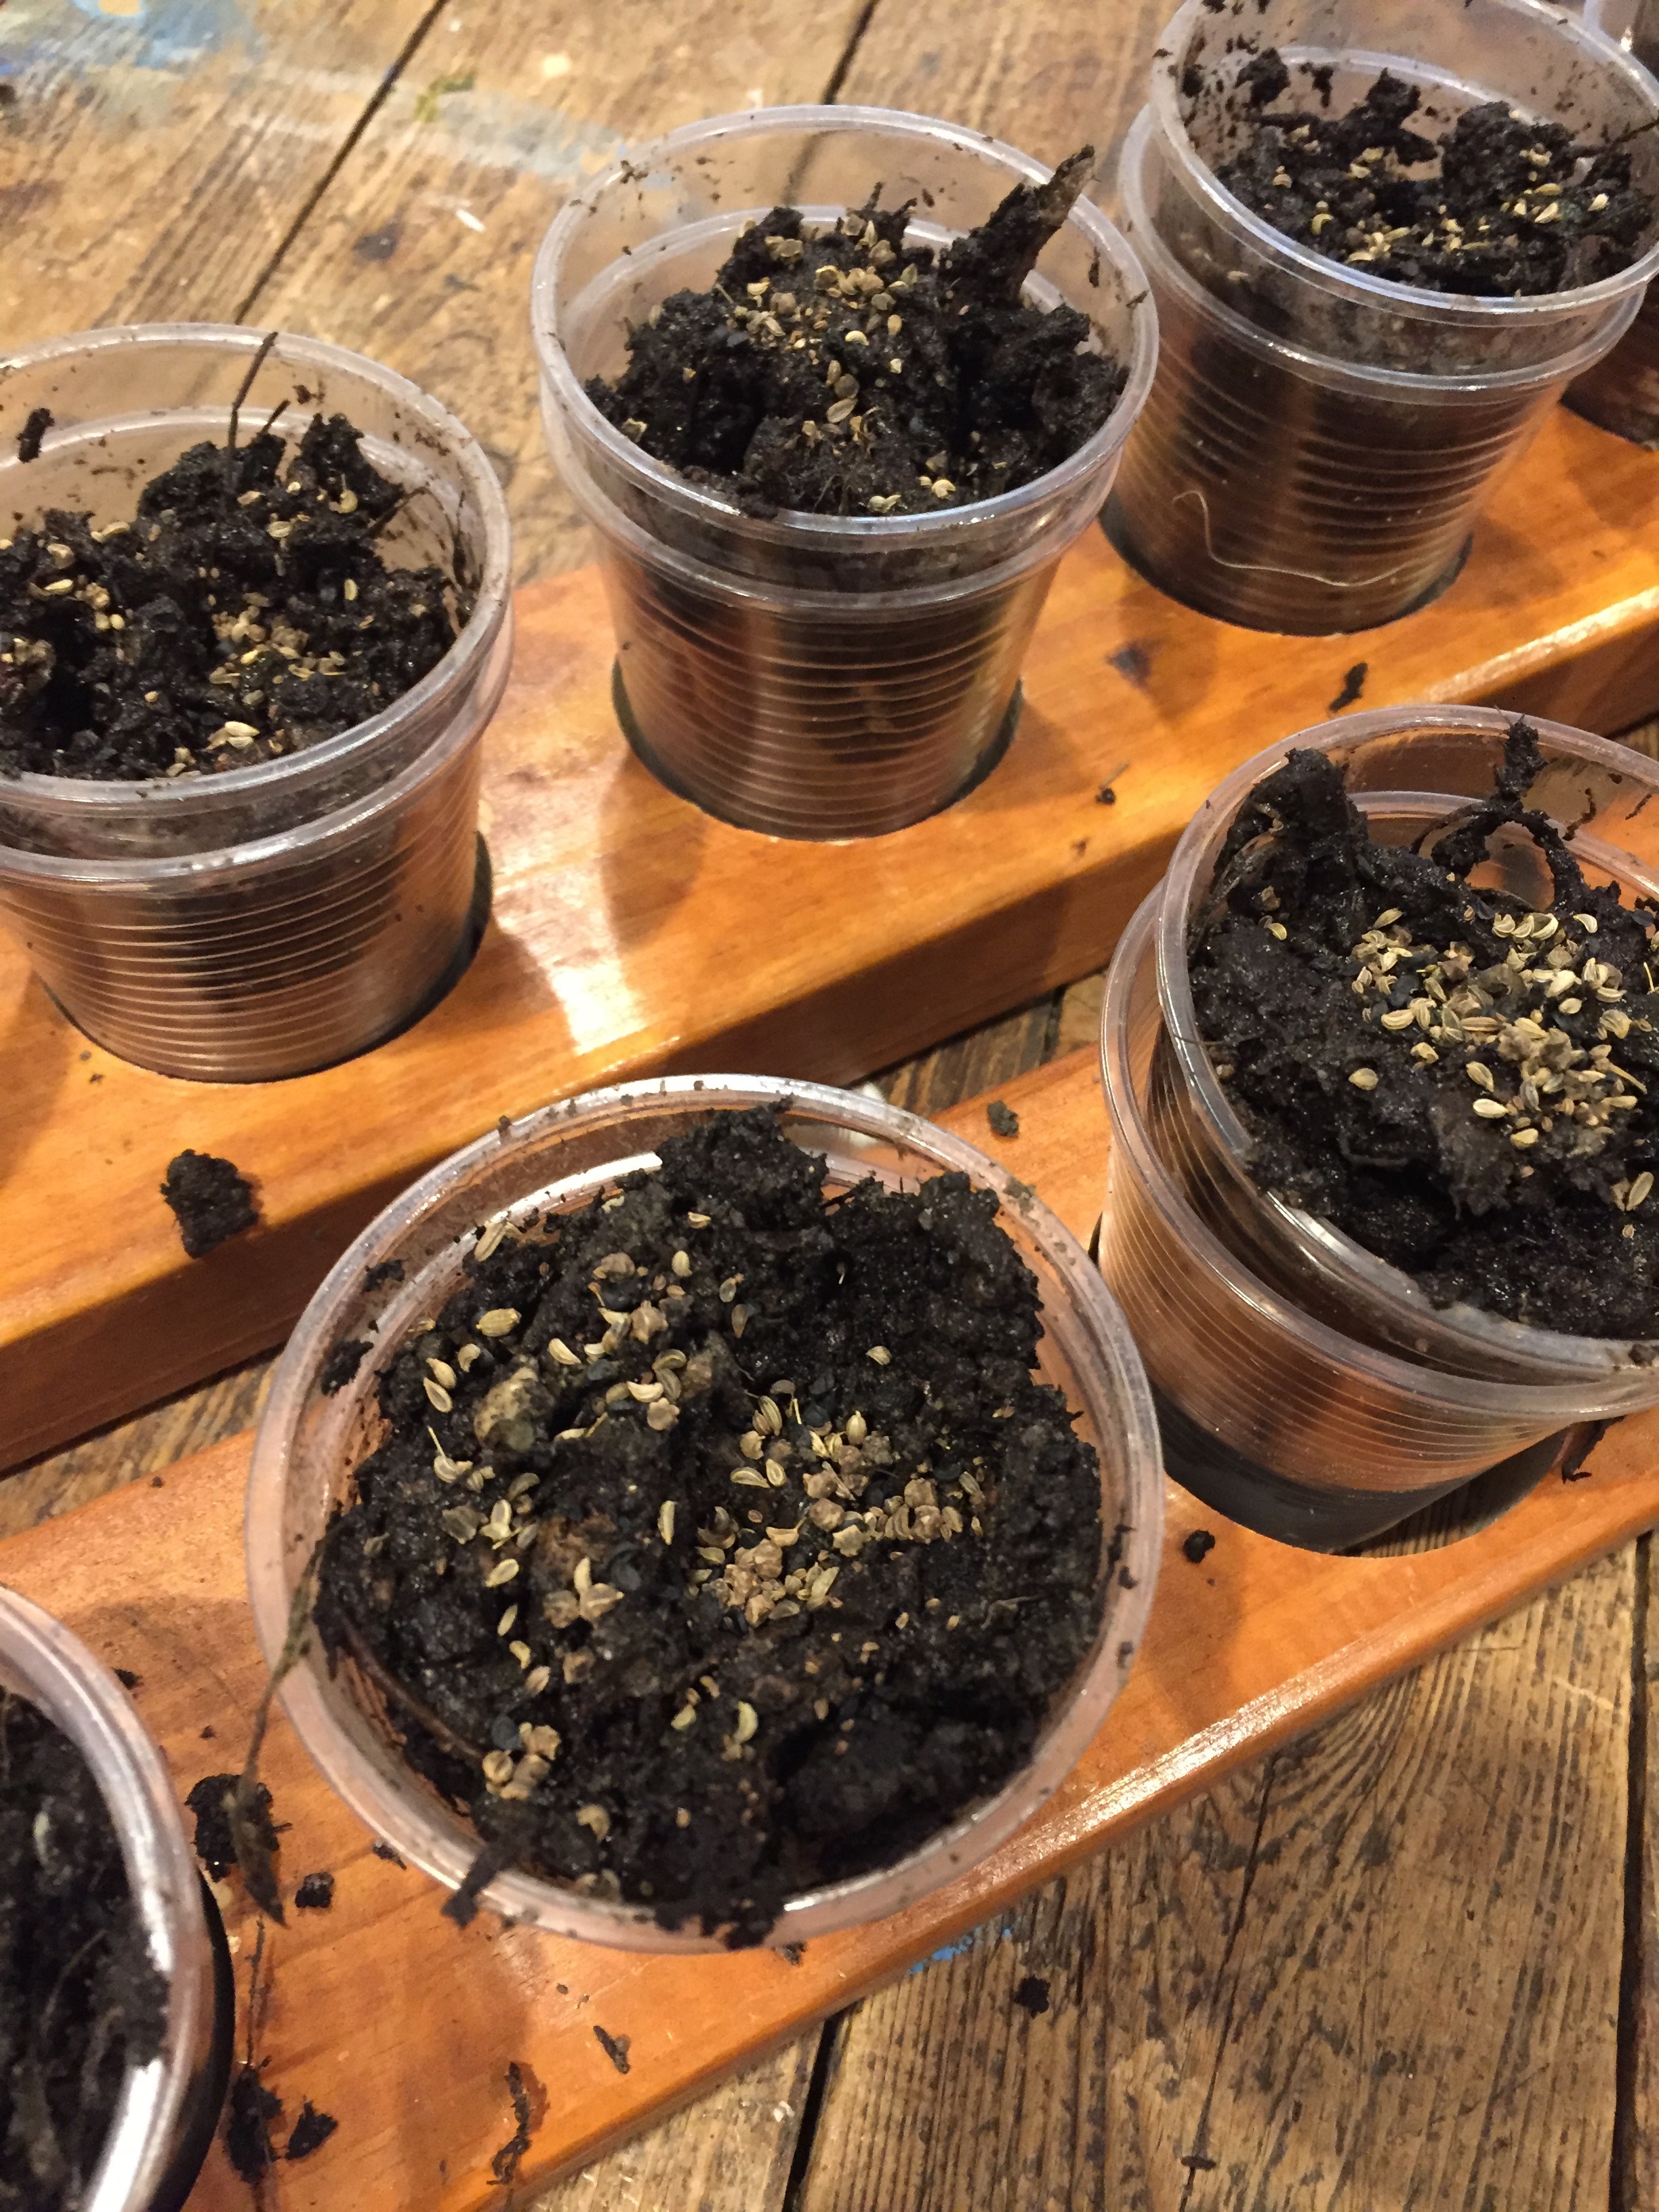
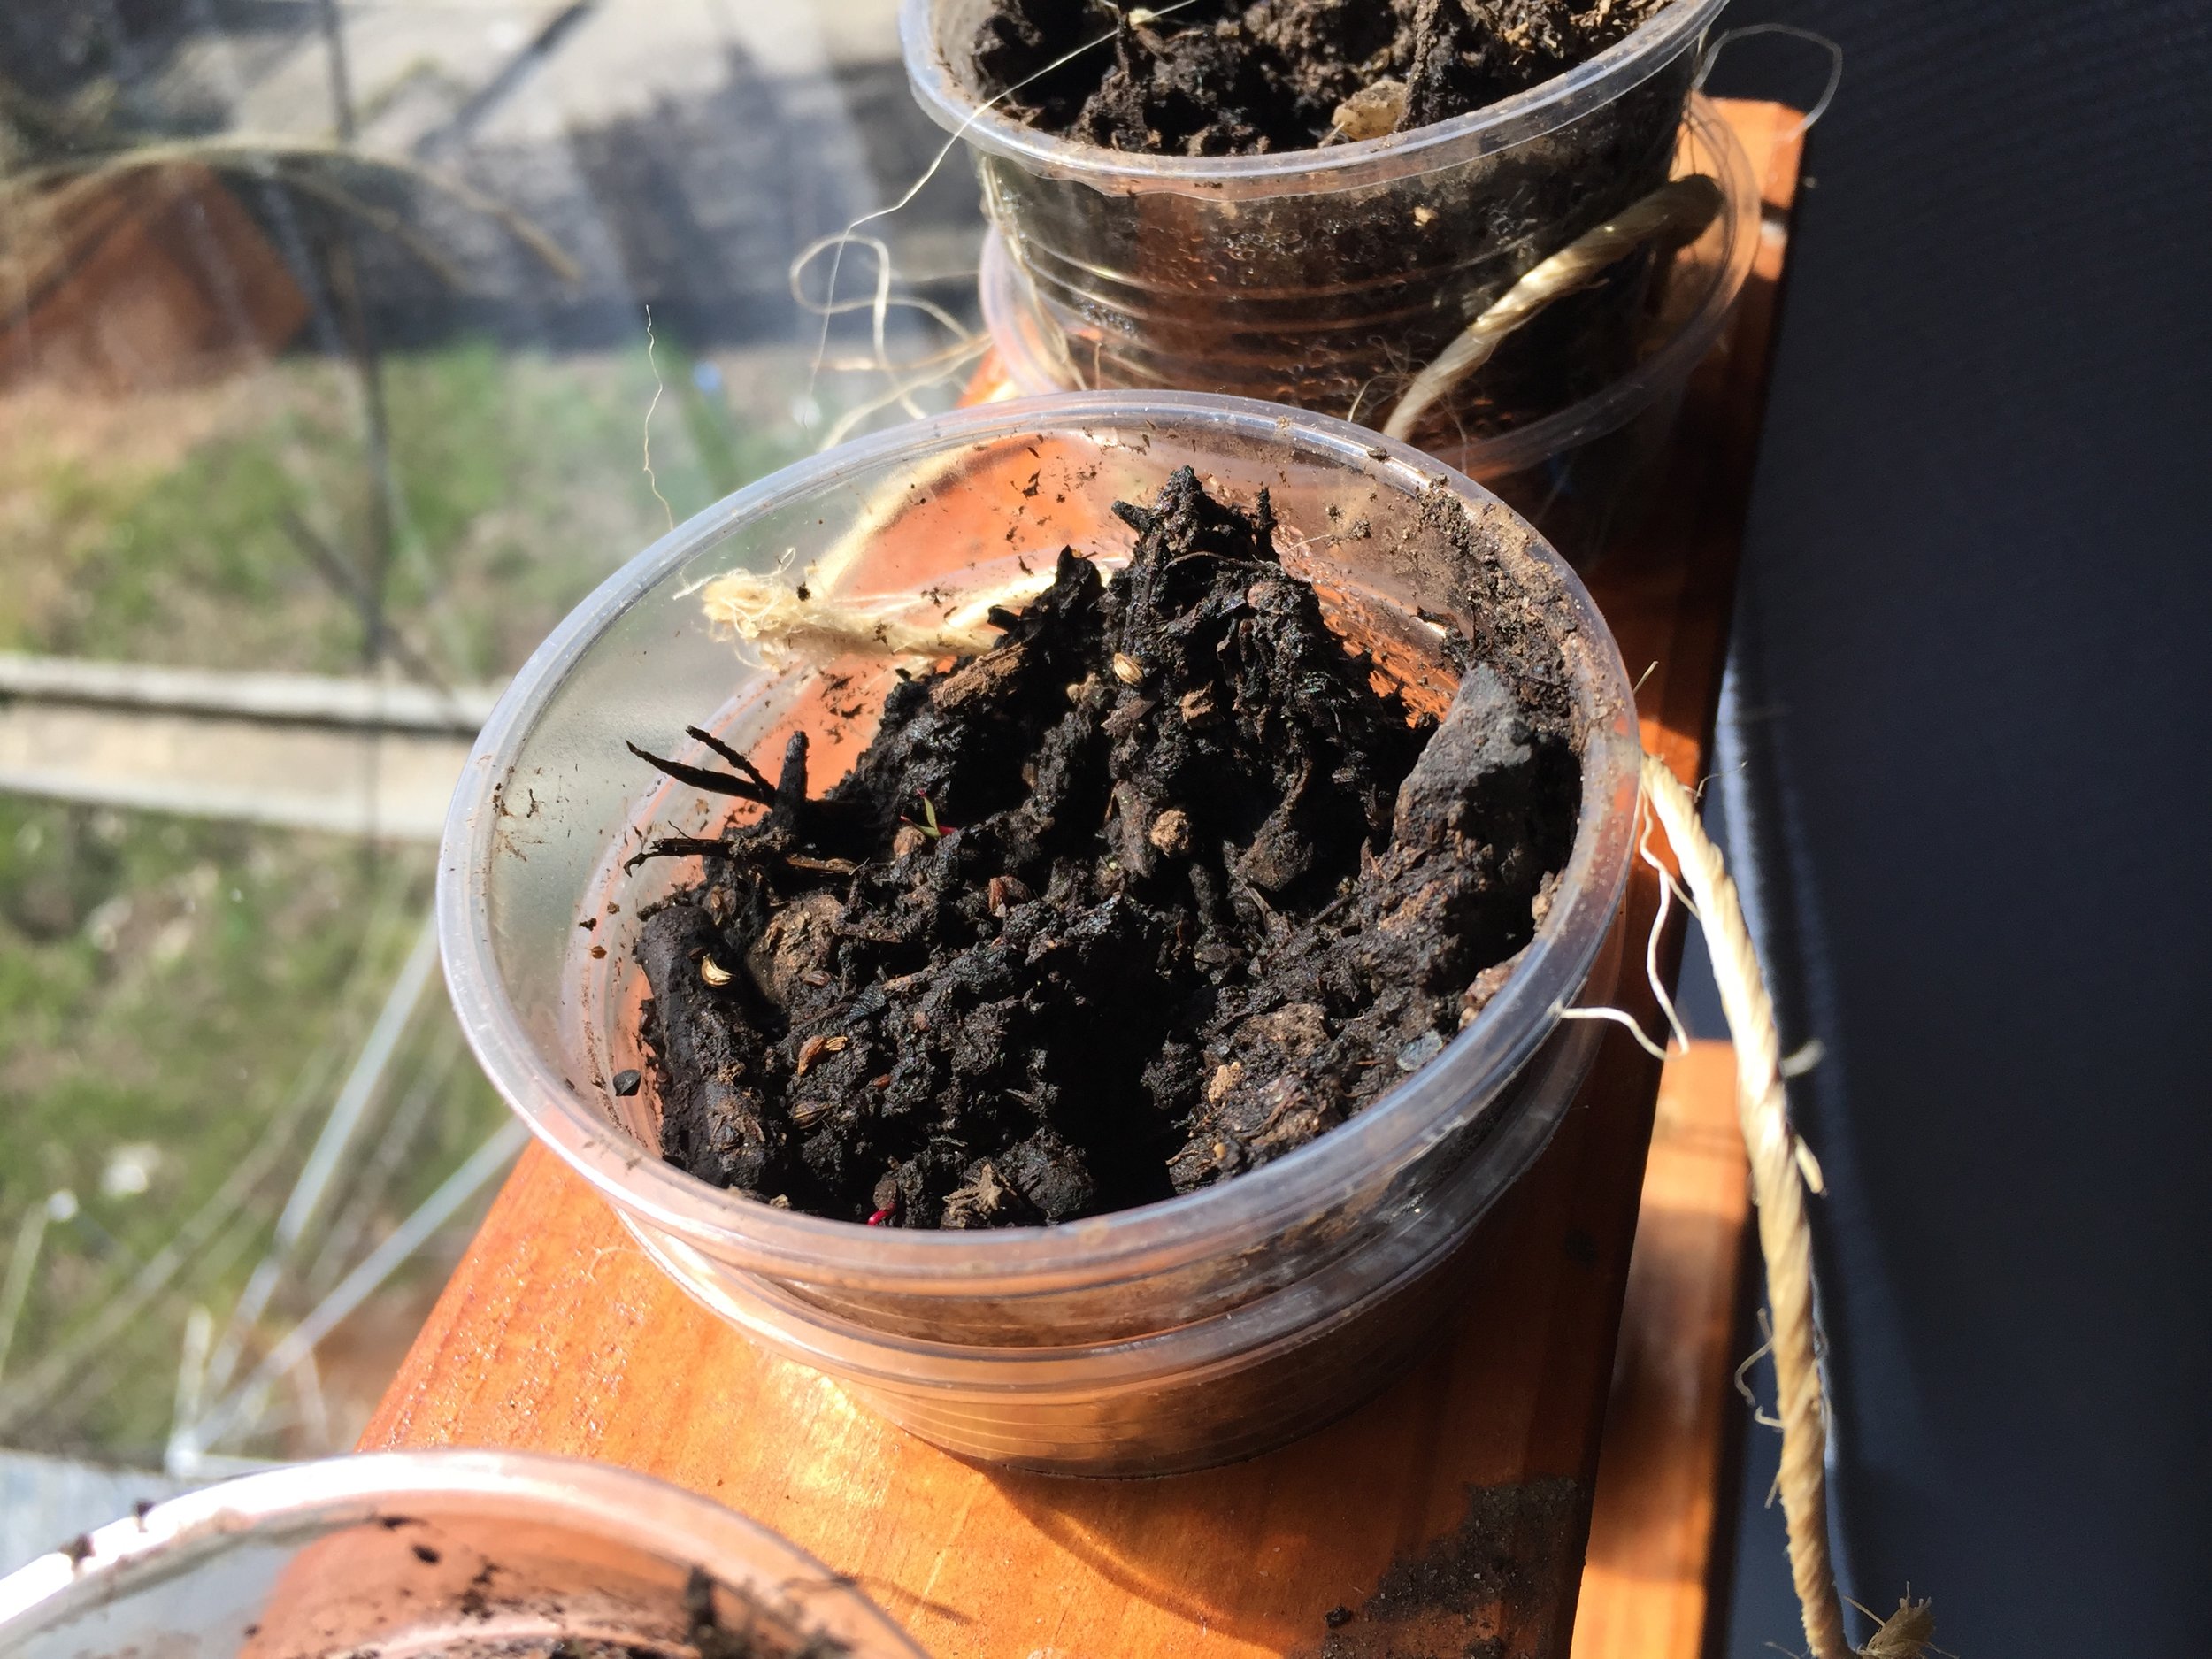
I prepared a qualitative range of mycelium amounts - from a lot to very little, with one type of compost in one row, and in the other row I filled 9 cups with my 3 compost types, 3 each, with the tenth cup being a mixture of all 3 types. 

IMG_3265.JPG

Afterwards, I sprinkled a mixture of microgreen seeds, and mixed them in a little so most were beneath or at least covered in soil. Then I watered them. 

I should have probably done this all after hanging the piece up, because at this point it was a little heavier and unwieldy to hang, but I was just tall enough to reach. I used two thick hooks screwed into the 2x4 cross beam above my window to hang this whole piece. 

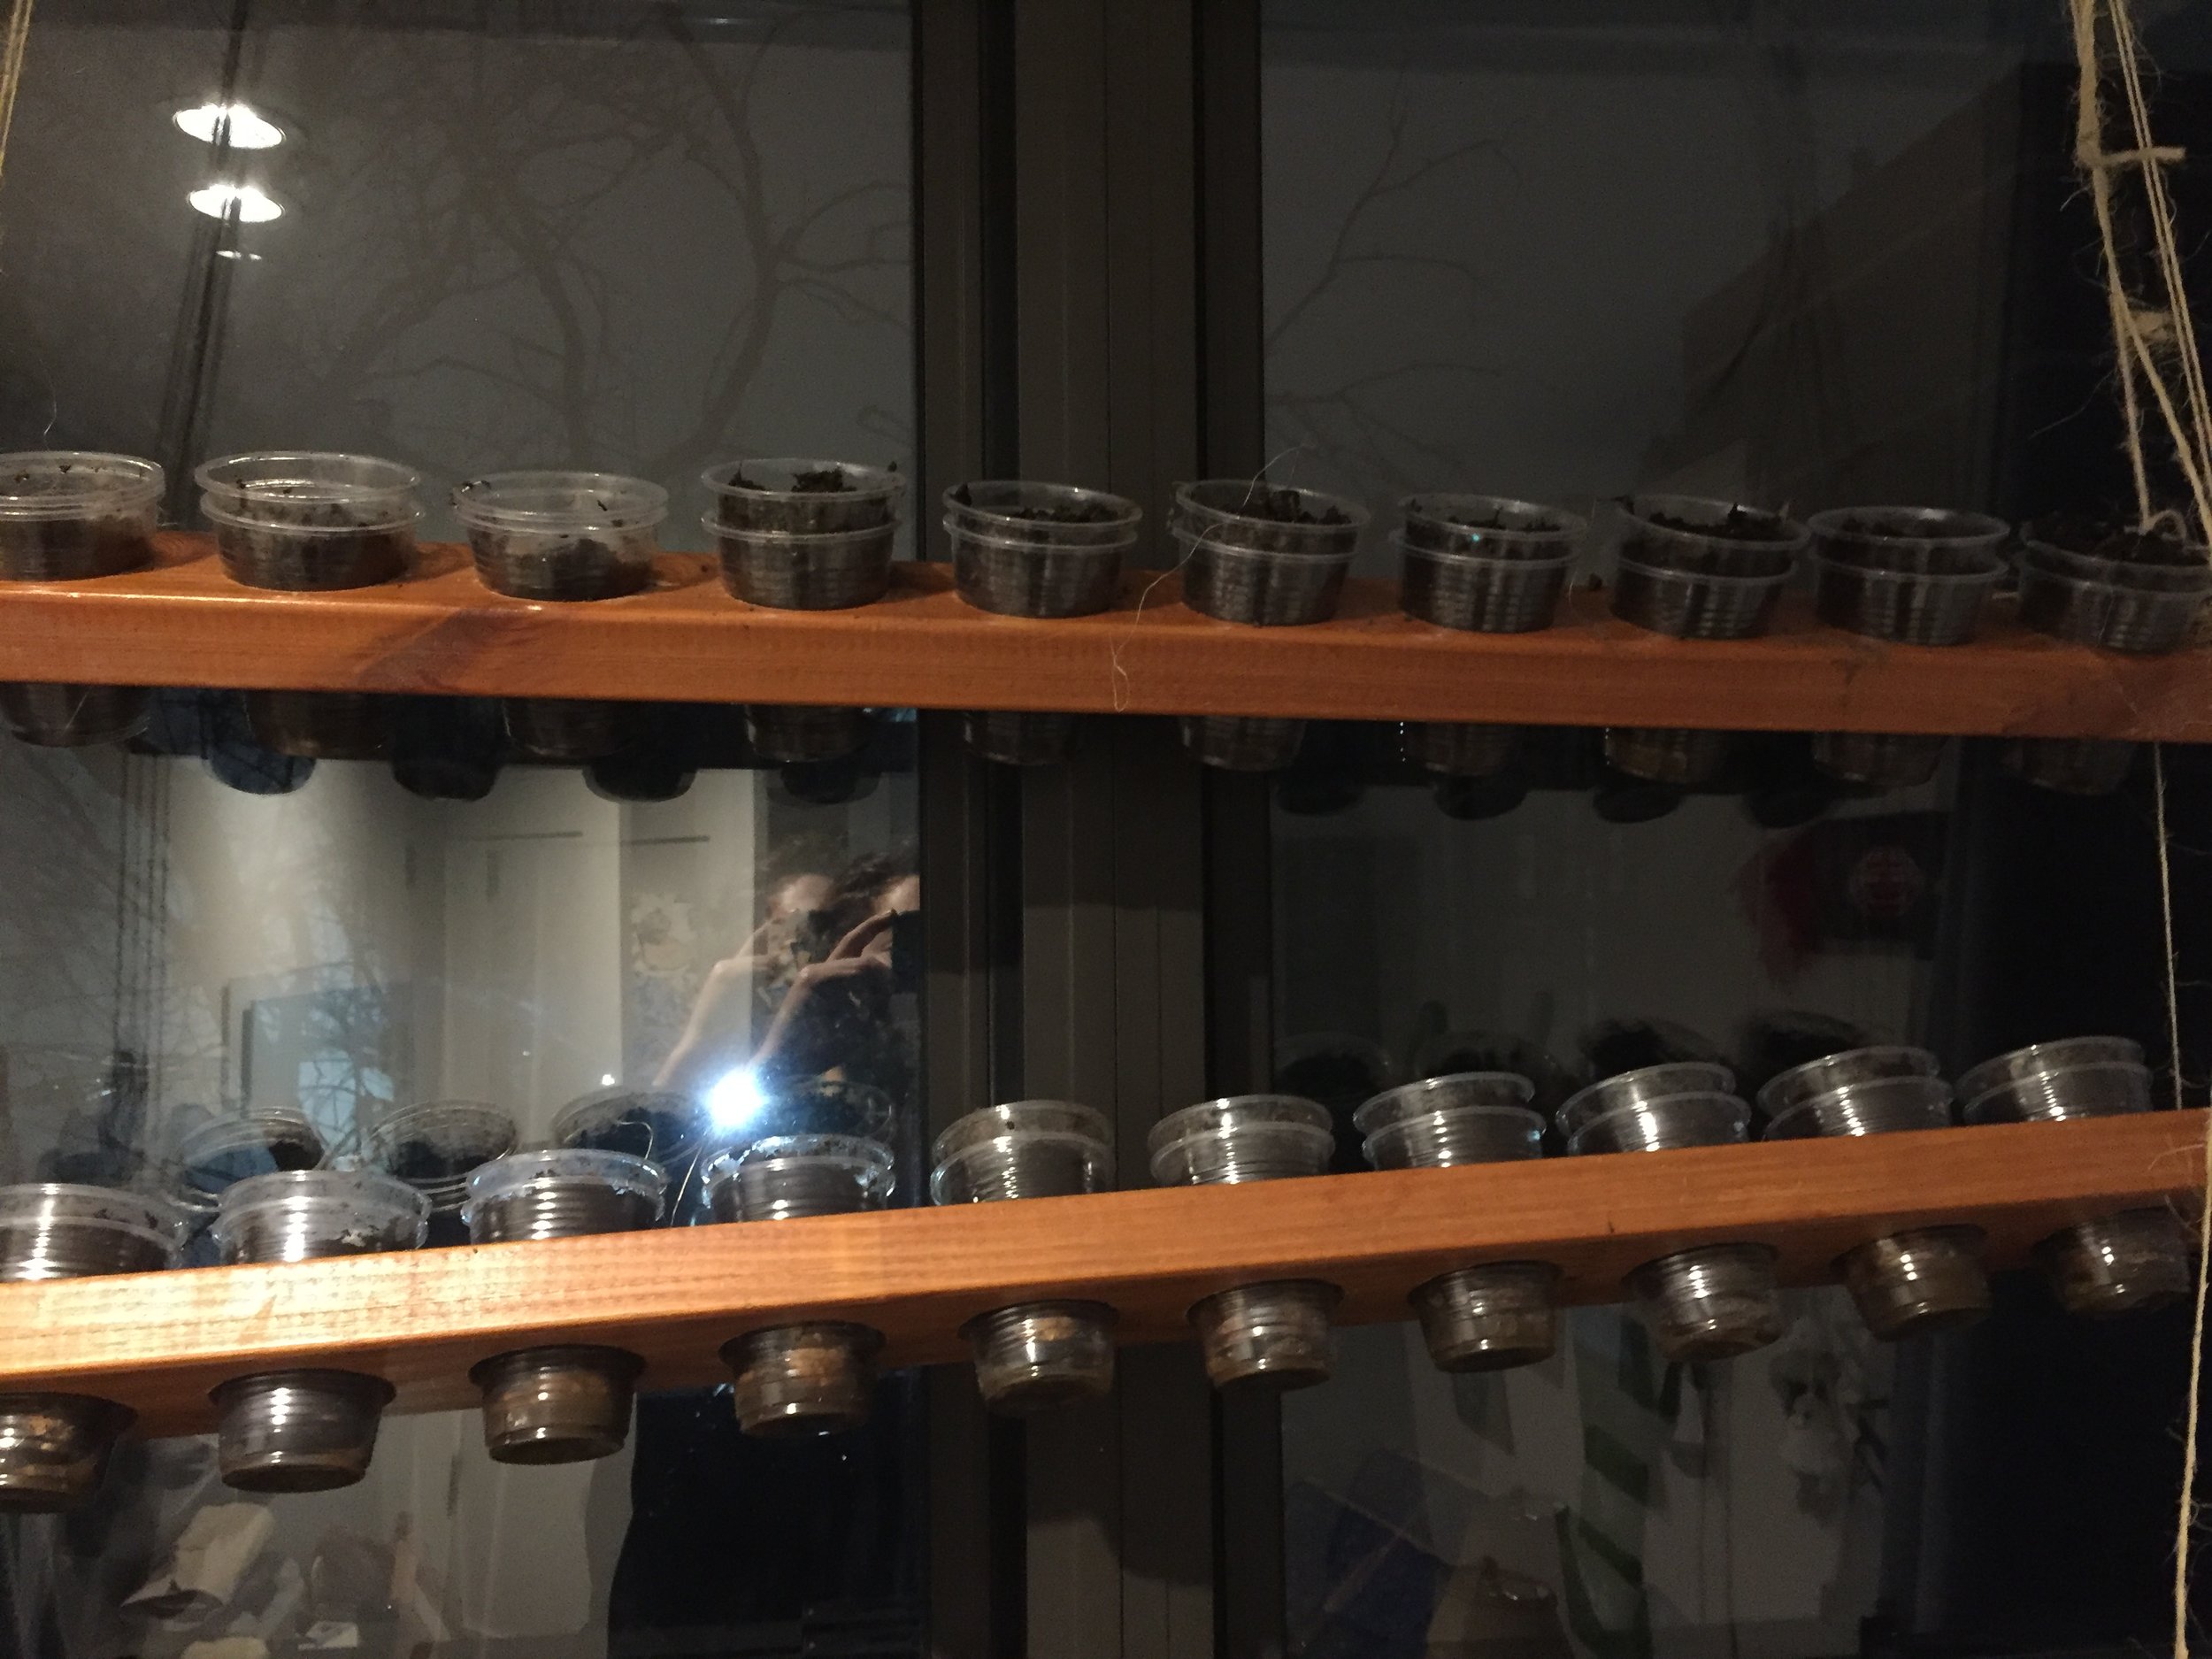
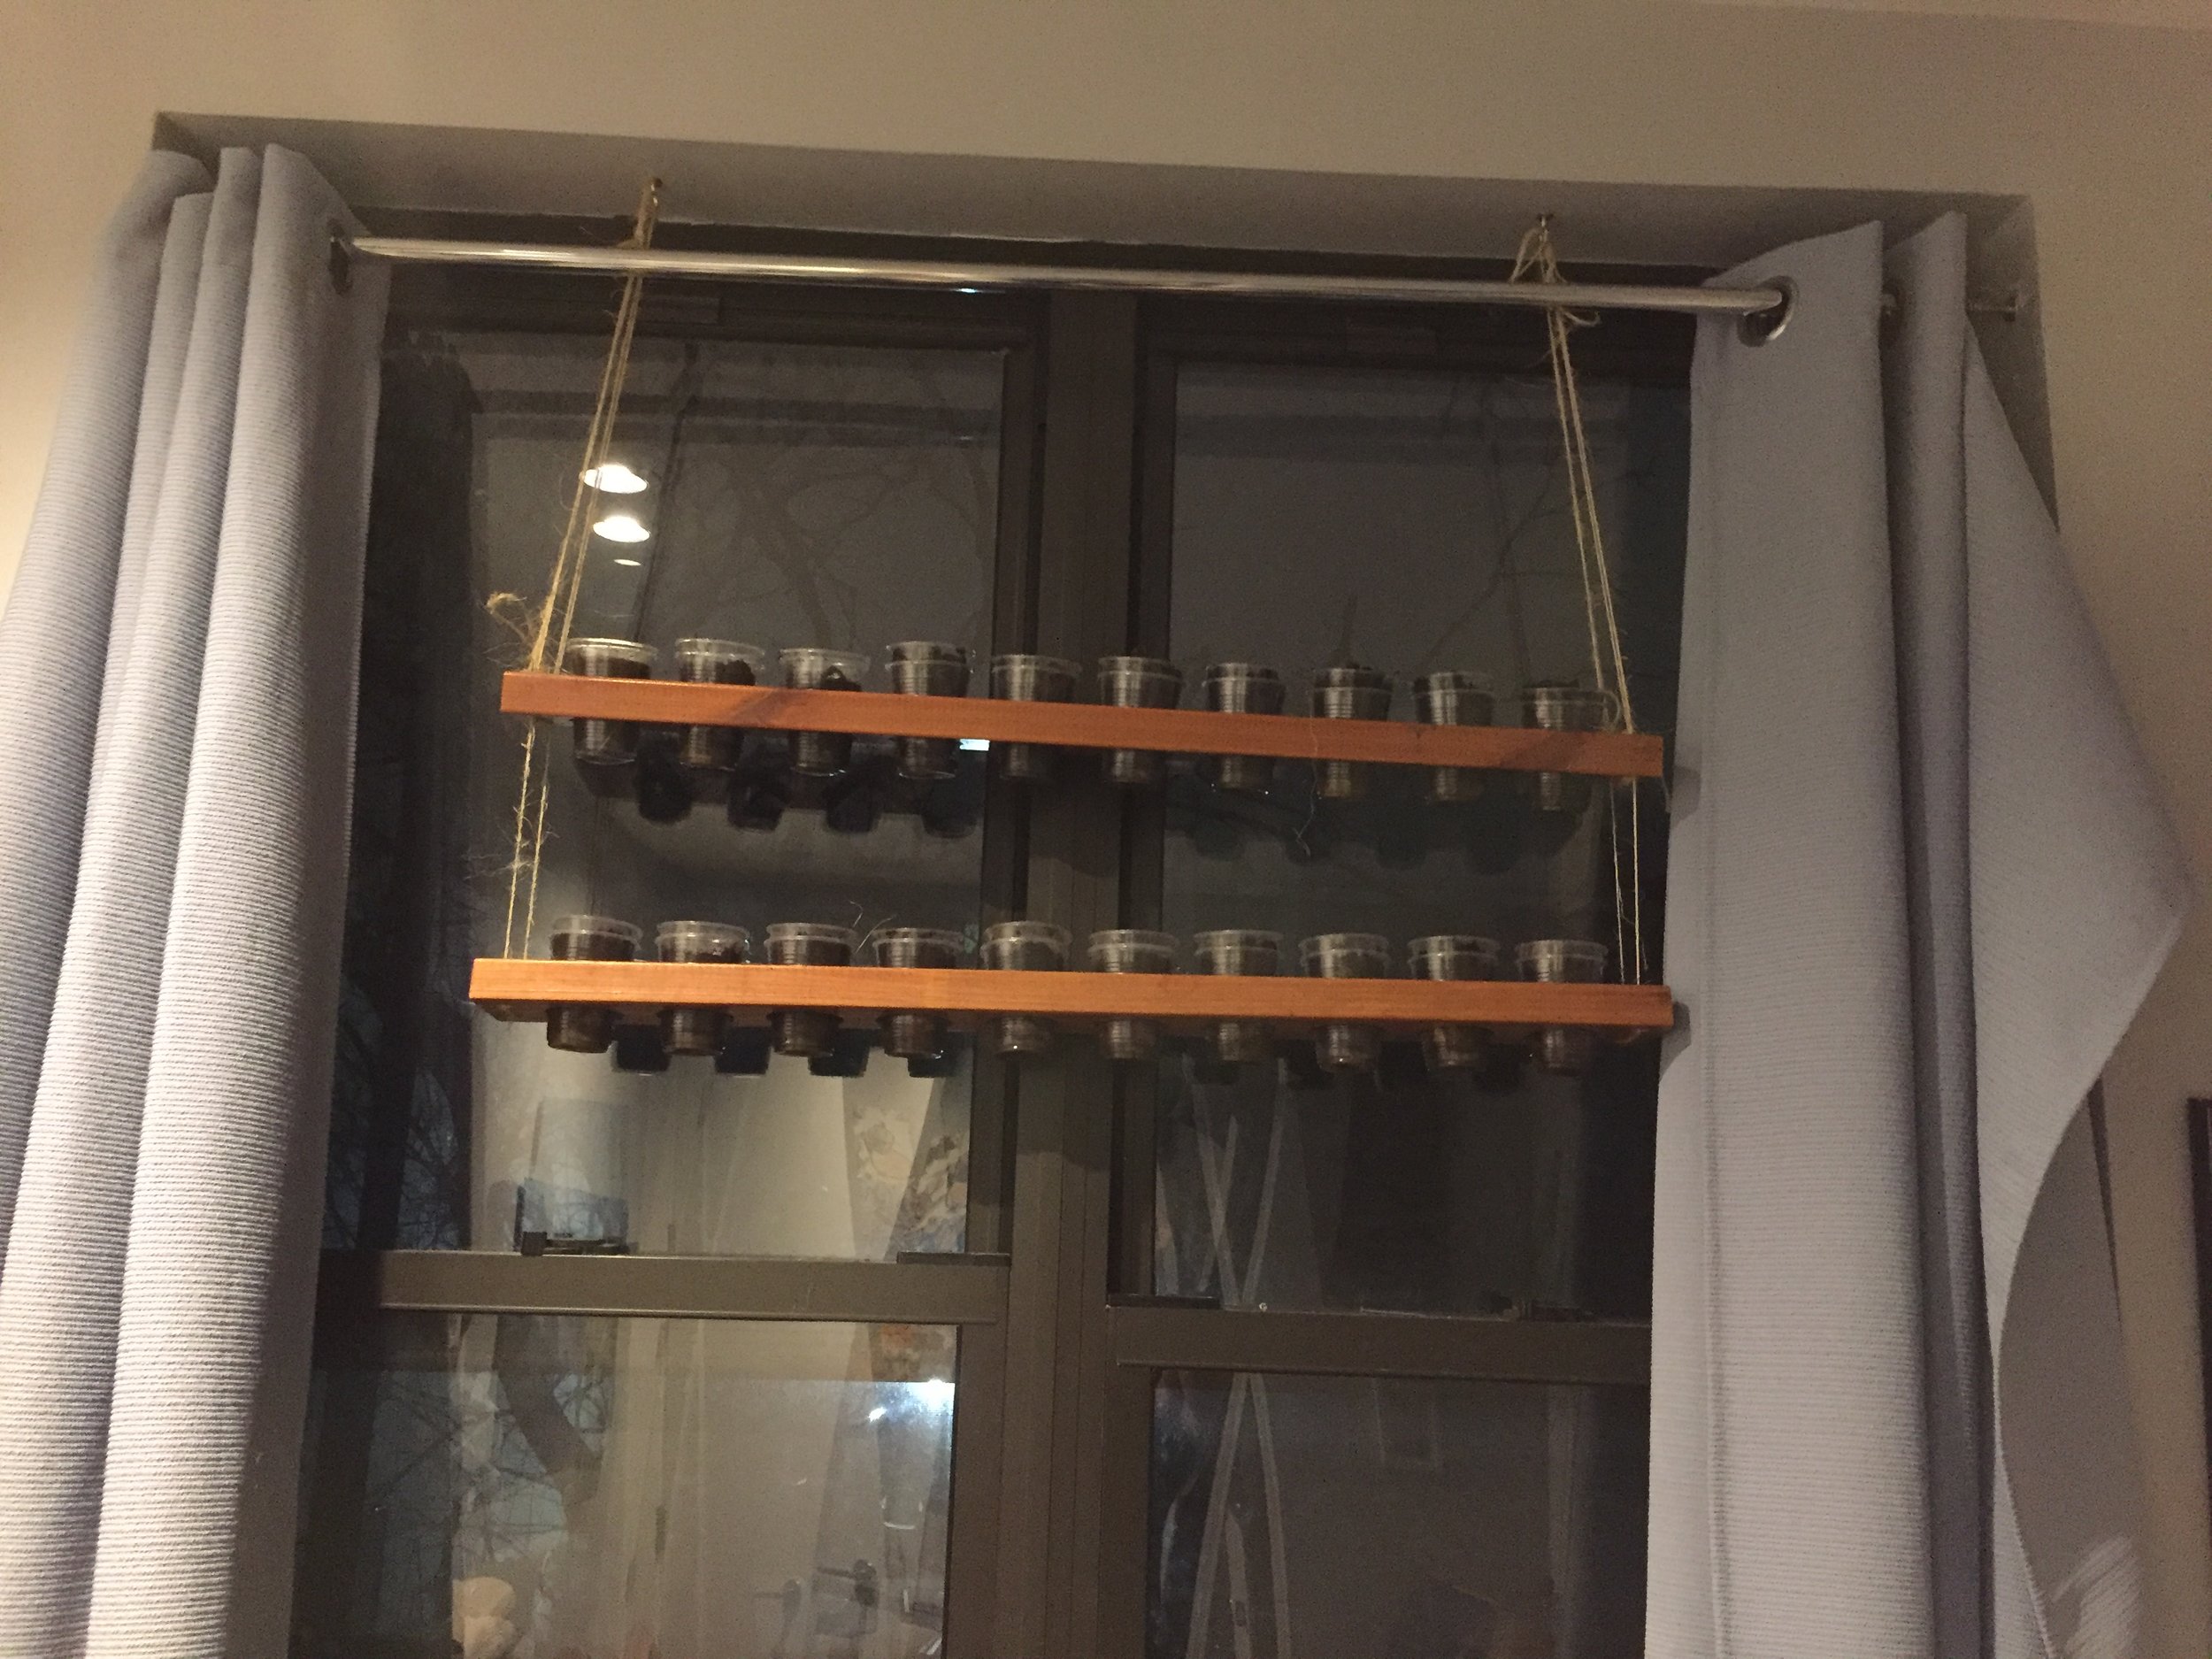
There are 4 strings of twine altogether, two holding the two pieces of wood to each other, and two holding the whole piece to the hooks in the ceiling. At first I was dismayed to see it's severe imbalance. But the great thing about strings is they can be played with. I was able to jimmy them into mostly the proper position. 

Now I just wait for the seeds to sprout! Amazing how cool a bunch of free junk can be when

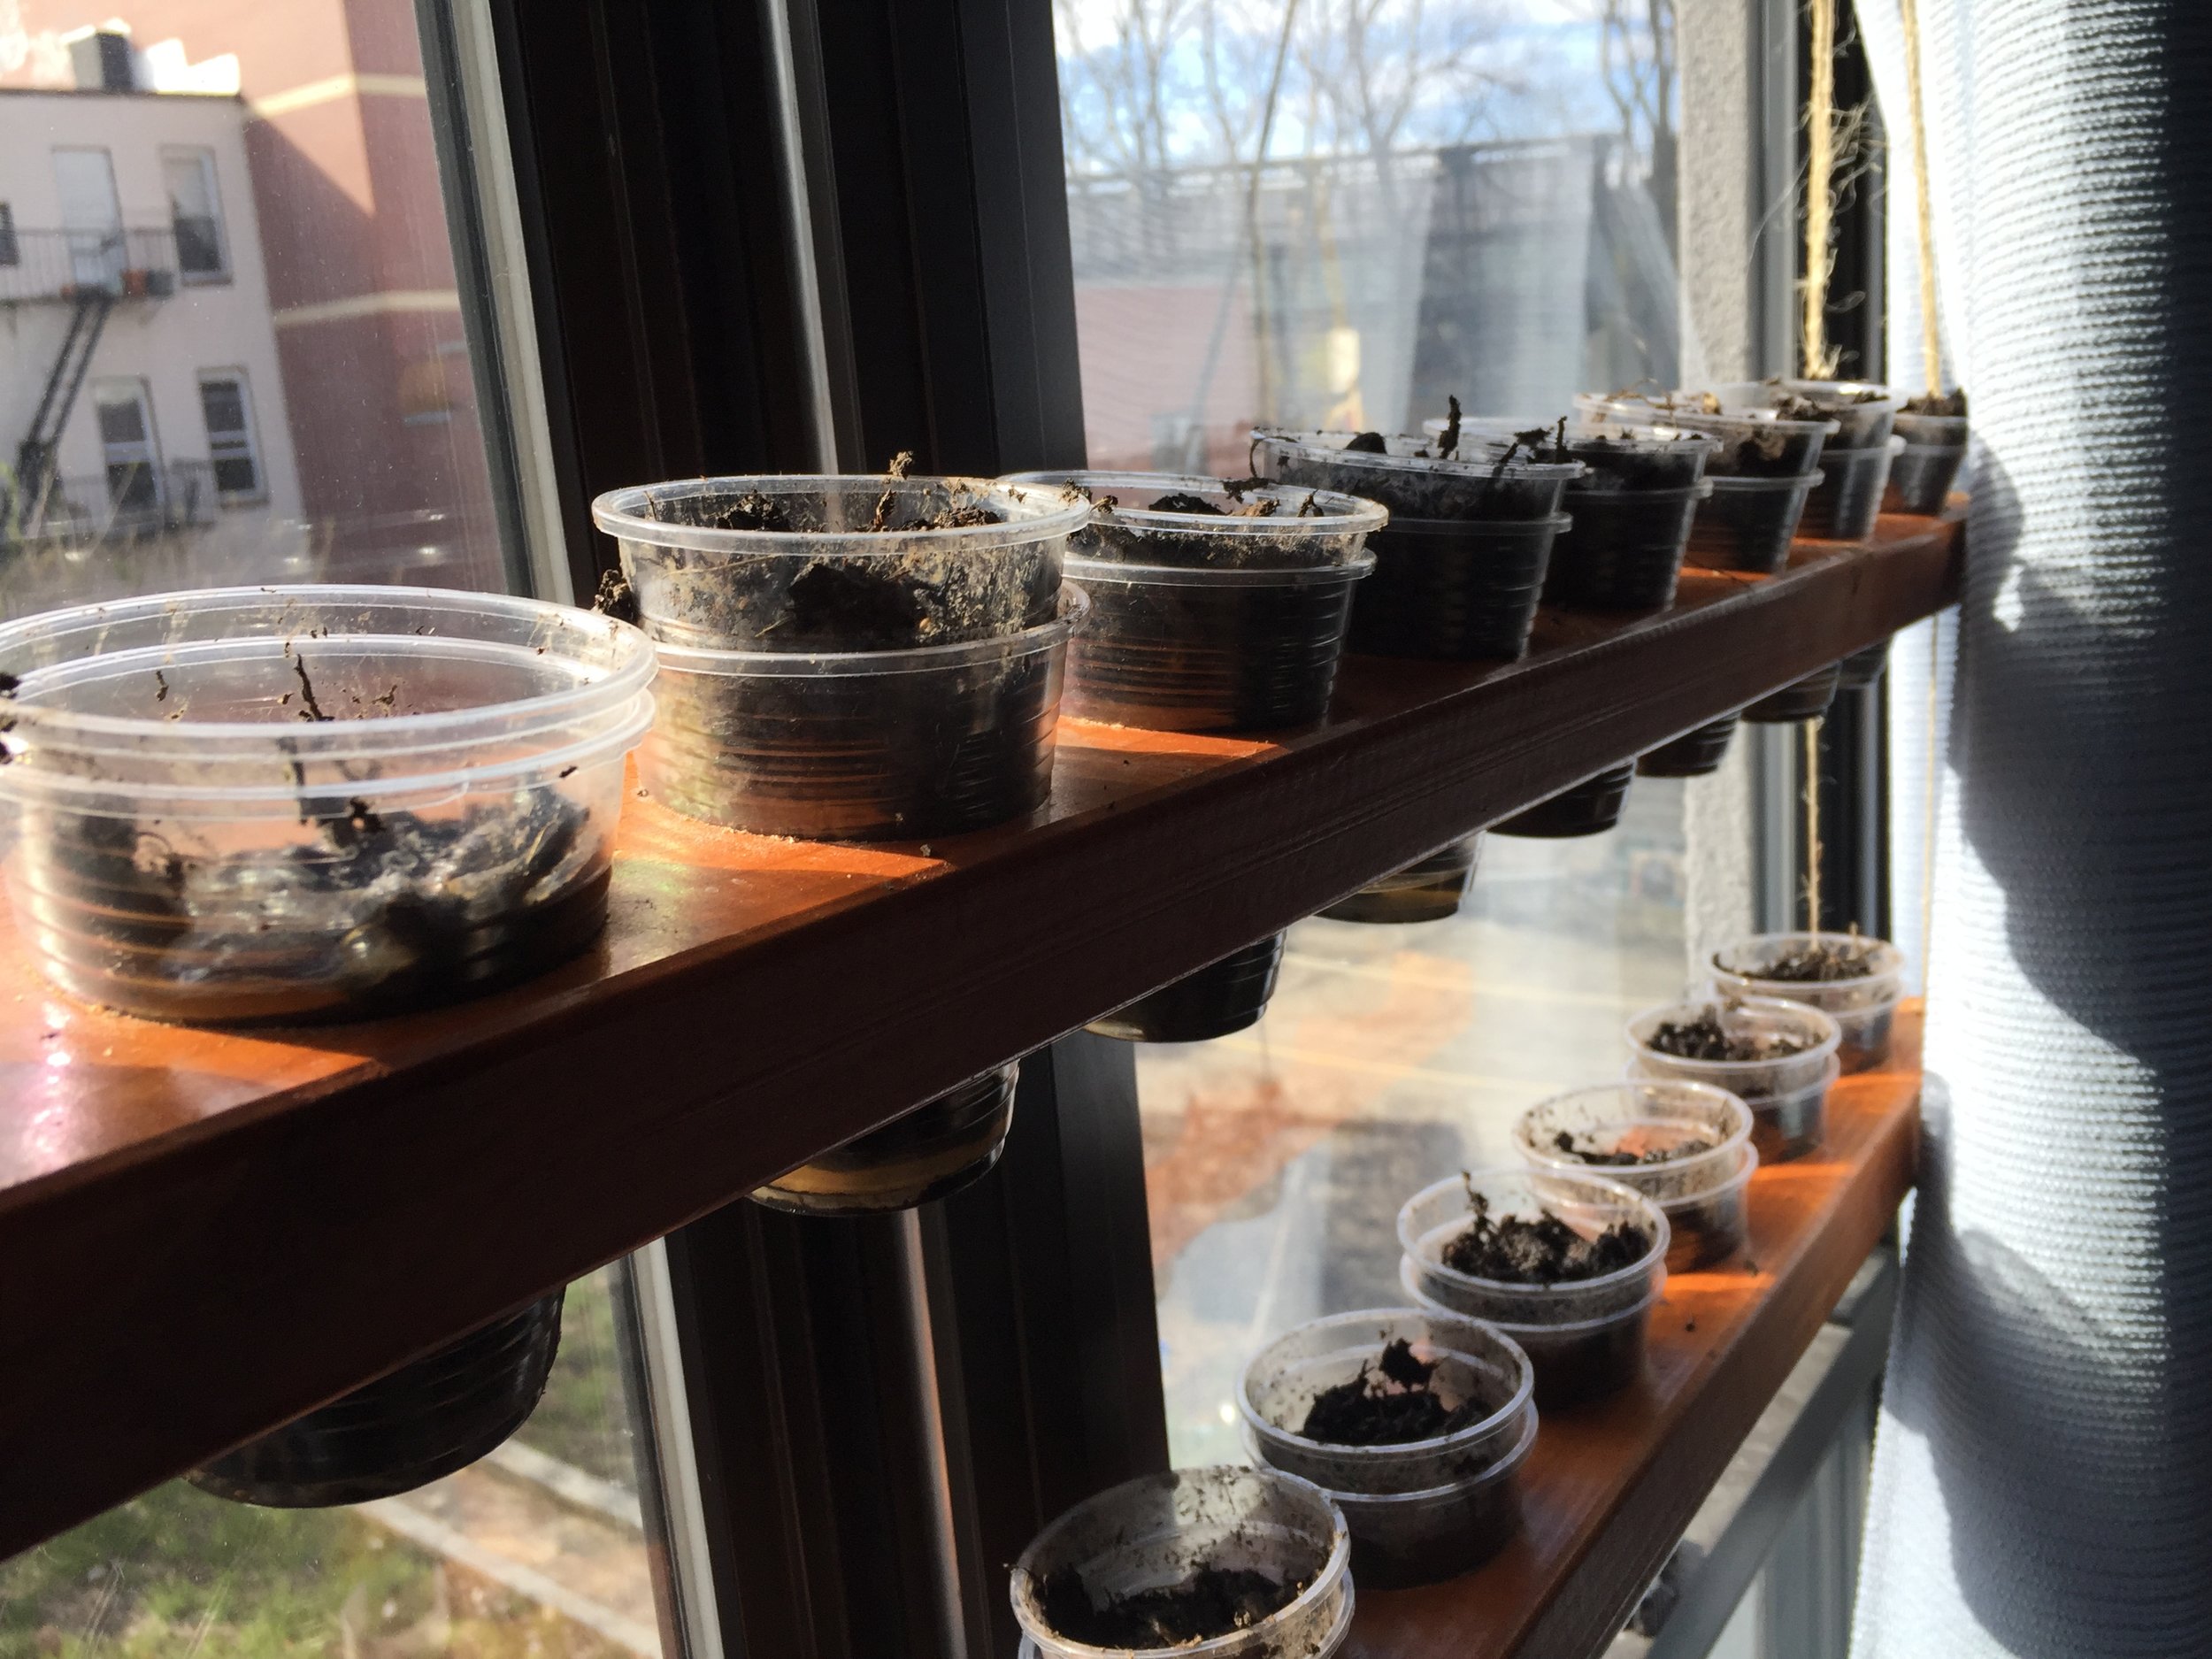
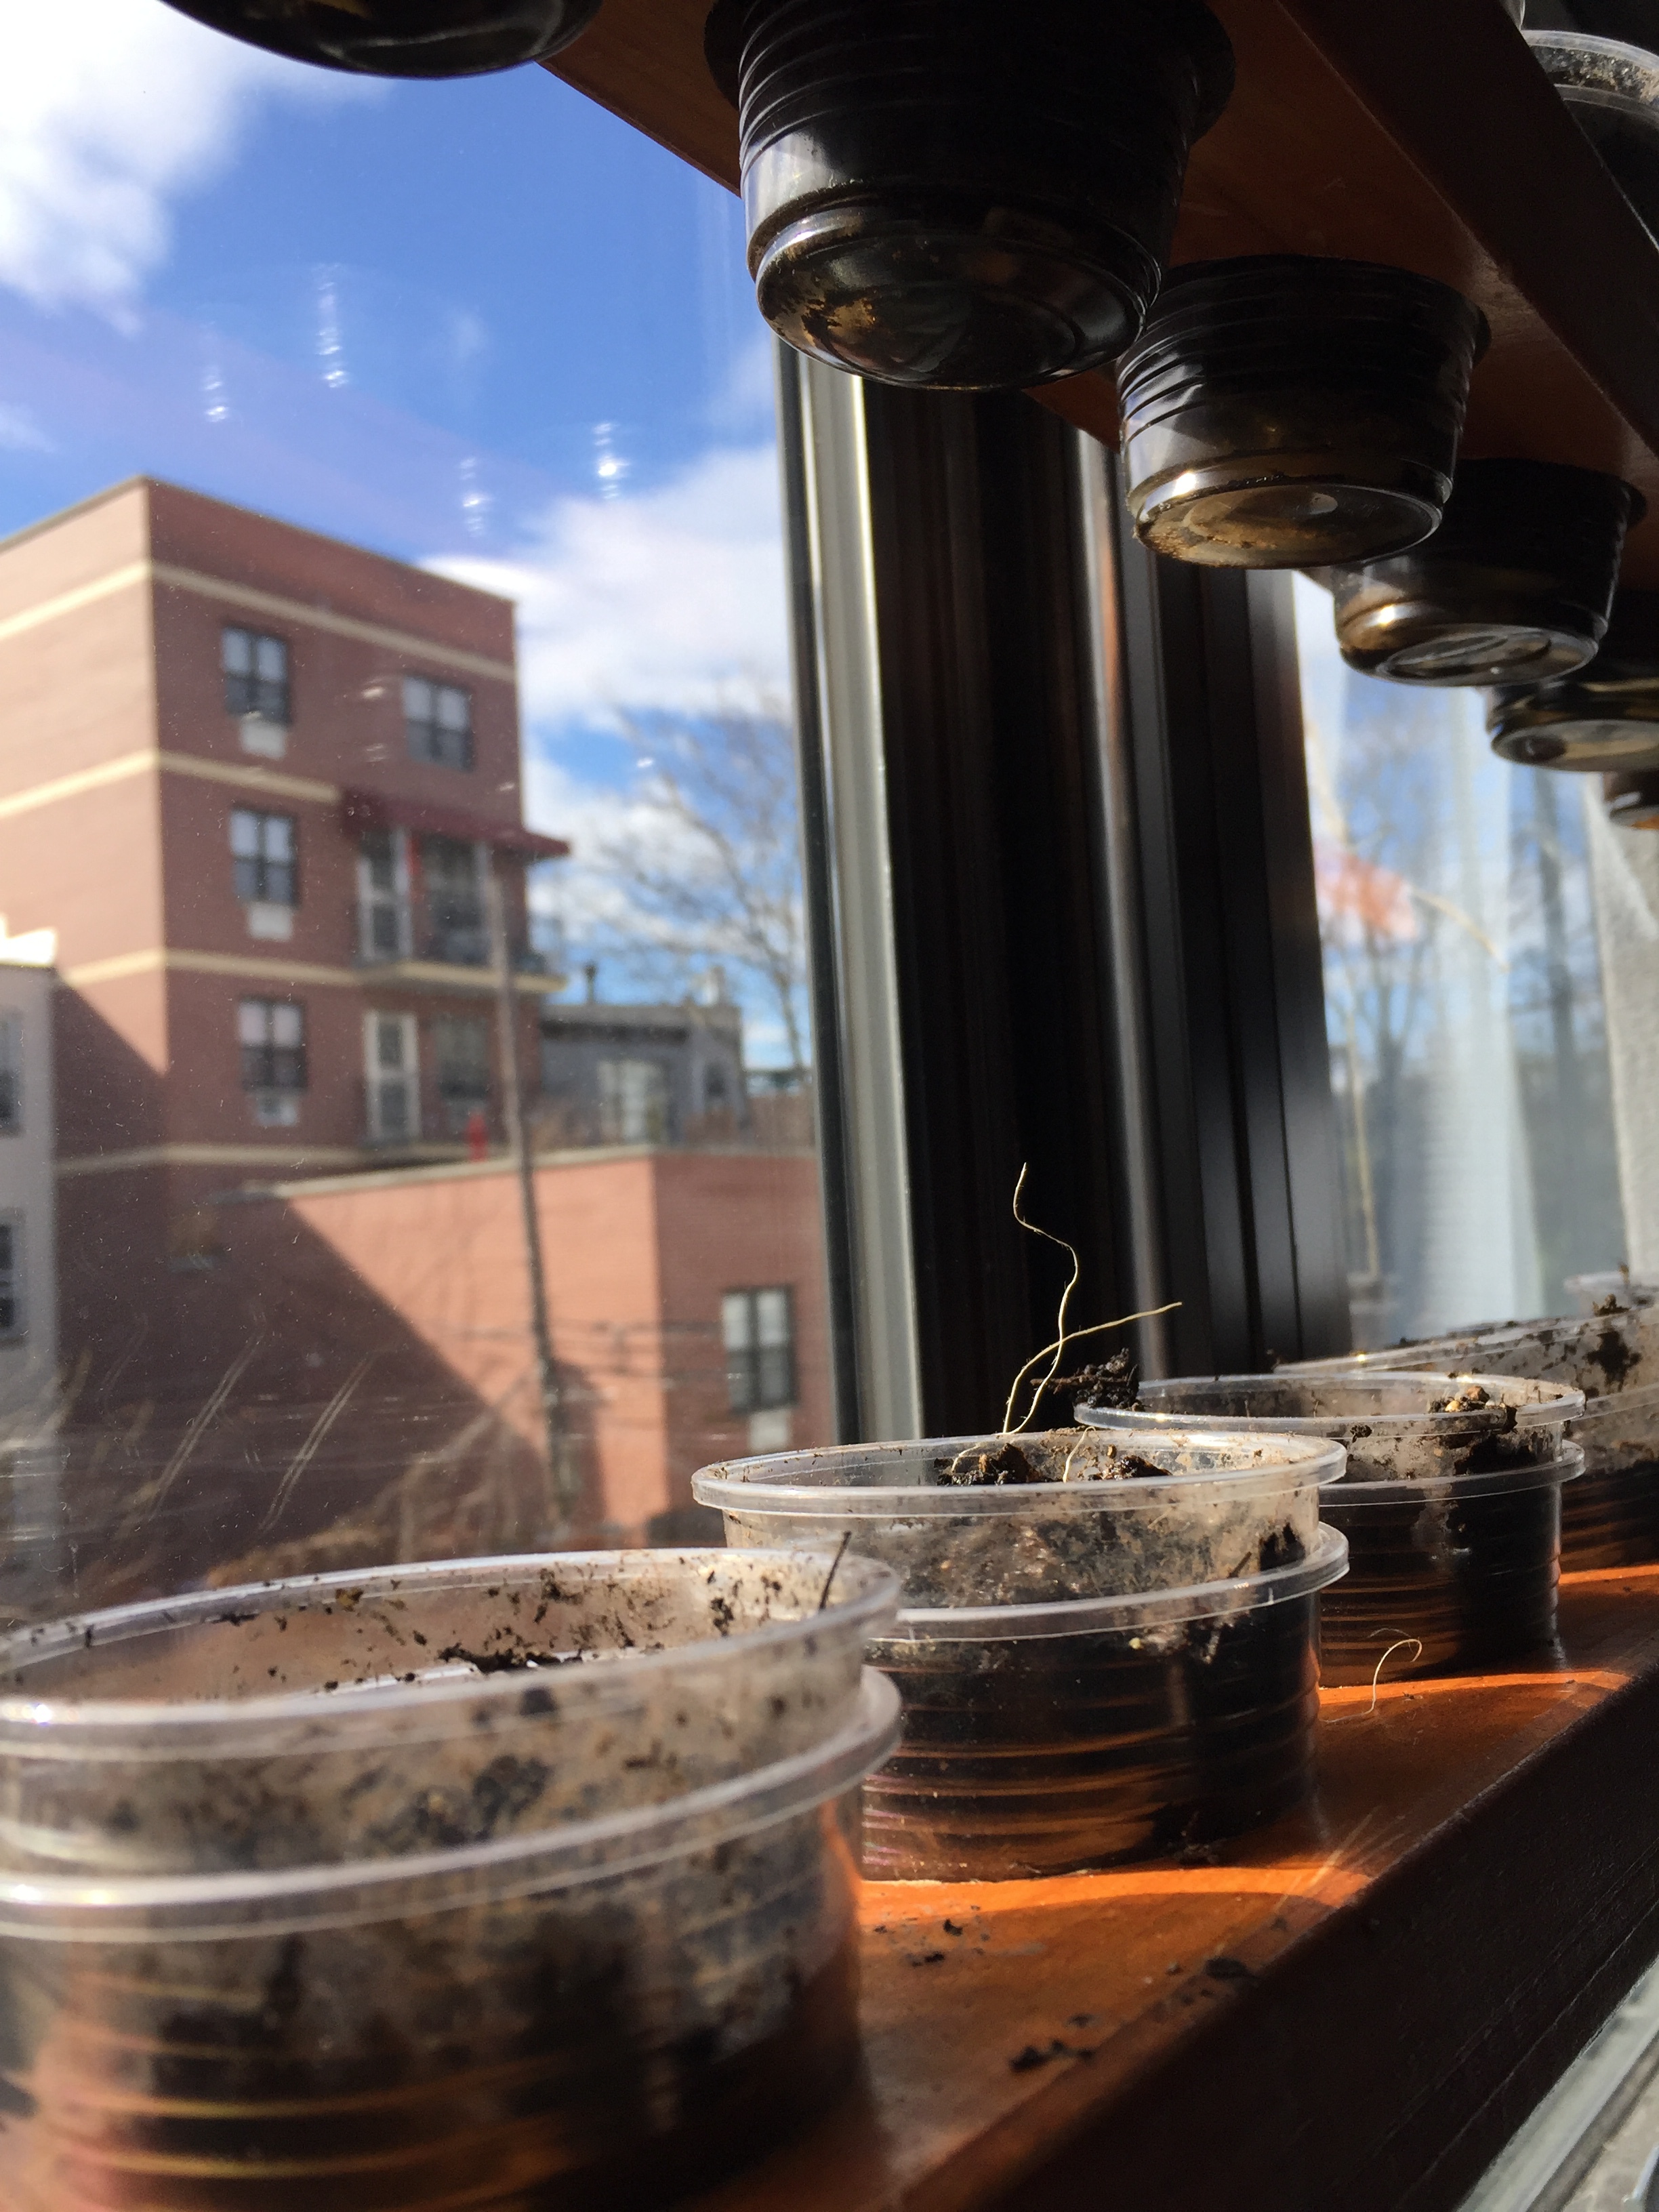
Edit: Some sprouted!

plants.gif

4-Axis Mill

Now this is a really cool tool. I wasn't able to produce much in my first go-round. As I unfortunately paused the process and couldn't figure out how to proceed. Regardless, I produced something I think to be interesting, and it yields potential for future uses.

IMG_3073.JPG
IMG_3074.JPG

I was unable to get the X position to move above the metal post that marks the Z origin. So I had to get creative in setting the Z origin. As it happened, I still did something wrong, as the moment my job began, the spindle buried itself in my block. Fortunately I was paying attention and immediately smacked the emergency stop. 

I was able to somehow get Z-origin to properly set the next time, though it did again require some creativity on my part -- Z was this time set way above the block. I had to manually reset it to be lower. I guess next time I could simply use math rather than guess and check. But often that is simply the case and practice with these processes. It's usually not right the first time. I think that's one of the lessons from repetition? 

In any case, now, I was able to see what this machine could really do, close up!

As you can see, one side is clearly more finished than the other. That's because one side completed. I can't wait to try smaller bits with this machine, and more interesting shapes, laminates, materials and more! This was just a sphere in a cube, but it certainly looks cool.

The wood is from Luna, thanks Luna!

Lathe #1

I have only used the lathe once before this, for just a few minutes, under the watchful eye of my friend back in Seattle. So I have been quite excited for this opportunity to finally arrive! In preparation, I glued up the internal hexagons left over from the previous solar project, and went for it. I will say this - plywood is quite exhausting to work with. And also, the CNC is your friend. Rather than spend time turning this down to cylindrical, I could have simply cut circles on the CNC before I cut the hexagons, yes more time on the CNC, but less time leaning into the machine tiring myself out. And it is tiring. All that glue is hard, and two types of plywood also presented some difficulty. Nonetheless, I felt happy with the final result. 

Now that I have this piece, my plan is to make it into two tops for some newborn second cousins of mine. I never did finish the airplane from last semester, which I'd still like to finish for the slightly older second cousin - Sol, so he doesn't feel left out. But these tops will be much simpler to produce, and may much more durable as a result. That does depend, however, on my attention to detail. 

IMG_2867.JPG

Solar Plant Box

rotating.gif

For this assignment, I eventually decided to combine it with my Energy midterm - a solar powered planter box. This was tremendously helpful, as it allowed me to focus on one project, making it as nice as it could be, rather than splitting my time between two half-realized projects. 

The perfect thing about the CNC was that it allowed me to create exactly what I needed in a very short time frame, while simultaneously appearing smooth and professional. Of course, I could do this with the laser cutter, but the design would have to be different, and it would likely involve screws - unless I took forever designing. Again, this was not something that I had in abundance, and besides, this is a CNC project after all!


I decided on hexagons because they are cool, and because you can't cut them easily with hand tools, or turn them on the lathe. It are a uniquely CNC-oriented shape.

My design animated as a cutting sequence in Mastercam. So beautiful, had to video.

My design animated as a cutting sequence in Mastercam. So beautiful, had to video.

The first three came right out, but the other 3 I had to hammer out, and sand down.

The first three came right out, but the other 3 I had to hammer out, and sand down.

Really glad to see the few pockets I had cut properly, and in the right order, as they overlapped with contours that needed to be cut.

Really glad to see the few pockets I had cut properly, and in the right order, as they overlapped with contours that needed to be cut.

I think I've learned by now that I need to set the thickness of my wood to about 0.05-0.08 thicker than it is, to account for Z-wobble so that it cuts all the way through. It worked out in the end. 

fresh off the CNC.gif
IMG_2645.JPG

The pieces fit perfectly! And the arduino fit inside perfectly! And the motor fit, and the motor fitting fit - though I did have to do a little sanding. 

Then I glued em up! All the clamps.

IMG_2640.JPG
IMG_2639.JPG
IMG_2654.JPG
IMG_2661.JPG
IMG_2667.JPG
IMG_2676.JPG

Now that I have all the pieces cut, roughly sanded, and glued - I can do proper sanding and finishing!

IMG_2697.JPG
IMG_2721.JPG
Got to put in that elbow grease!

Got to put in that elbow grease!

IMG_2702.JPG
IMG_2705.JPG
IMG_2720.JPG
rotating.gif
IMG_2725.JPG

Added the solar panel circuit, complete with wires into the plant to measure the water content and move the servo dial. 

So happy it works so smoothly! It's a little wobbly though. In the future I'd add more panels around it so there's sun on it at all times. In that case they could also be a bit smaller. I'd also add some more stabilization to the part that rotates so it stays level.

Wood Joinery

I've always appreciated the simplicity inherent in IKEA designs - parts simply fit together with no more than a few screws to create a very structurally sound piece. For this project, in a manner quite antithetical to my being, this minimal concept is what I pursued.

My inspiration came from a quick Google search for CNC shelf design. How organic and nice!

Screen Shot 2018-03-01 at 9.03.40 PM.png

I decided I would make use of this design, but with many less parts. Less time, less probably for error. I do need a shelf. There is very little room in this city!

IMG_2474.jpg

First things first, it looks good!!

I'm very happy with how this came out, it is just big enough to have space for all of my books, some photos, and more. It makes room for my art supplies in the shelf unit I already have, which is overflowing with everything I own at the moment. Yesss. Finally.

The production was fairly straightforward, even if I did have to finagle the machine a bit. But that happens sometimes.

I had to cut 3 "ridges" - as I call them - and then 1 ridge in different jobs (G-Code files) because I needed to cut on the outside of them and no matter what I did I could not get all the cuts to be guaranteed on the outside. For some reason MasterCam was hiding the direction of my arrows and even if I clicked to switch the directions it simply remained a single cross hair. I made it work. 

I was also off by 0.17 in. on the depth measurement. So when the CNC finished the first job, it was not through all the way. I simply restarted the job, paused it, reset Z home slightly lower, and reran the job. It did take a while - but it worked. The next job I got my Z setting ri

Wednesday. Night. Three cuts.

Wednesday. Night. Three cuts.

Thursday. Morning. One cut

Thursday. Morning. One cut

IMG_2456.jpg
IMG_2473.jpg

Some pretty shots, fit together quite nicely. And because I made sure that the space in between each side was the exact thickness of the material itself - with one side having an extra tiny tiny little bit more space - it hangs without losing any structure. There is no movement. Nice ply helps.

Ta-Da! 

Ta-Da! 

Finally, I cut some small 2x4 to be the pieces I would drill into the wall. I did the same process of pressure fitting. But also glued it up and taped it in place, it needed not much support.

Finally, I cut some small 2x4 to be the pieces I would drill into the wall. I did the same process of pressure fitting. But also glued it up and taped it in place, it needed not much support.

CNC

So this was actually quite the smooth process! I cut a frame for a small 6" circular mirror that I might like to have, or give to my sister. The online guide was very helpful and almost made everything too easy. Doesn't this mean my next job is a guaranteed wreck? Haha. I hope not. I'll be sure to be every bit as slow and cautious as I was this time. However the design will be a bit more complex, and I may not find myself alone in the shop on a Saturday evening, as I was. Oh how meditating it is to be in a silent shop sometimes (except that is, for the machines running).

Othermill Bat Symbol

We have some aluminum on hand that is the perfect thickness to make a Bat Symbol out of. I modified this design by Abir Alward of the noun project. And all I had to do was cut it out! Easy peasy. My next step is to embed it in a block of wood and create a clock out of it, using this mechanism. I'll likely have the wood block cut soon, but the clock I will need to wait on to arrive.

So shiny!

So shiny!

No instagram filter, but the light looks good haha.

No instagram filter, but the light looks good haha.

Oh and it's polished it using the lathe polisher. Need to sand it down better next time to get more shiny, but it does pop quite nicely and reflect the light beautifully!

Pretty cool to watch The Othermill get going and grind away at the aluminum! Just have to wait about 20 minutes or so. 

Pretty cool to watch The Othermill get going and grind away at the aluminum! Just have to wait about 20 minutes or so. 

I had to cut a little from the back, since the milling stopped almost all the day through. Perhaps I should mount the aluminum on wood or acrylic next time to ensure the circuit does not get completed before it should be.

I had to cut a little from the back, since the milling stopped almost all the day through. Perhaps I should mount the aluminum on wood or acrylic next time to ensure the circuit does not get completed before it should be.

Othermill Death Star

The othermill is a desktop CNC machine, that can mill pieces that are about 4x5in and below. As my 1/8 in mill bit was a little too wide for some of my more detailed designs, I quickly sketched the Death Star from Star Wars Episode V, after it is destroyed at the end of Episode IV. This was a relatively simple Adobe Illustrator sketch using only rectangles and circles, which were then turned into nice rounded edges by the radius of the mill bit. I really like the final product!

death star.gif
IMG_2211.jpg

As you can see, the piece right off the block is a little rough, so a little sandpaper and tung oil go a long way to increase the color depth of the wood. And just look how it shows up when see at different angles!

Unfortunately, my computer restarted as soon as the mill was complete with etching the death star. As I edited the position of the design in the program, and did not record these edits (NOTE for LATER!) I was unable to cut any deeper to reveal more layers of the plywood within the etching. This was a little disappointing, but live and learn! And I still like the piece. Hard to beat evil things that are cute.

IMG_2213.jpg
IMG_2215.jpg

The Router

I've always wanted to use a router, but never had the guts to do so. So this week was finally a good chance to make use of a powerful tool. And also continue an enclosure project that I began last semester in intro to fab. Biggest thing I learned (other than that the router is an awesome tool) is that using a frame to bend acrylic around would have been much easier than bending the acrylic in free space. This made it wobble in difficult fashion. Regardless, I think the final is much closer to a refined prototype than my original rough sketch. The next step is to determine what kind of light fixture to include in the center, and how I will either mount it to the wall, or to a base. Or do I leave it as is and it is - a desk/table light? 

Clear translucent acrylic looks nice when illuminated, just as desired!

Clear translucent acrylic looks nice when illuminated, just as desired!